Quick Start Guide⚓︎
1 One-click Deployment⚓︎
- Support widely used Linux distributions (based on Debian/RedHat, including domestic operation systems)
- Gentoo / Arch Linux please install via Source code installation
- If you want to use it in production environment, we recommend deploying it using the Offline installation package for Delpolyment.
// root@localhost:/opt#
$ curl -sSL https://resource.fit2cloud.com/jumpserver/jumpserver/releases/latest/download/quick_start.sh | bash

---> 100%
<span style="color: green;">[Success]</span>: download install script to /opt/jumpserver-installer-v3.10.5
[Info]: Start executing the installation script.
[Info]: In an automated script deployment, note the message prompts on the screen.
---> 100%
<span style="color: green;">[Success]</span>: The Installation is Complete.

For more commands, you can enter <span style="color: red;">jmsctl --help</span> to view help information.
// root@localhost:/opt#
$ curl -sSL https://github.com/jumpserver/jumpserver/releases/latest/download/quick_start.sh | bash

---> 100%
<span style="color: green;">[Success]</span>: download install script to /opt/jumpserver-installer-v3.10.5
[Info]: Start executing the installation script.
[Info]: In an automated script deployment, note the message prompts on the screen.
---> 100%
<span style="color: green;">[Success]</span>: The Installation is Complete.

For more commands, you can enter <span style="color: red;">jmsctl --help</span> to view help information.
Prompt
- After the initial installation, you'll need to modify the configuration file and define the DOMAINS field to enable normal usage.
- If the server was installed with a one-click installation and the old version of JumpServer already enabled HTTPS, then no further changes are needed.
- In scenarios where you need to access JumpServer using an IP address, you can fill in the DOMAINS field in the configuration file (config.txt) with either the public IP or the internal IP based on your IP type.
- How to fill in can refer to the example in the configuration file.
  # Open and edit the configuration file,Fill in the DOMAINS field
  vim /opt/jumpserver/config/config.txt

  # Trustable DOMAINS Defination,
  # Define trusted access IP. Please modify according to your actual situation. If it is a public IP, please change it to the corresponding public IP.
  # DOMAINS="demo.jumpserver.org"    # Access wiht domain name
  # DOMAINS="172.17.200.191"         # Access with IP address
  # DOMAINS="demo.jumpserver.org,172.17.200.191"    # Access with domain name and IP address
  DOMAINS=
After install successfully, you can access JumpServer platform via Web browse
 URL: http://<JumpServer server IP>:<Service port number>
 User: admin
 Passwd: admin
After the first login, it is necessary to modify the user's login information
2 User Management⚓︎
The User Management page primarily deals with the management of users in JumpServer, including the user list, user groups, and role lists in JumpServer.
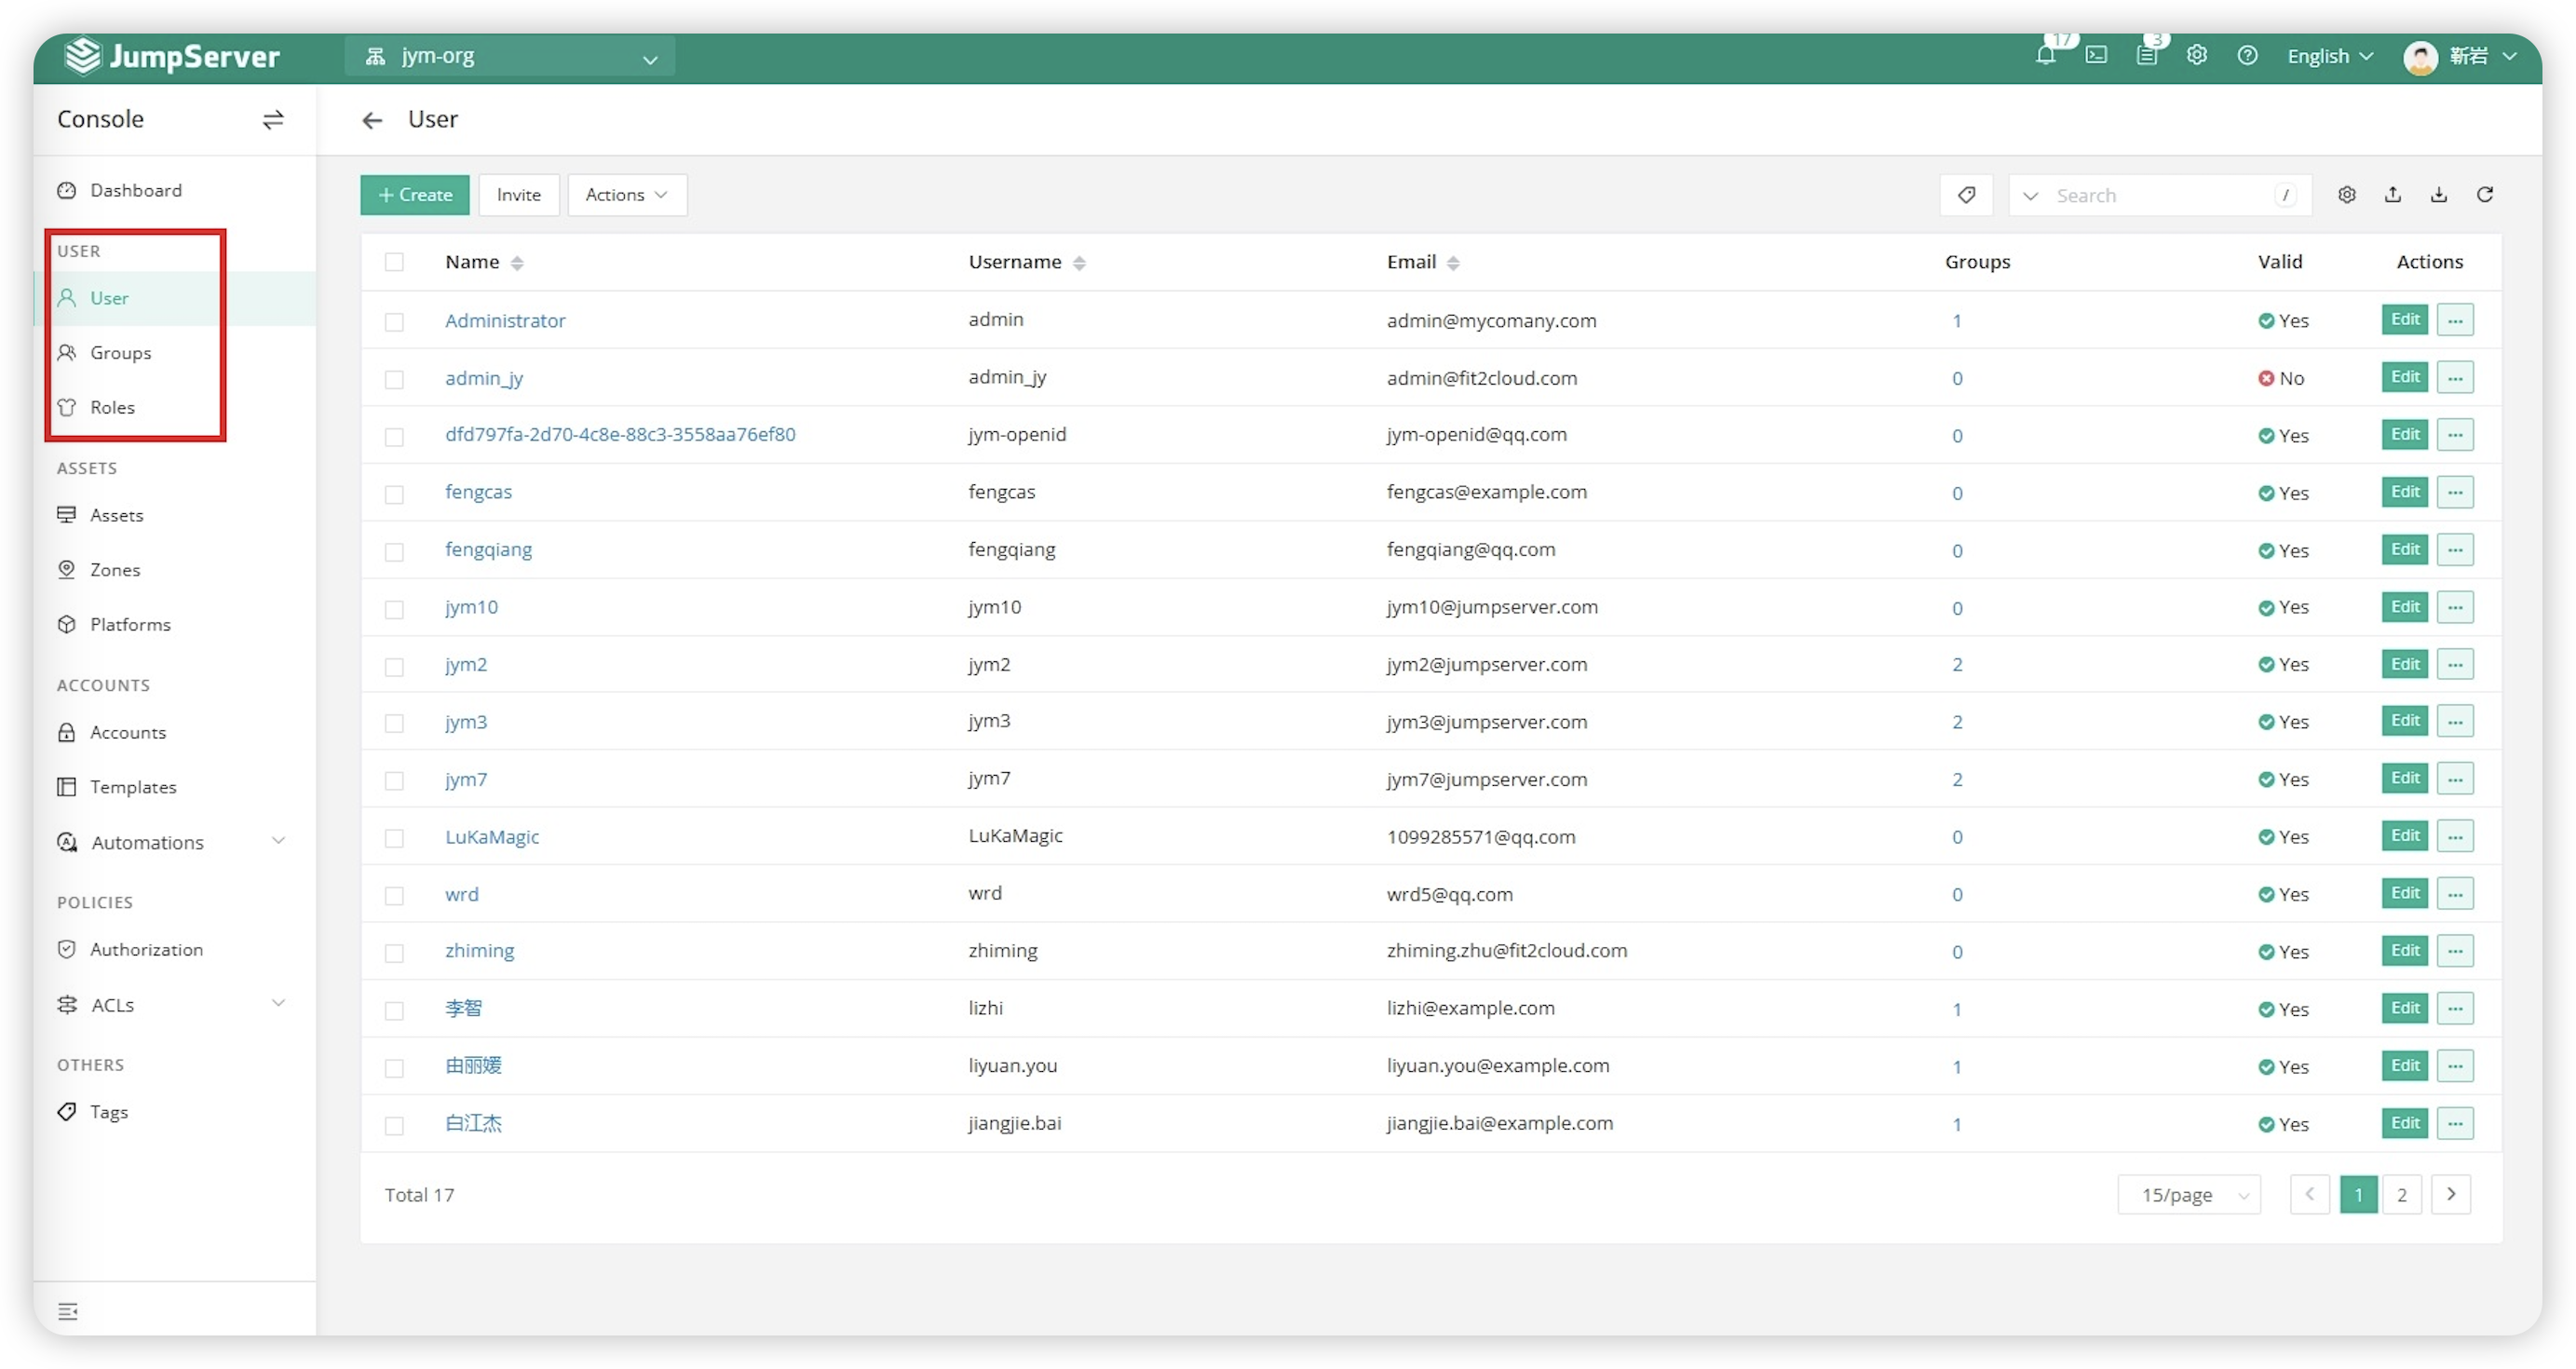
2.1 User Create⚓︎
Click the
Fill in the user's information in the page and click 'Submit' to apply.
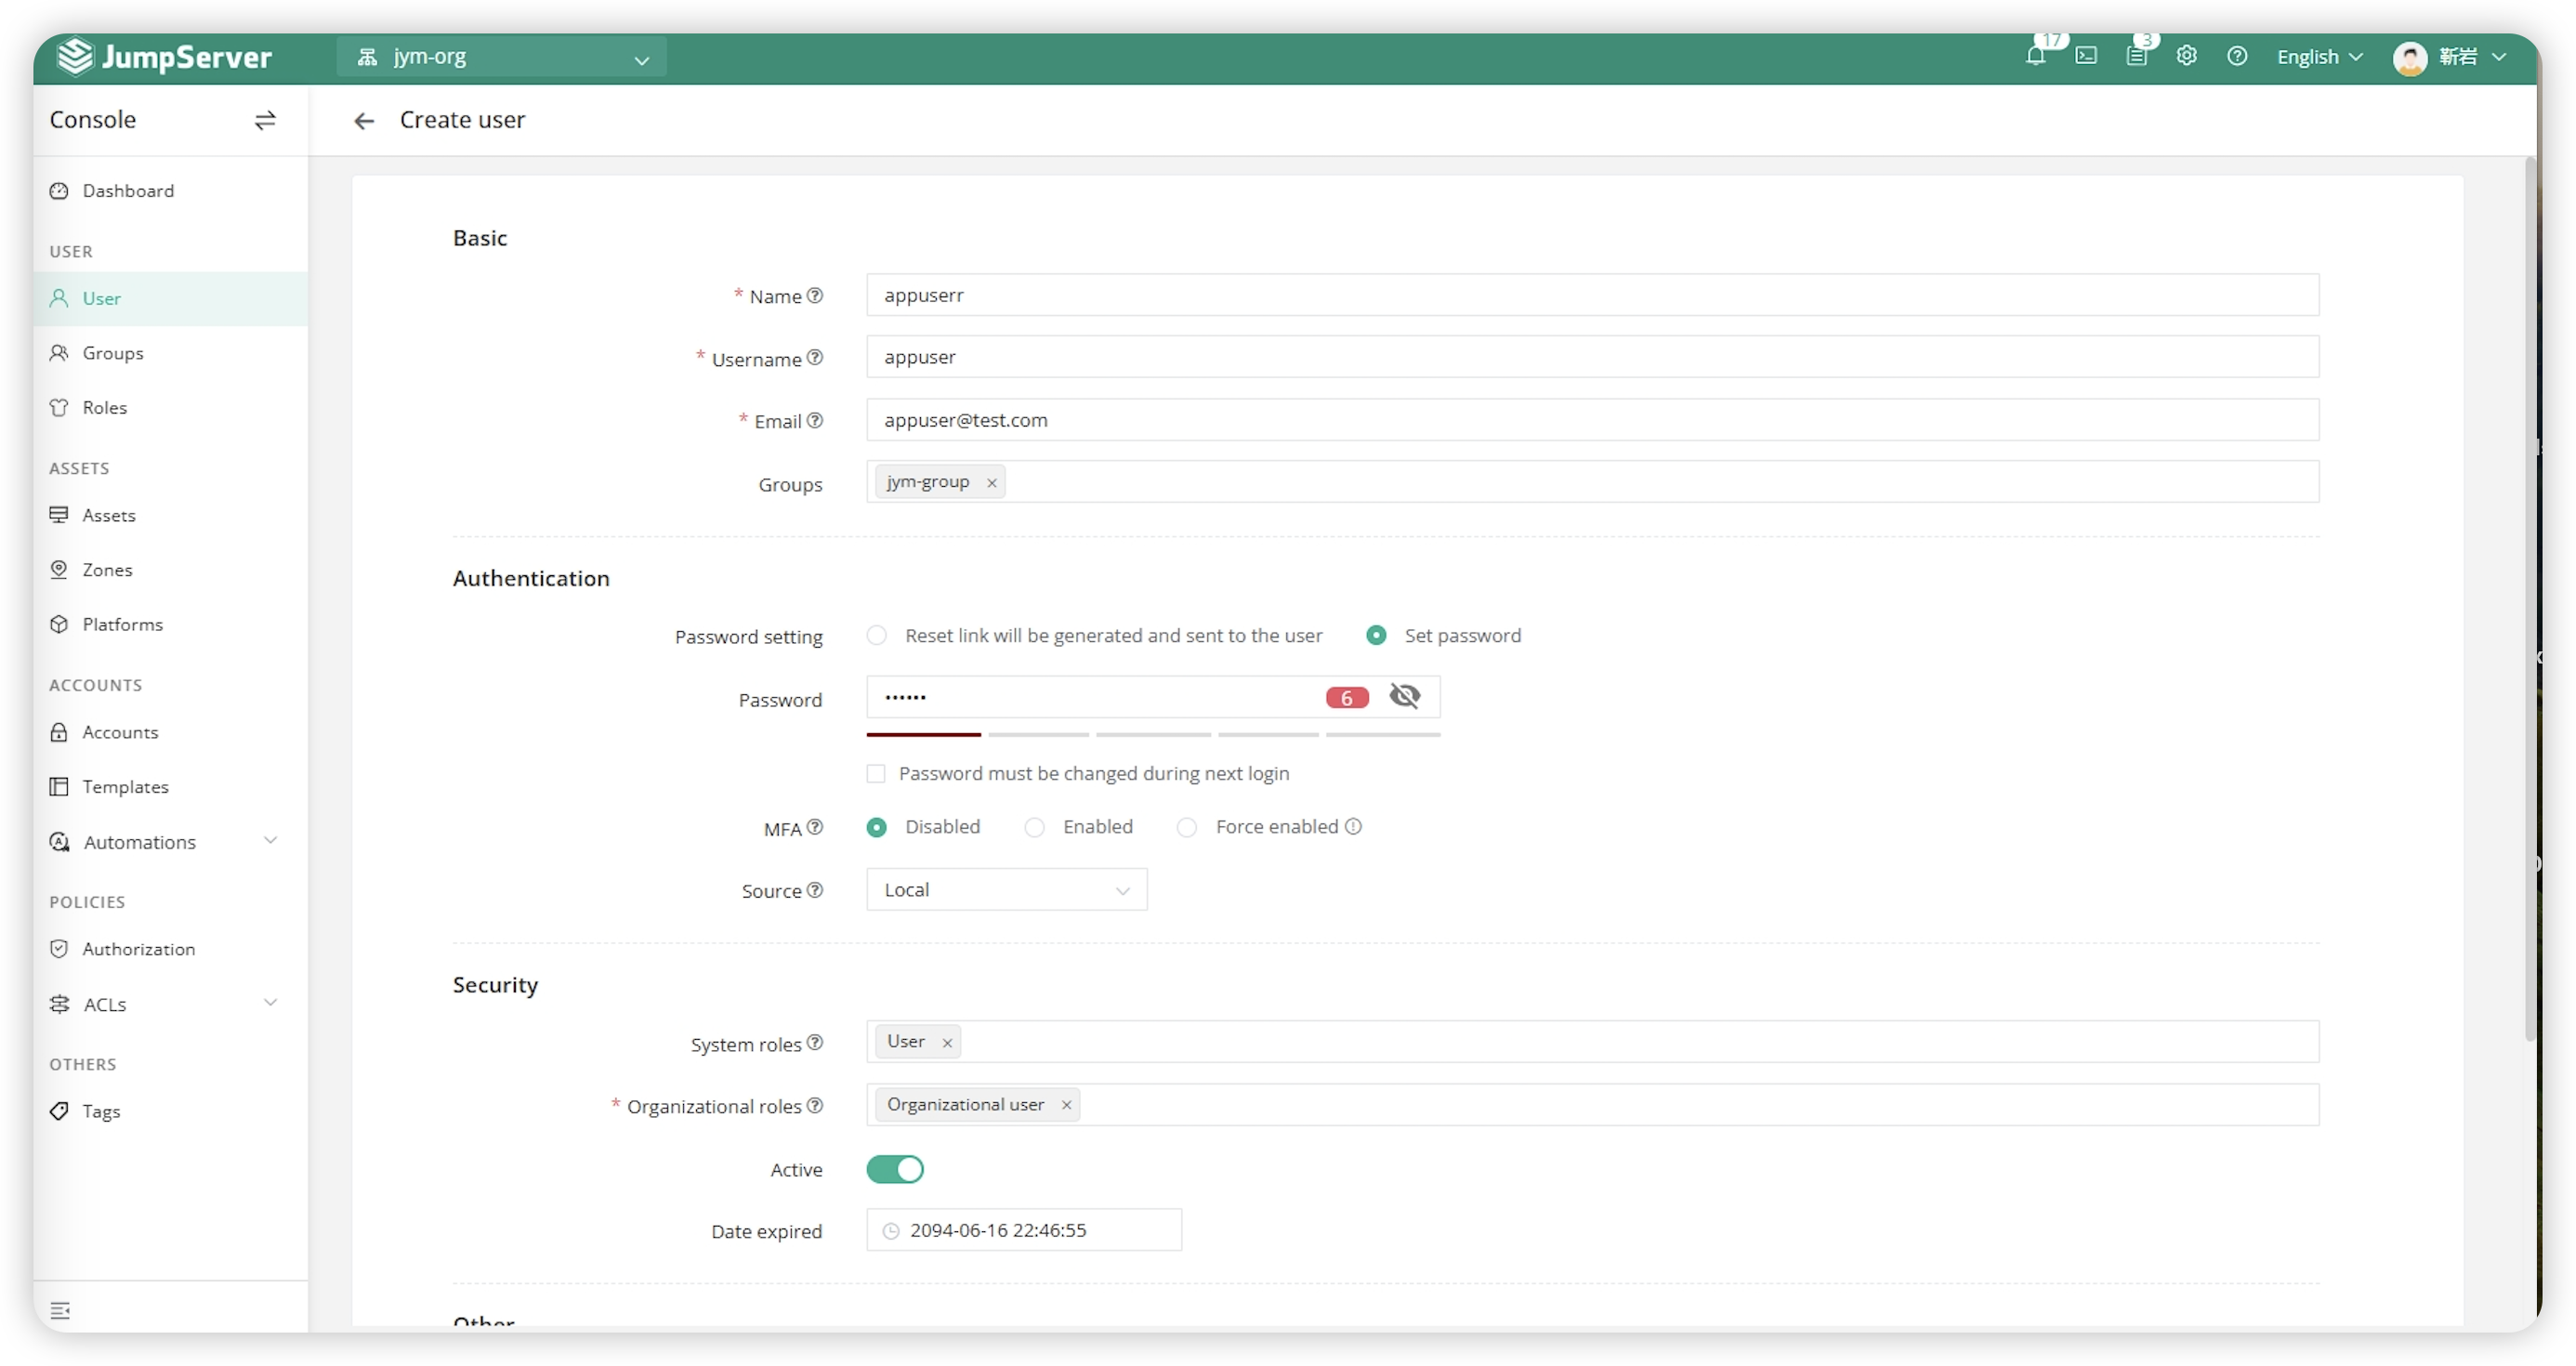
| Parameter | Description |
|---|---|
| Name | User identification name, can be duplicated. |
| User Name | Login accounts for accessing JumpServer, cannot be duplicated. |
| The email address associated with the login account must be unique. | |
| User Group | Users are managed in groups primarily for asset authorization. When a certain asset is authorized for a user group, all users in that group are granted corresponding permissions for that asset. |
| Password Setting | During the user creation process, administrators can either set passwords manually or generate password links to be sent to users via email. Upon successful submission of user information, JumpServer will send an email titled "Set User Password" to the specified user email address. |
| MFA | Multi-factor authentication (MFA) adds an extra layer of security to JumpServer. After enabling MFA, users logging into the system will be required to enter their username and password (first security factor), followed by inputting a dynamic verification code from their MFA device (second security factor). This two-factor authentication significantly enhances the security of user accounts. |
| User Source | Specify the user's source, such as ‘Database’ for manually created users or 'LDAP' for users imported from LDAP. |
| System Role | System roles determine the permissions a user has at the system level (System Administrator, Auditor, User/Other Custom Roles). |
| Organization role | Organization roles determine the permissions a user has at the organization level (Organization Administrator, Auditor, User/Other Custom Roles). |
| Activation | The activation status indicates whether a user is in a normal state and can log in. Users in a non-activated status cannot log in. |
| Expiration Date | The expiration date refers to the last date until which a user can log in. After this time, the user cannot login. |
| Phone | Optional field: Configure the user's mobile phone number, which is used for receiving "MFA" SMS messages. |
| Description | Optional field: The administrator configures the remarks for this user |
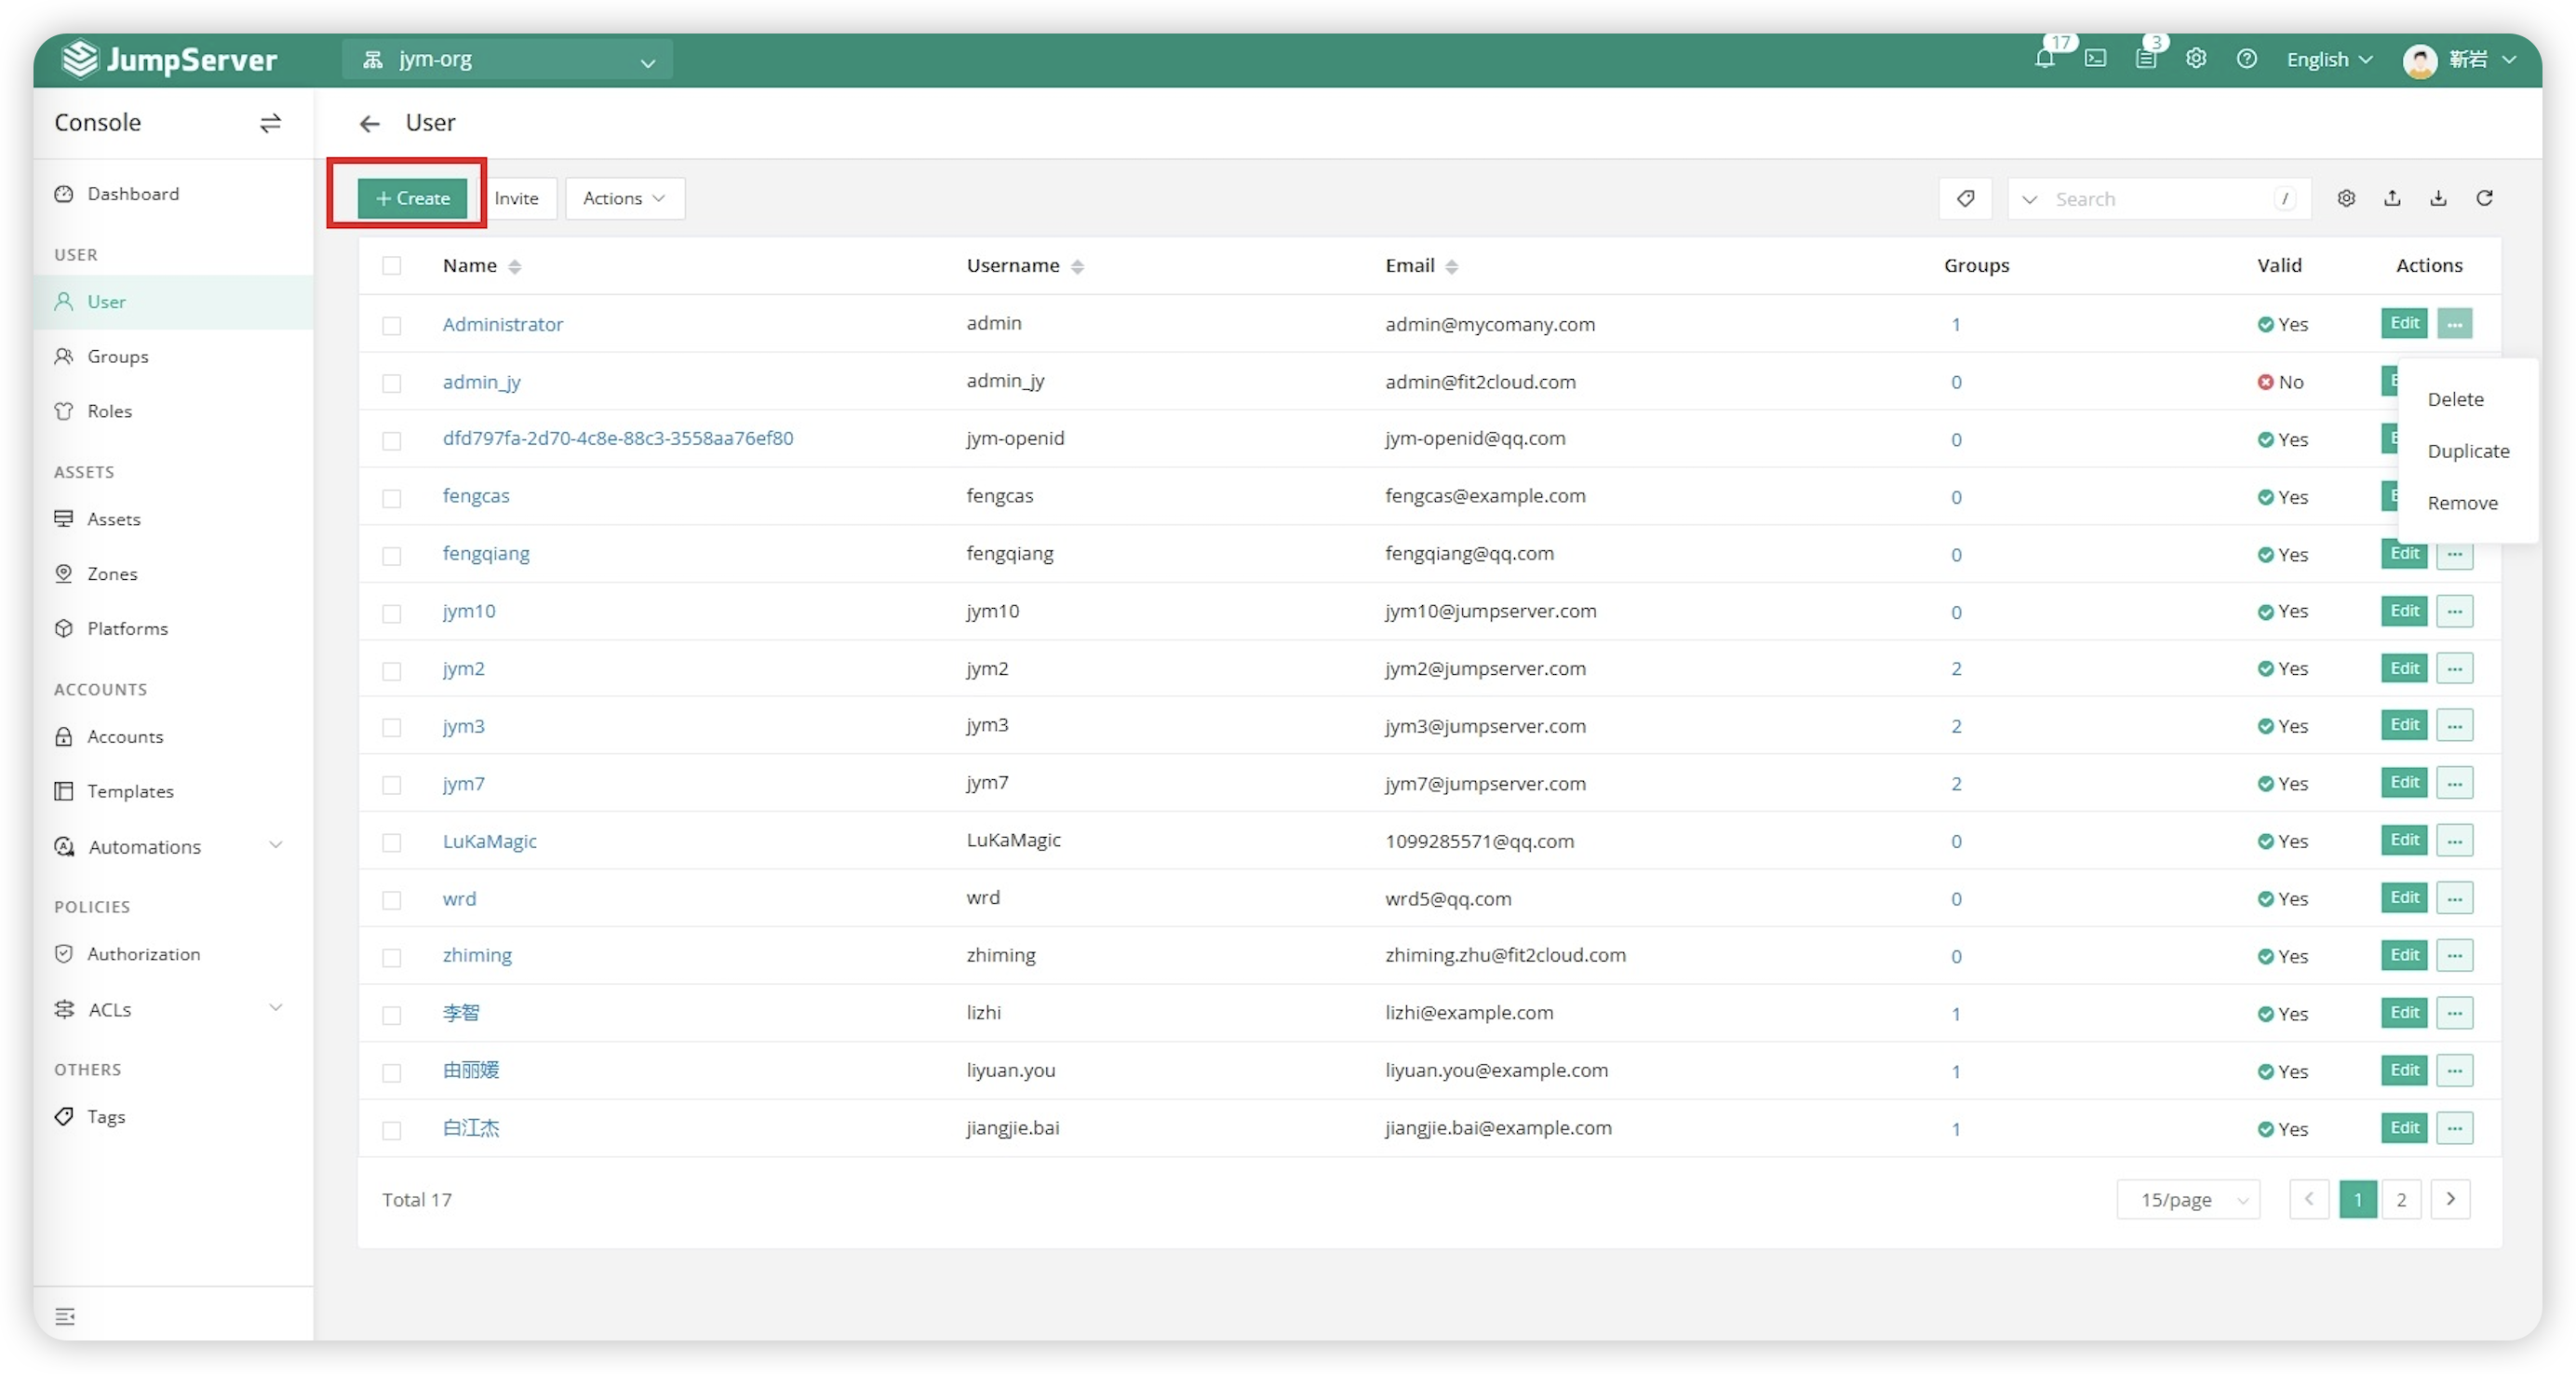
2.2 User Update⚓︎
When you need to update information for a user, you can click on the

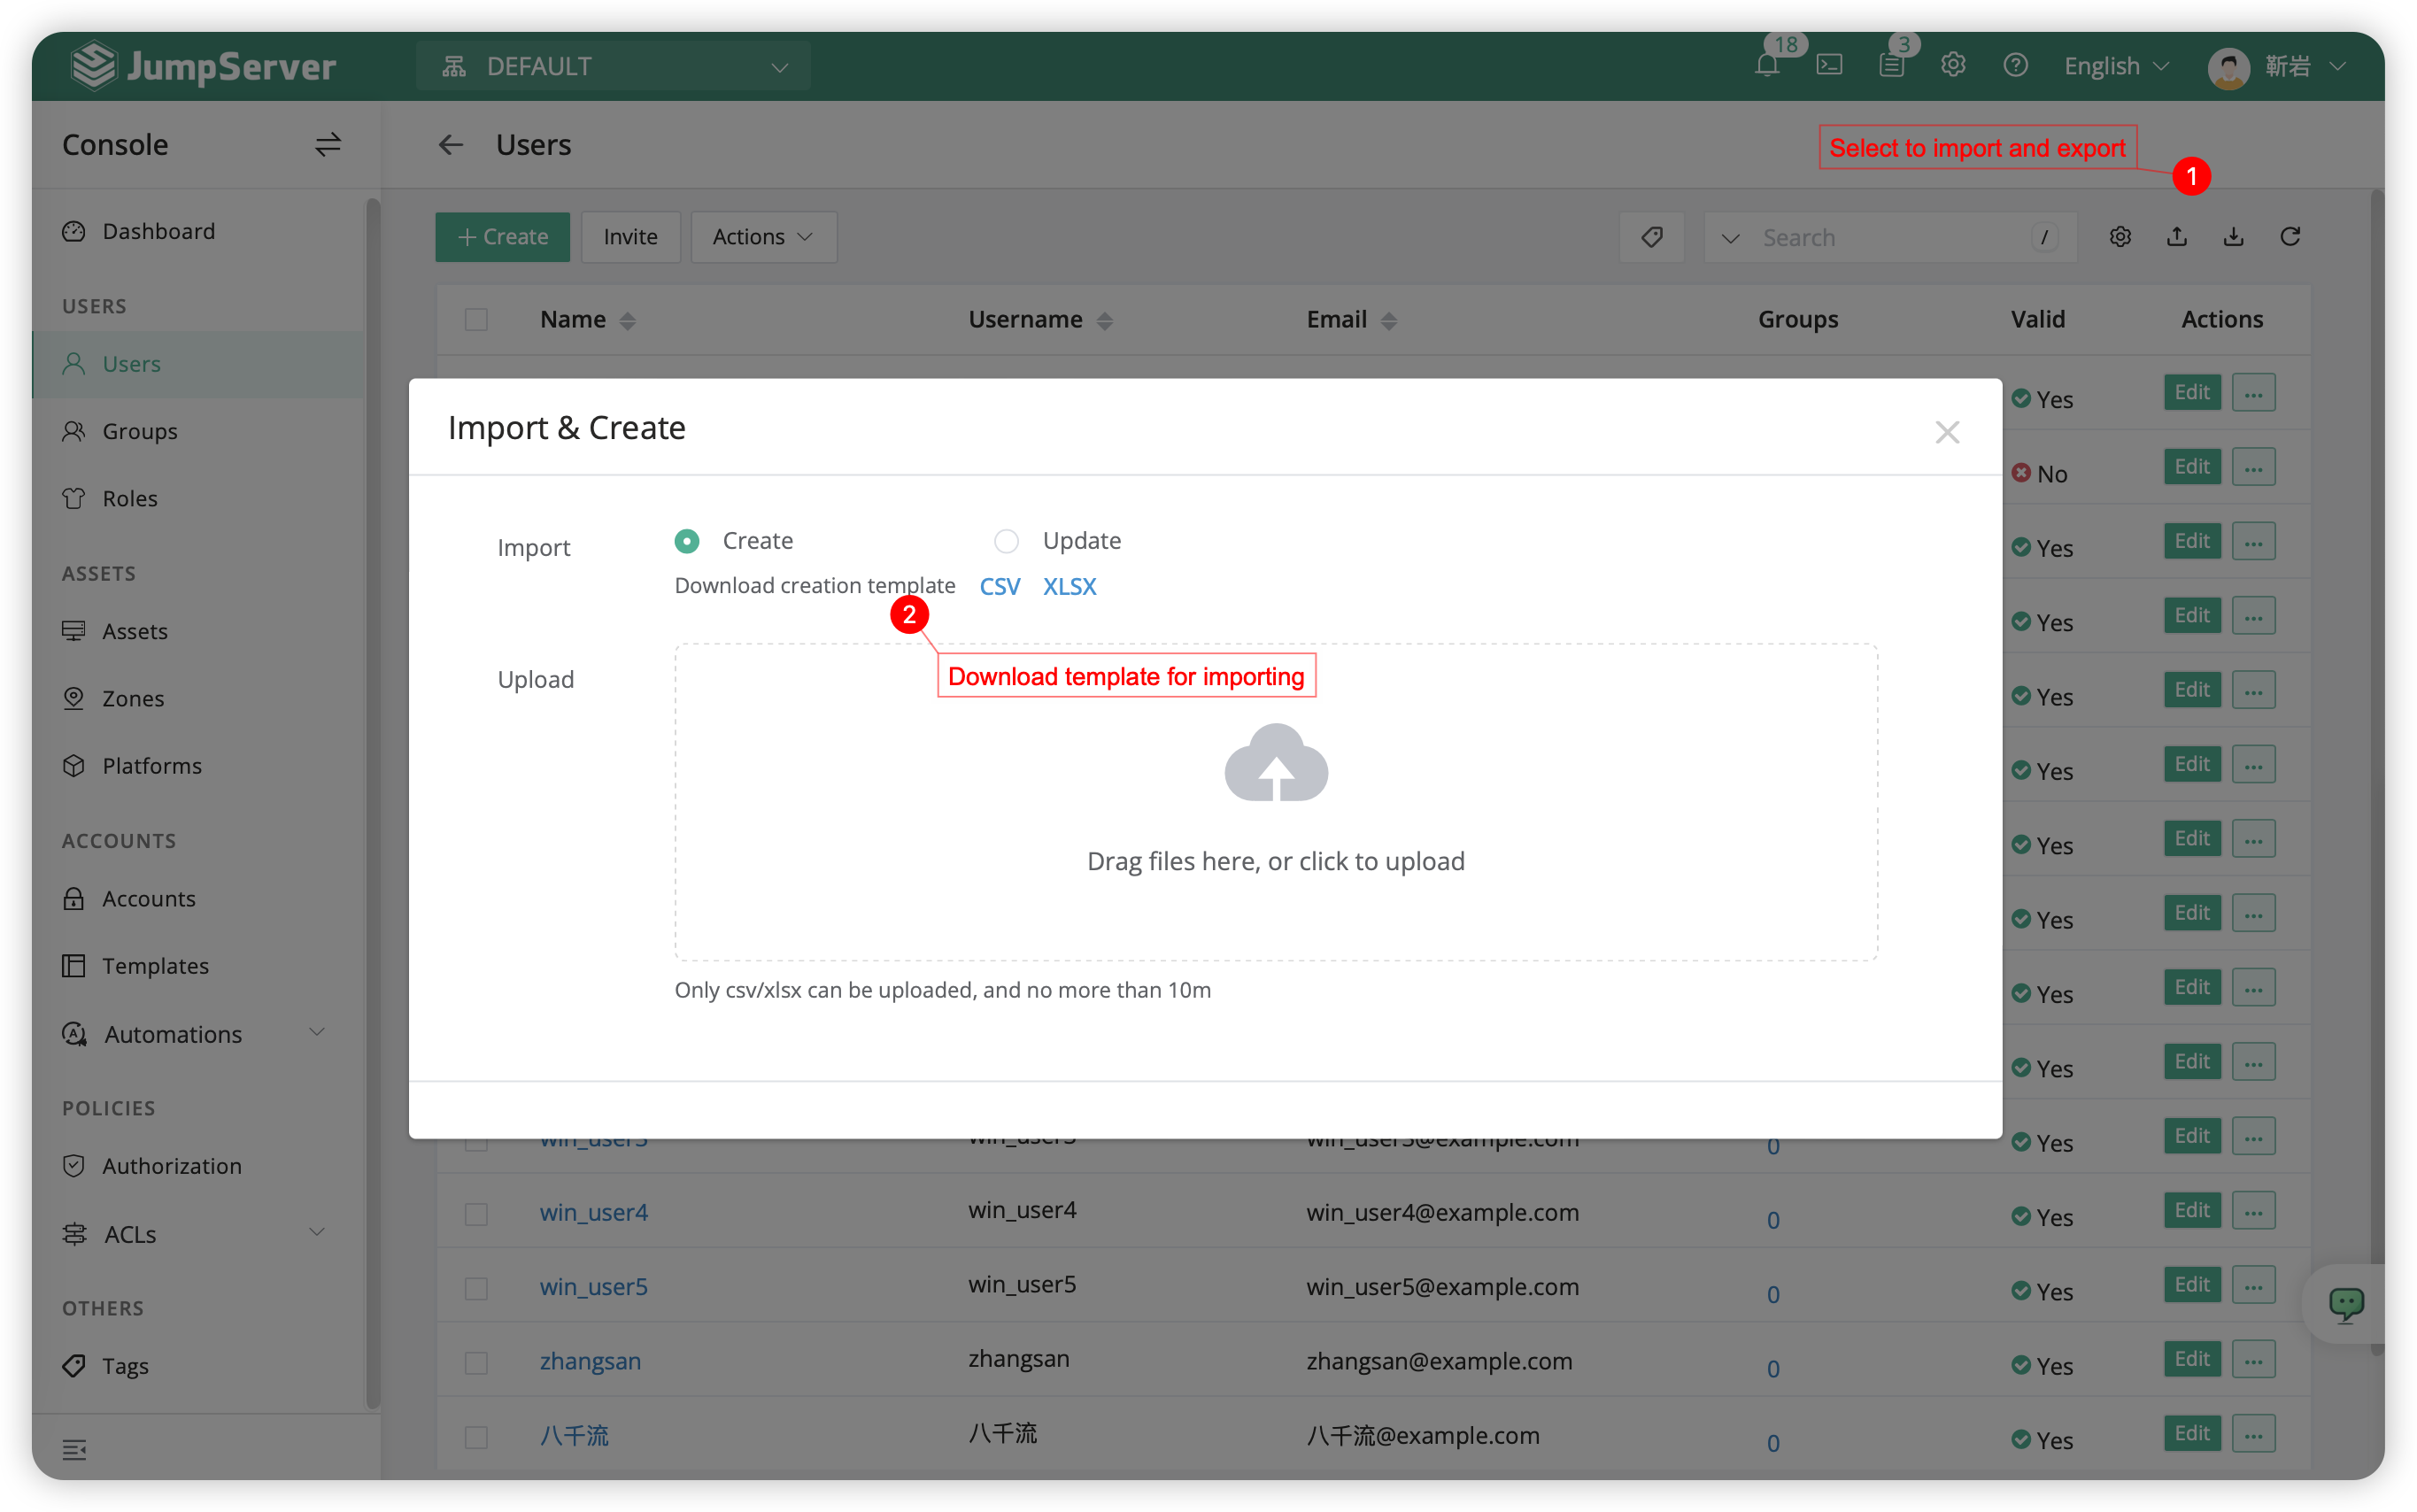
2.3 User Import and Export⚓︎
Users can be imported, updated, or exported using supported table formats like xlsx and csv. For the first import, you can click the
2 Asset Management⚓︎
2.1 Preparation⚓︎
- Prepare two test assets and one database to verify functionalities.
| Host IP | Host Name | Port | Operation System | Admin Account | Password |
|---|---|---|---|---|---|
| 172.16.80.11 | test_ssh01 | 22 | Centos 7 | root | Test2020.L |
| 172.16.80.21 | test_rdp01 | 3389 | Windows 10 | administrator | Test2020.W |
| 172.16.80.31 | test_mysql01 | 3306 | MySQL 5 | root | Test2020.M |
Attention
- For Windows assets, if you need to perform automated tasks such as 'updating asset information' or 'conducting connectivity tests', you need to first perform Windows SSH setup,this is not a mandatory step for login windows assets.
- MySQL application requires authorization for remote access by 'Core' and 'KoKo'. MySQL Required
2.2 Edit Asset Tree⚓︎
-The asset tree is a categorization of asset categories. Each asset can be classified according to different dimensions, and the same asset can have multiple dimensional classifications. For example, assets can be classified by organization, project, protocol, and so on. After categorizing nodes, user permissions can be flexibly allocated to efficiently manage hosts. -The root node of the asset tree cannot have duplicate names. Right-clicking on a node allows you to add, delete, and rename nodes, as well as perform related operations on assets.
- Click on
Assets-Assetsat left of page,in root nodeDefaultcreateSSH Server、RDP Server、Databasevia right button。
- The pattern of the asset tree is as follows:
Default
├─ SSH Server
└─ RDP Server
└─ DB
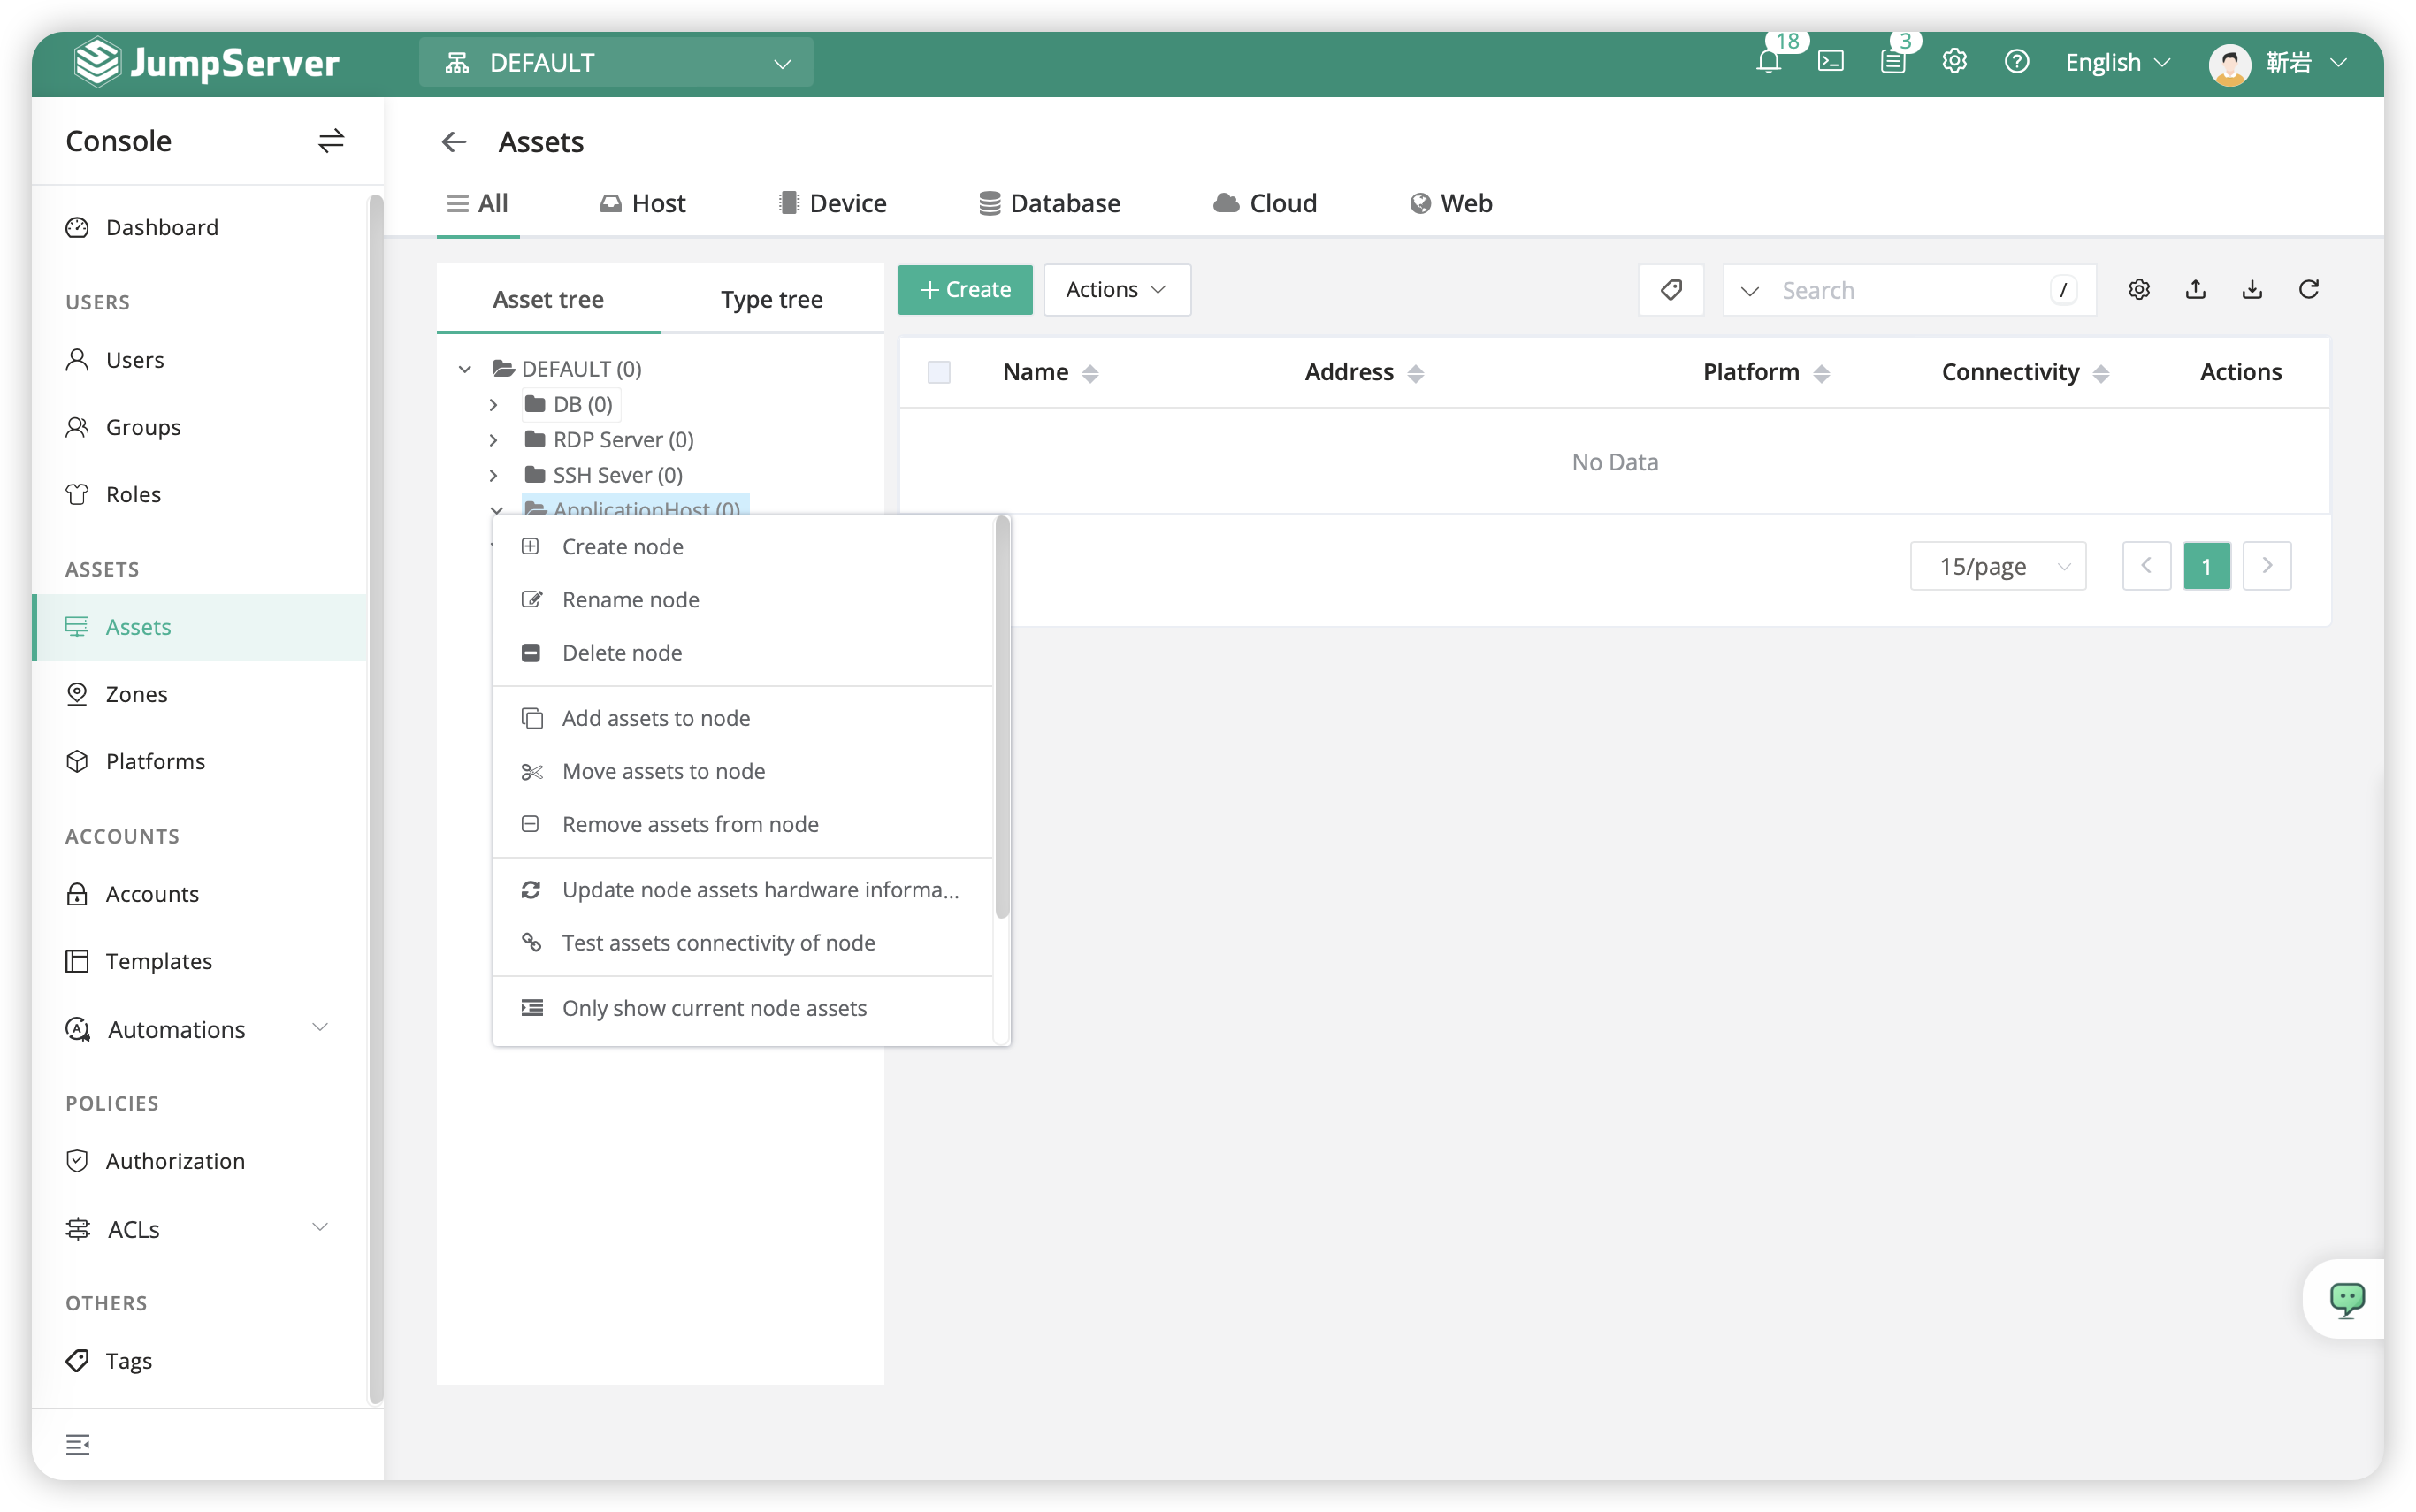
Attation
- Root Node
Defaultcan not be named duplicately,Right-clicking on a node allows to 'add', 'delete', and 'rename' nodes, as well as perform asset-related operations.
2.3 Create asset for host⚓︎
- Click on
Assets-Assets-Host-Createat left of page, anc create a Linux server. - The process of creating Windows assets follows the same procedure.
- The pattern of creating Linux assets is as follows:
| Name | Host IP | Platform | Node | Protocol Group | Account list |
|---|---|---|---|---|---|
| test_ssh01 | 172.16.80.11 | Linux | /Default/SSH Server | ssh 22 | --xxxxxx---- |
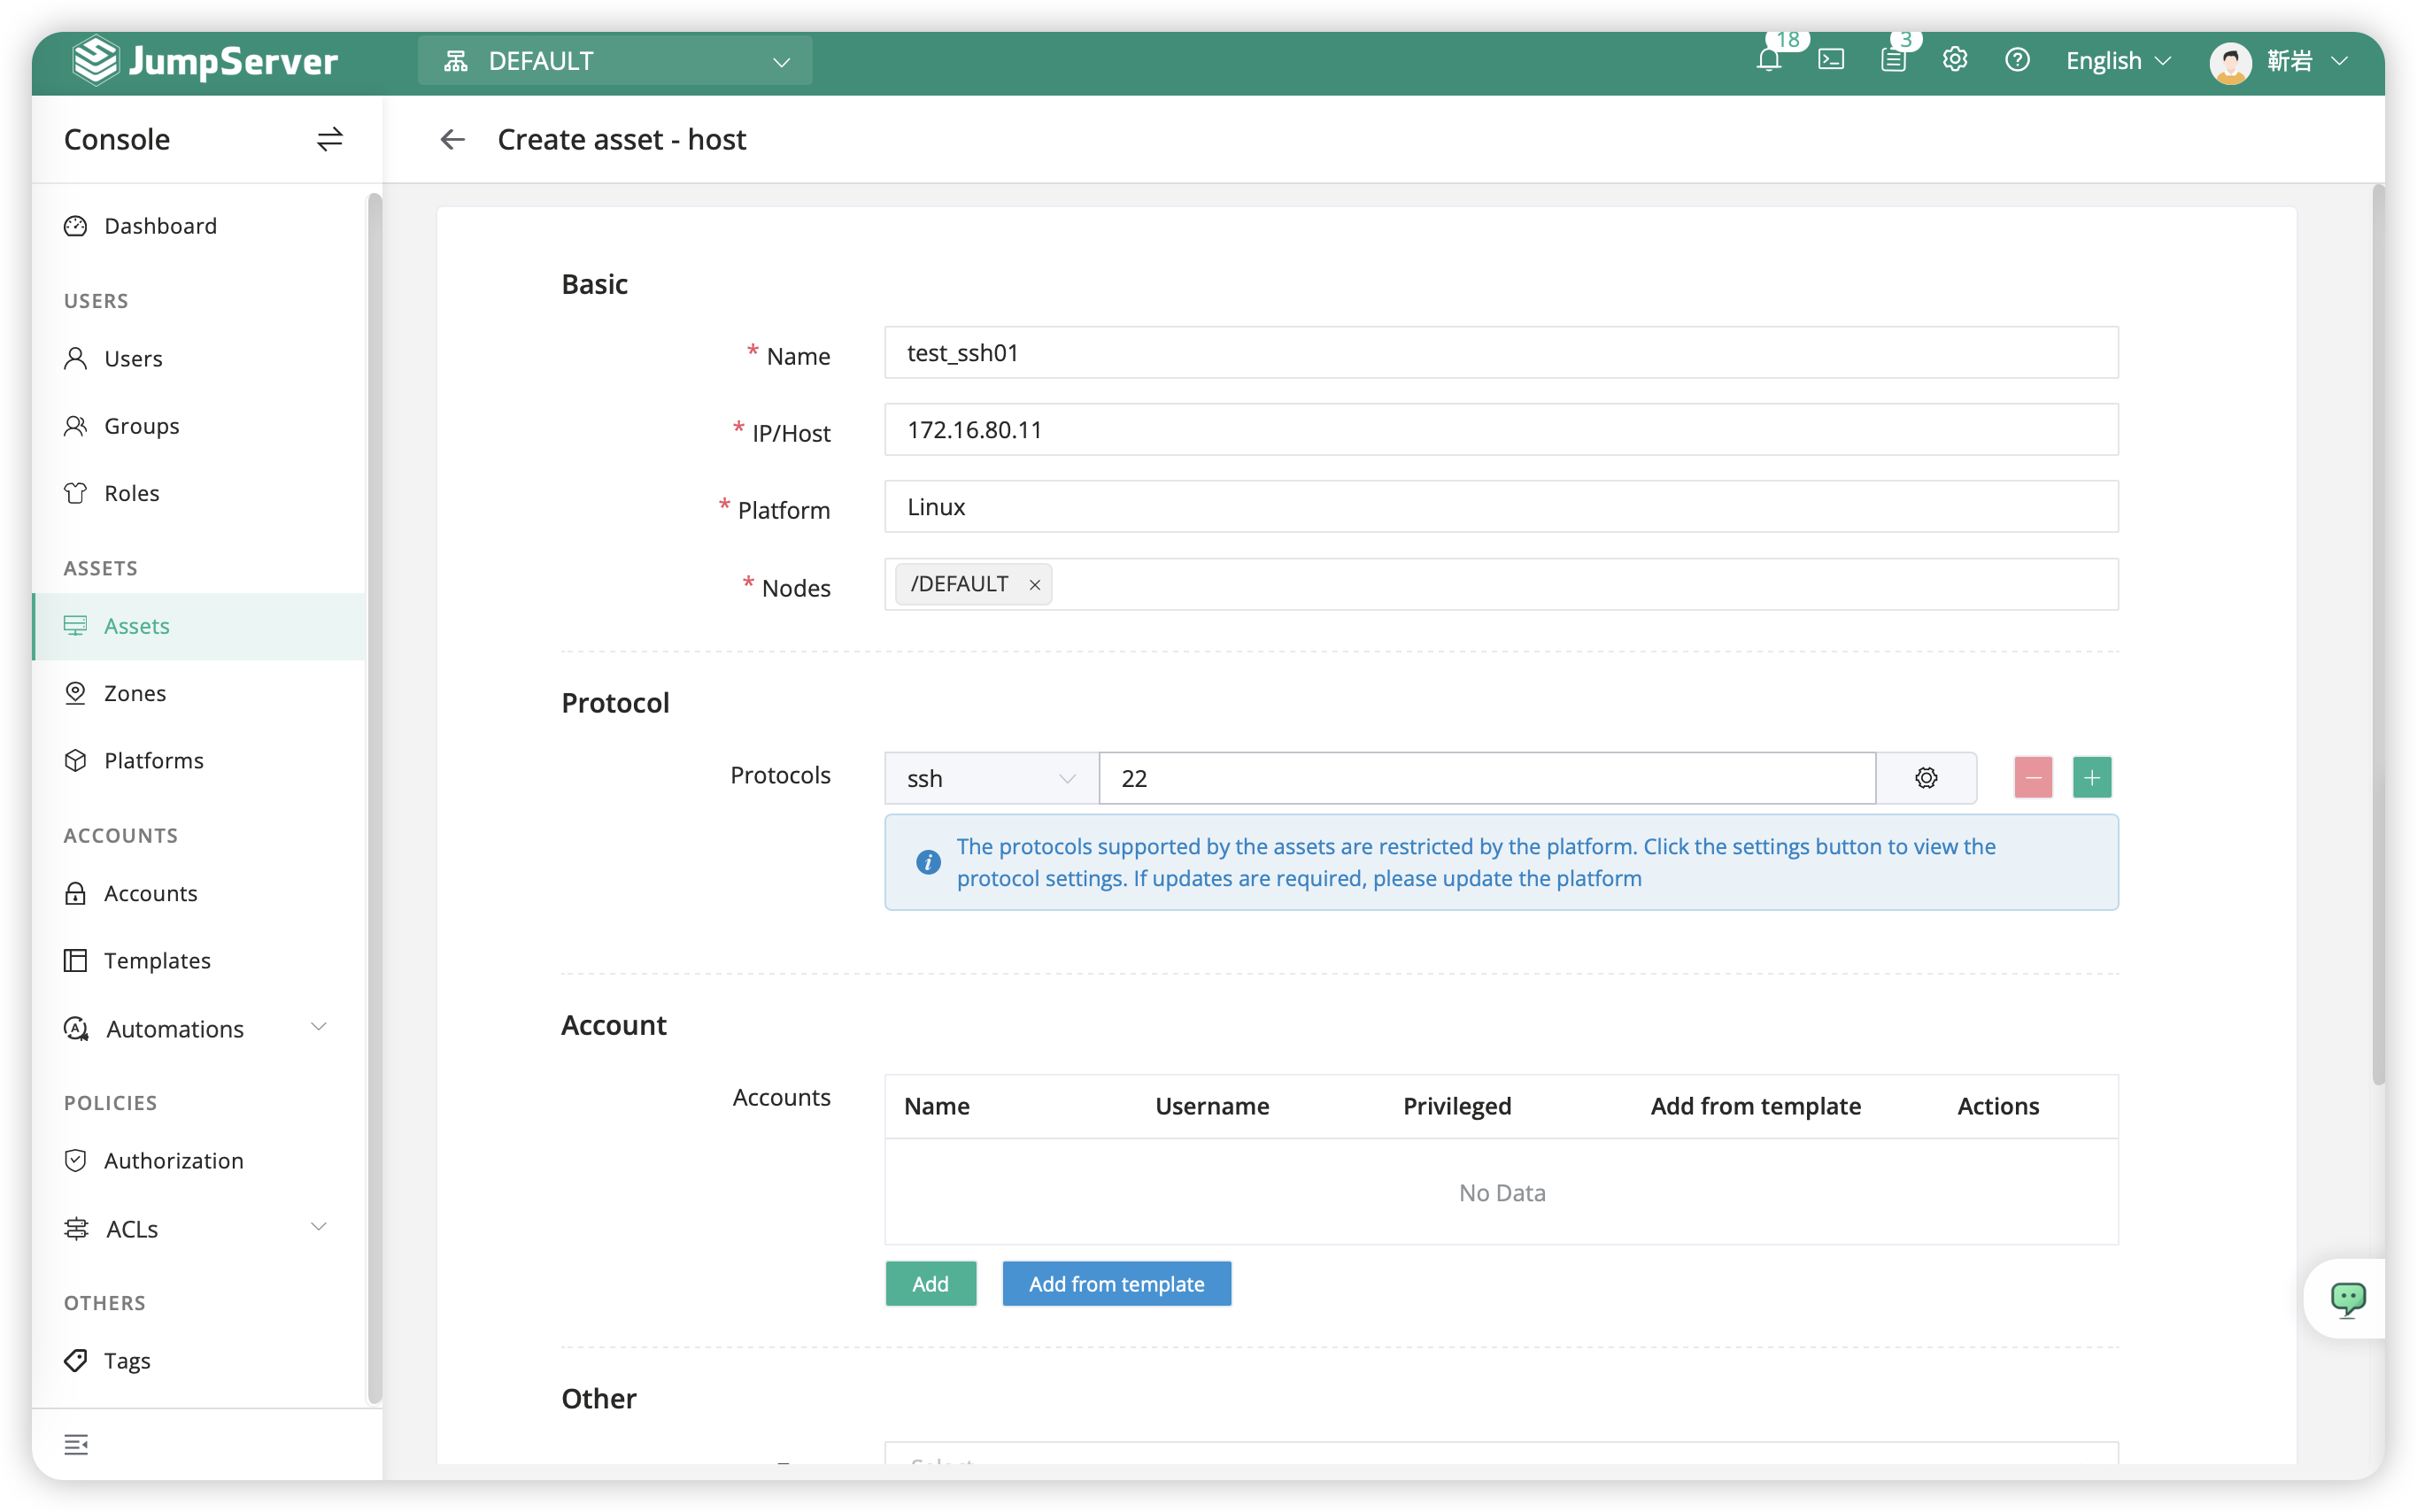
- The pattern of add assets account is as follows:
| Name | User Name | Privileged User | Cipher type | Password |
|---|---|---|---|---|
| 172.16.80.11_root | roo | Yes | Password | Test2020.L |
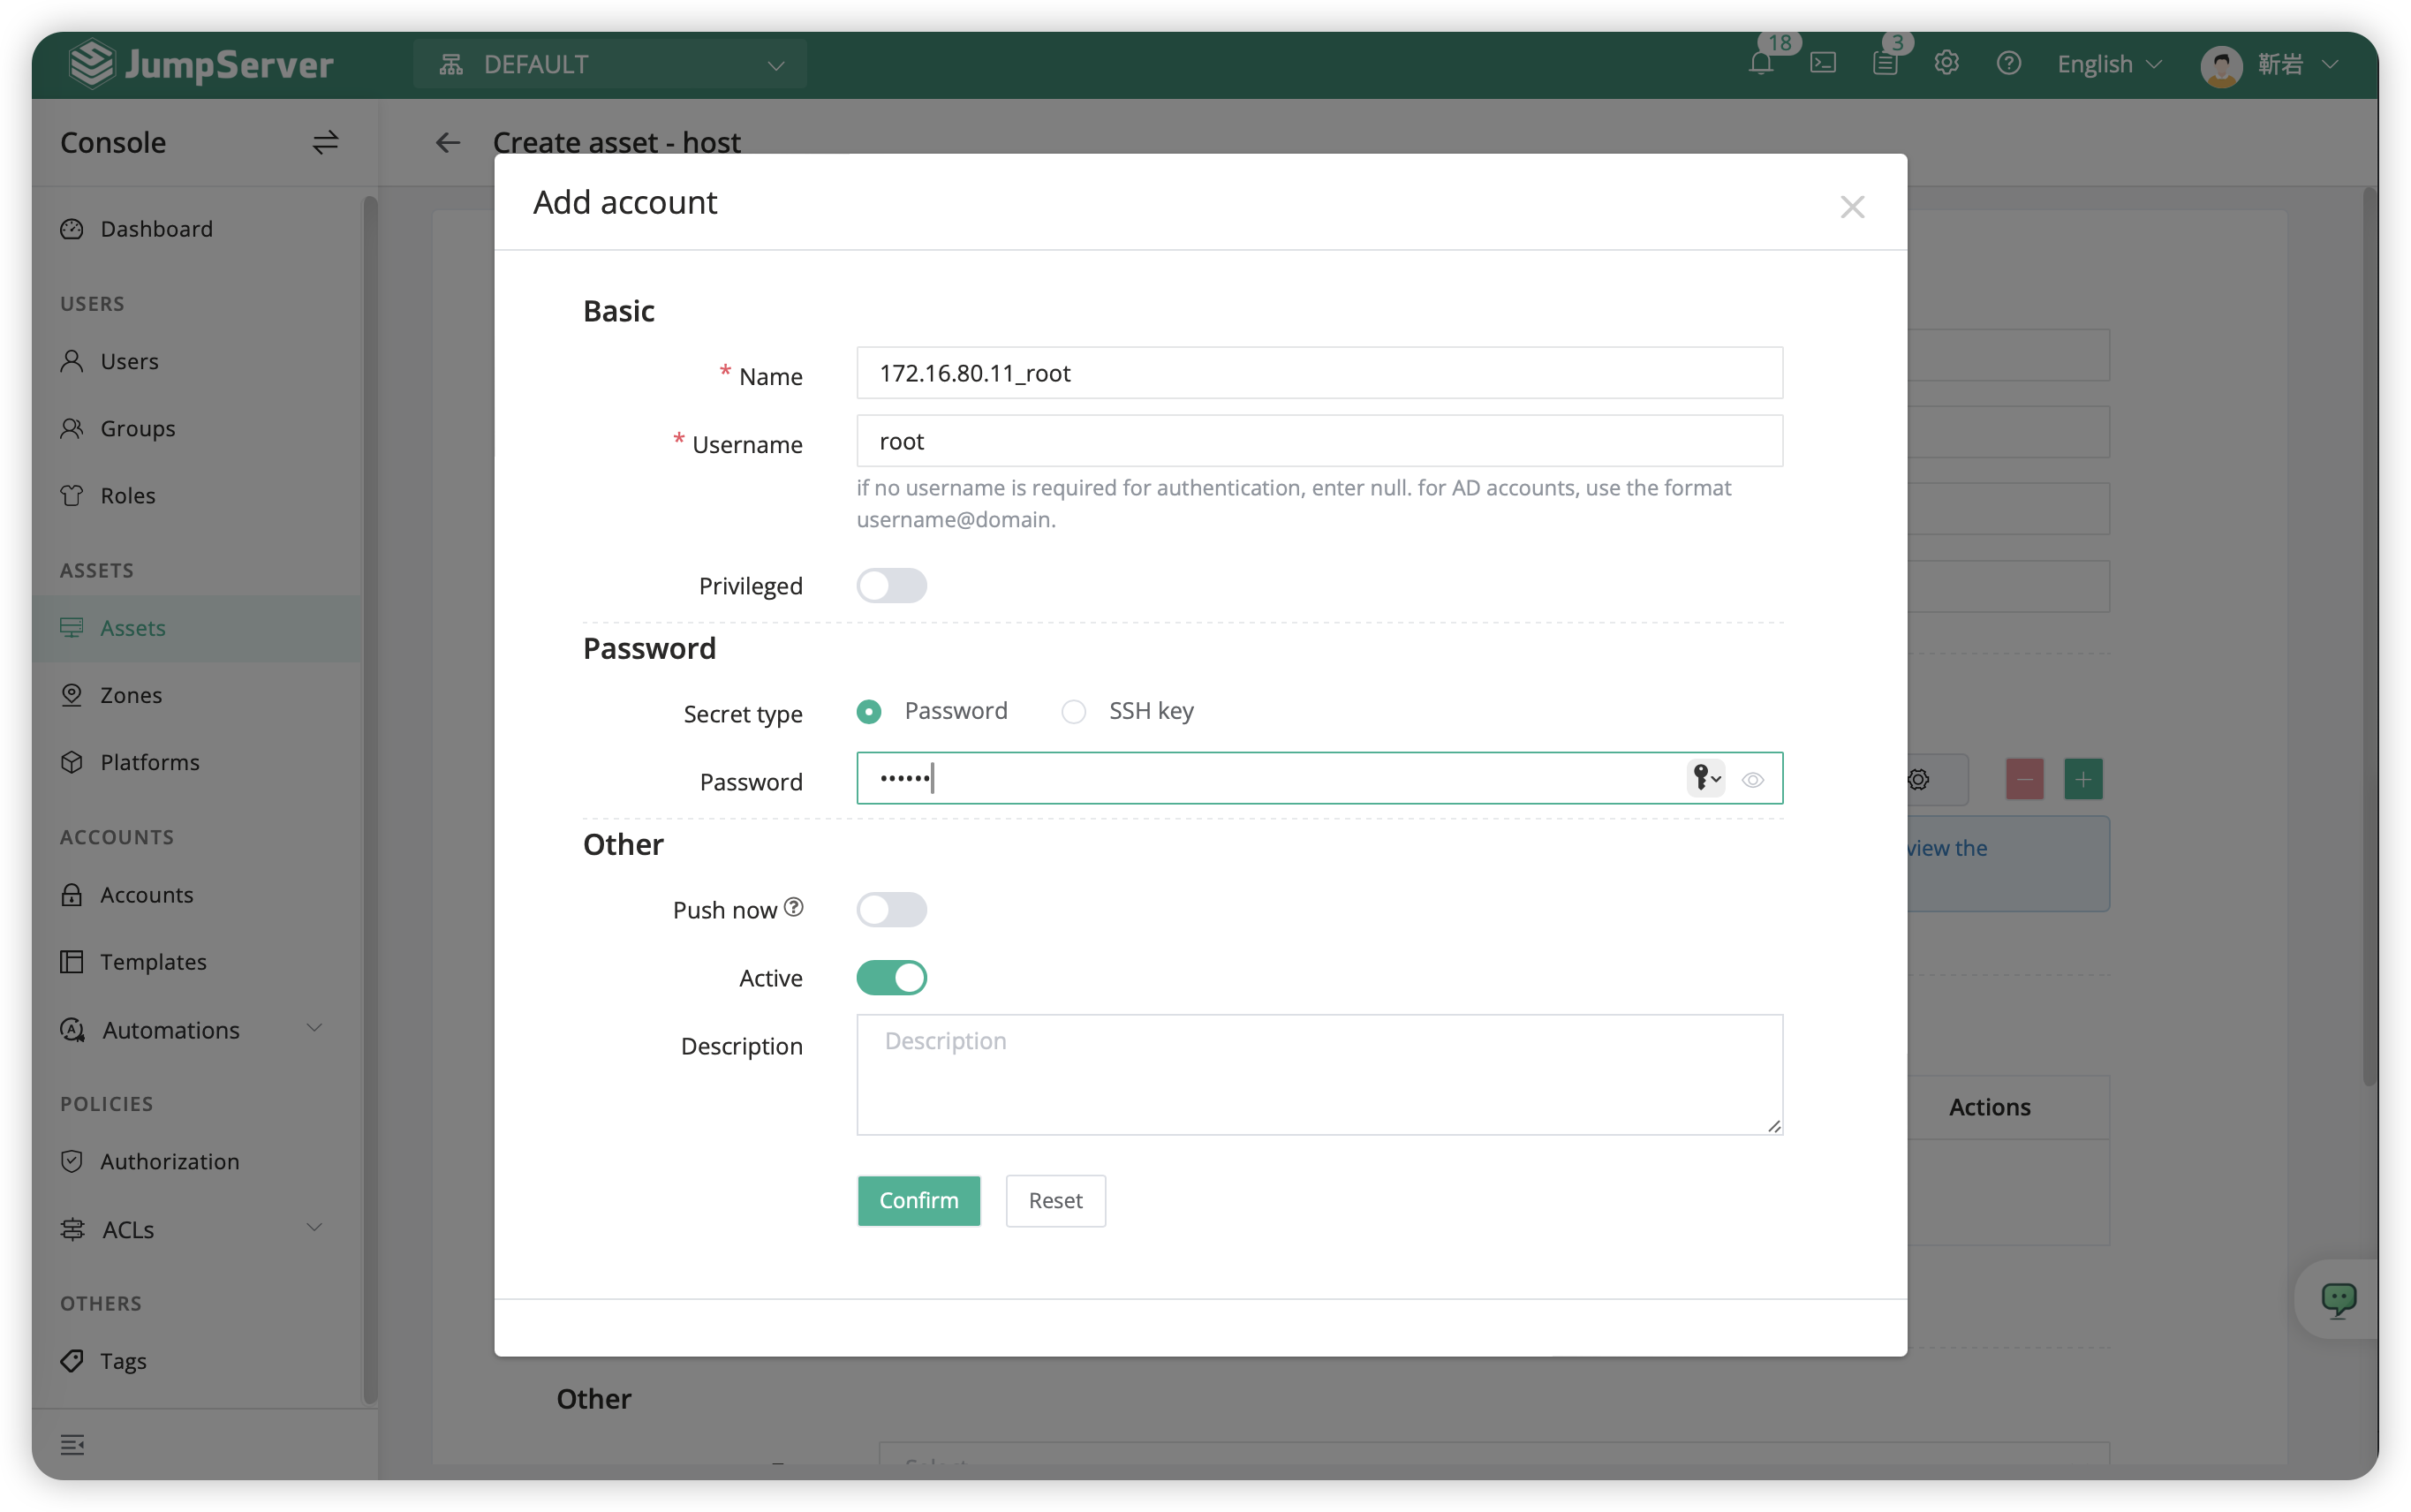
Attention
- The
Namefield cannot be duplicated. You can use eitherPasswordorKeyfor Cipher type, as some assets may not allow authentication via password and can instead use private key authentication. Privileged Usersupports theSSHprotocol only and is used for automated tasks such asConnectivity Testing,User Push, andbatch pssword change.- After filling in the asset creation information and saving it, refresh the webpage after a few seconds. The
sshprotocol assets will display aGreenconnectivity icon, and thehardware informationwill be displayed. - If the
Connectableicon isyelloworred, you can click on the asset'sname, then on the right side, underQuick Edit-Test Connectivity, click theTestbutton, and handle according to the error prompt. - The connected Linux assets require the
pythoncomponent, with a version greater than or equal to2.6. By default, assets likeUbuntudo not allow remoteSSHlogin for therootuser, so please handle it accordingly. - For
Windowsassets, theOpenSSH Serverneeds to be installed manually。 - If the asset cannot be connected properly, please check if the
usernameandpasswordof the privileged user are correct, and also verify if thisPrivileged usercan successfully login to the asset host from the JumpServer host usingSSH.
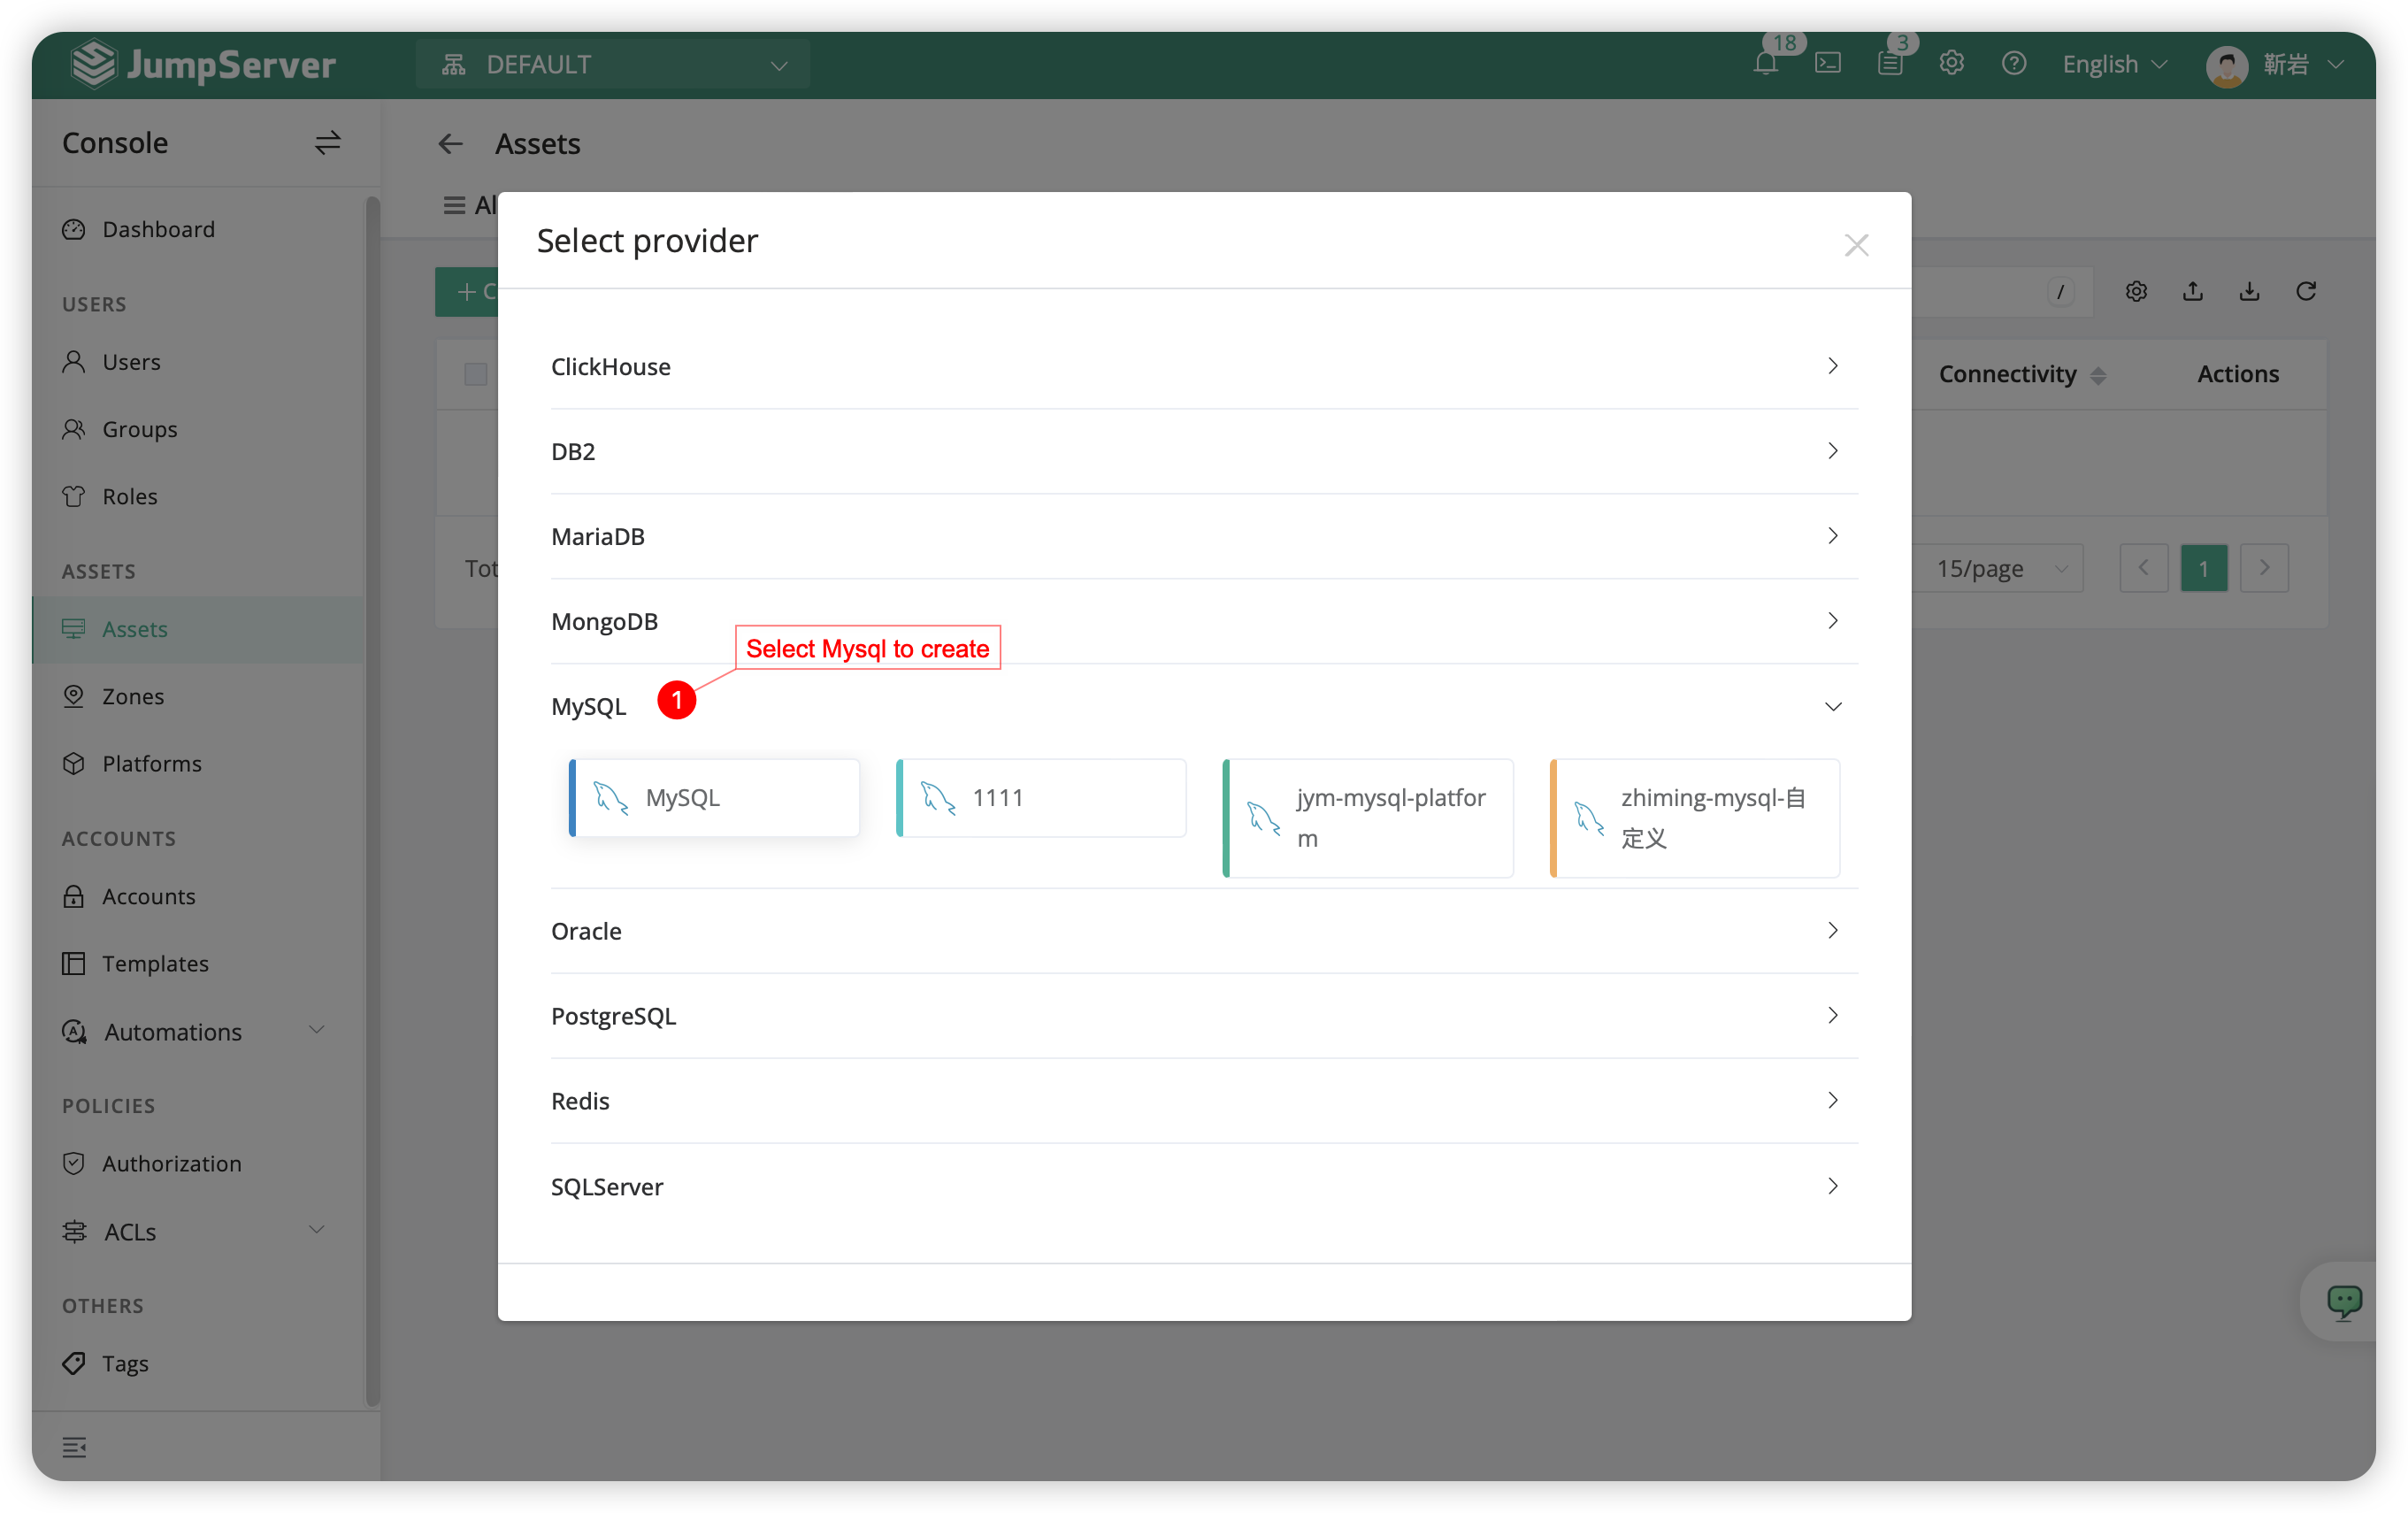
2.4 Create application for Database⚓︎
- Click on
Assets-Asset list-Create-Databaseand select mysql.
- The pattern of MySQL application is as following:
| Name | IP address | Node | Database | Protocol Group | Account list |
|---|---|---|---|---|---|
| test_mysql01 | 172.16.80.31 | /Default/DB | test | mysql:3306 | add |
- The pattern of add user for logging into Database is as following:
| Name | User | Privileged User | Cipher type | Password |
|---|---|---|---|---|
| 172.16.80.23_root | root | root | Password | Test2020.M |

Attention
- The fields "Name", "Host", and "Database" options are mandatory.
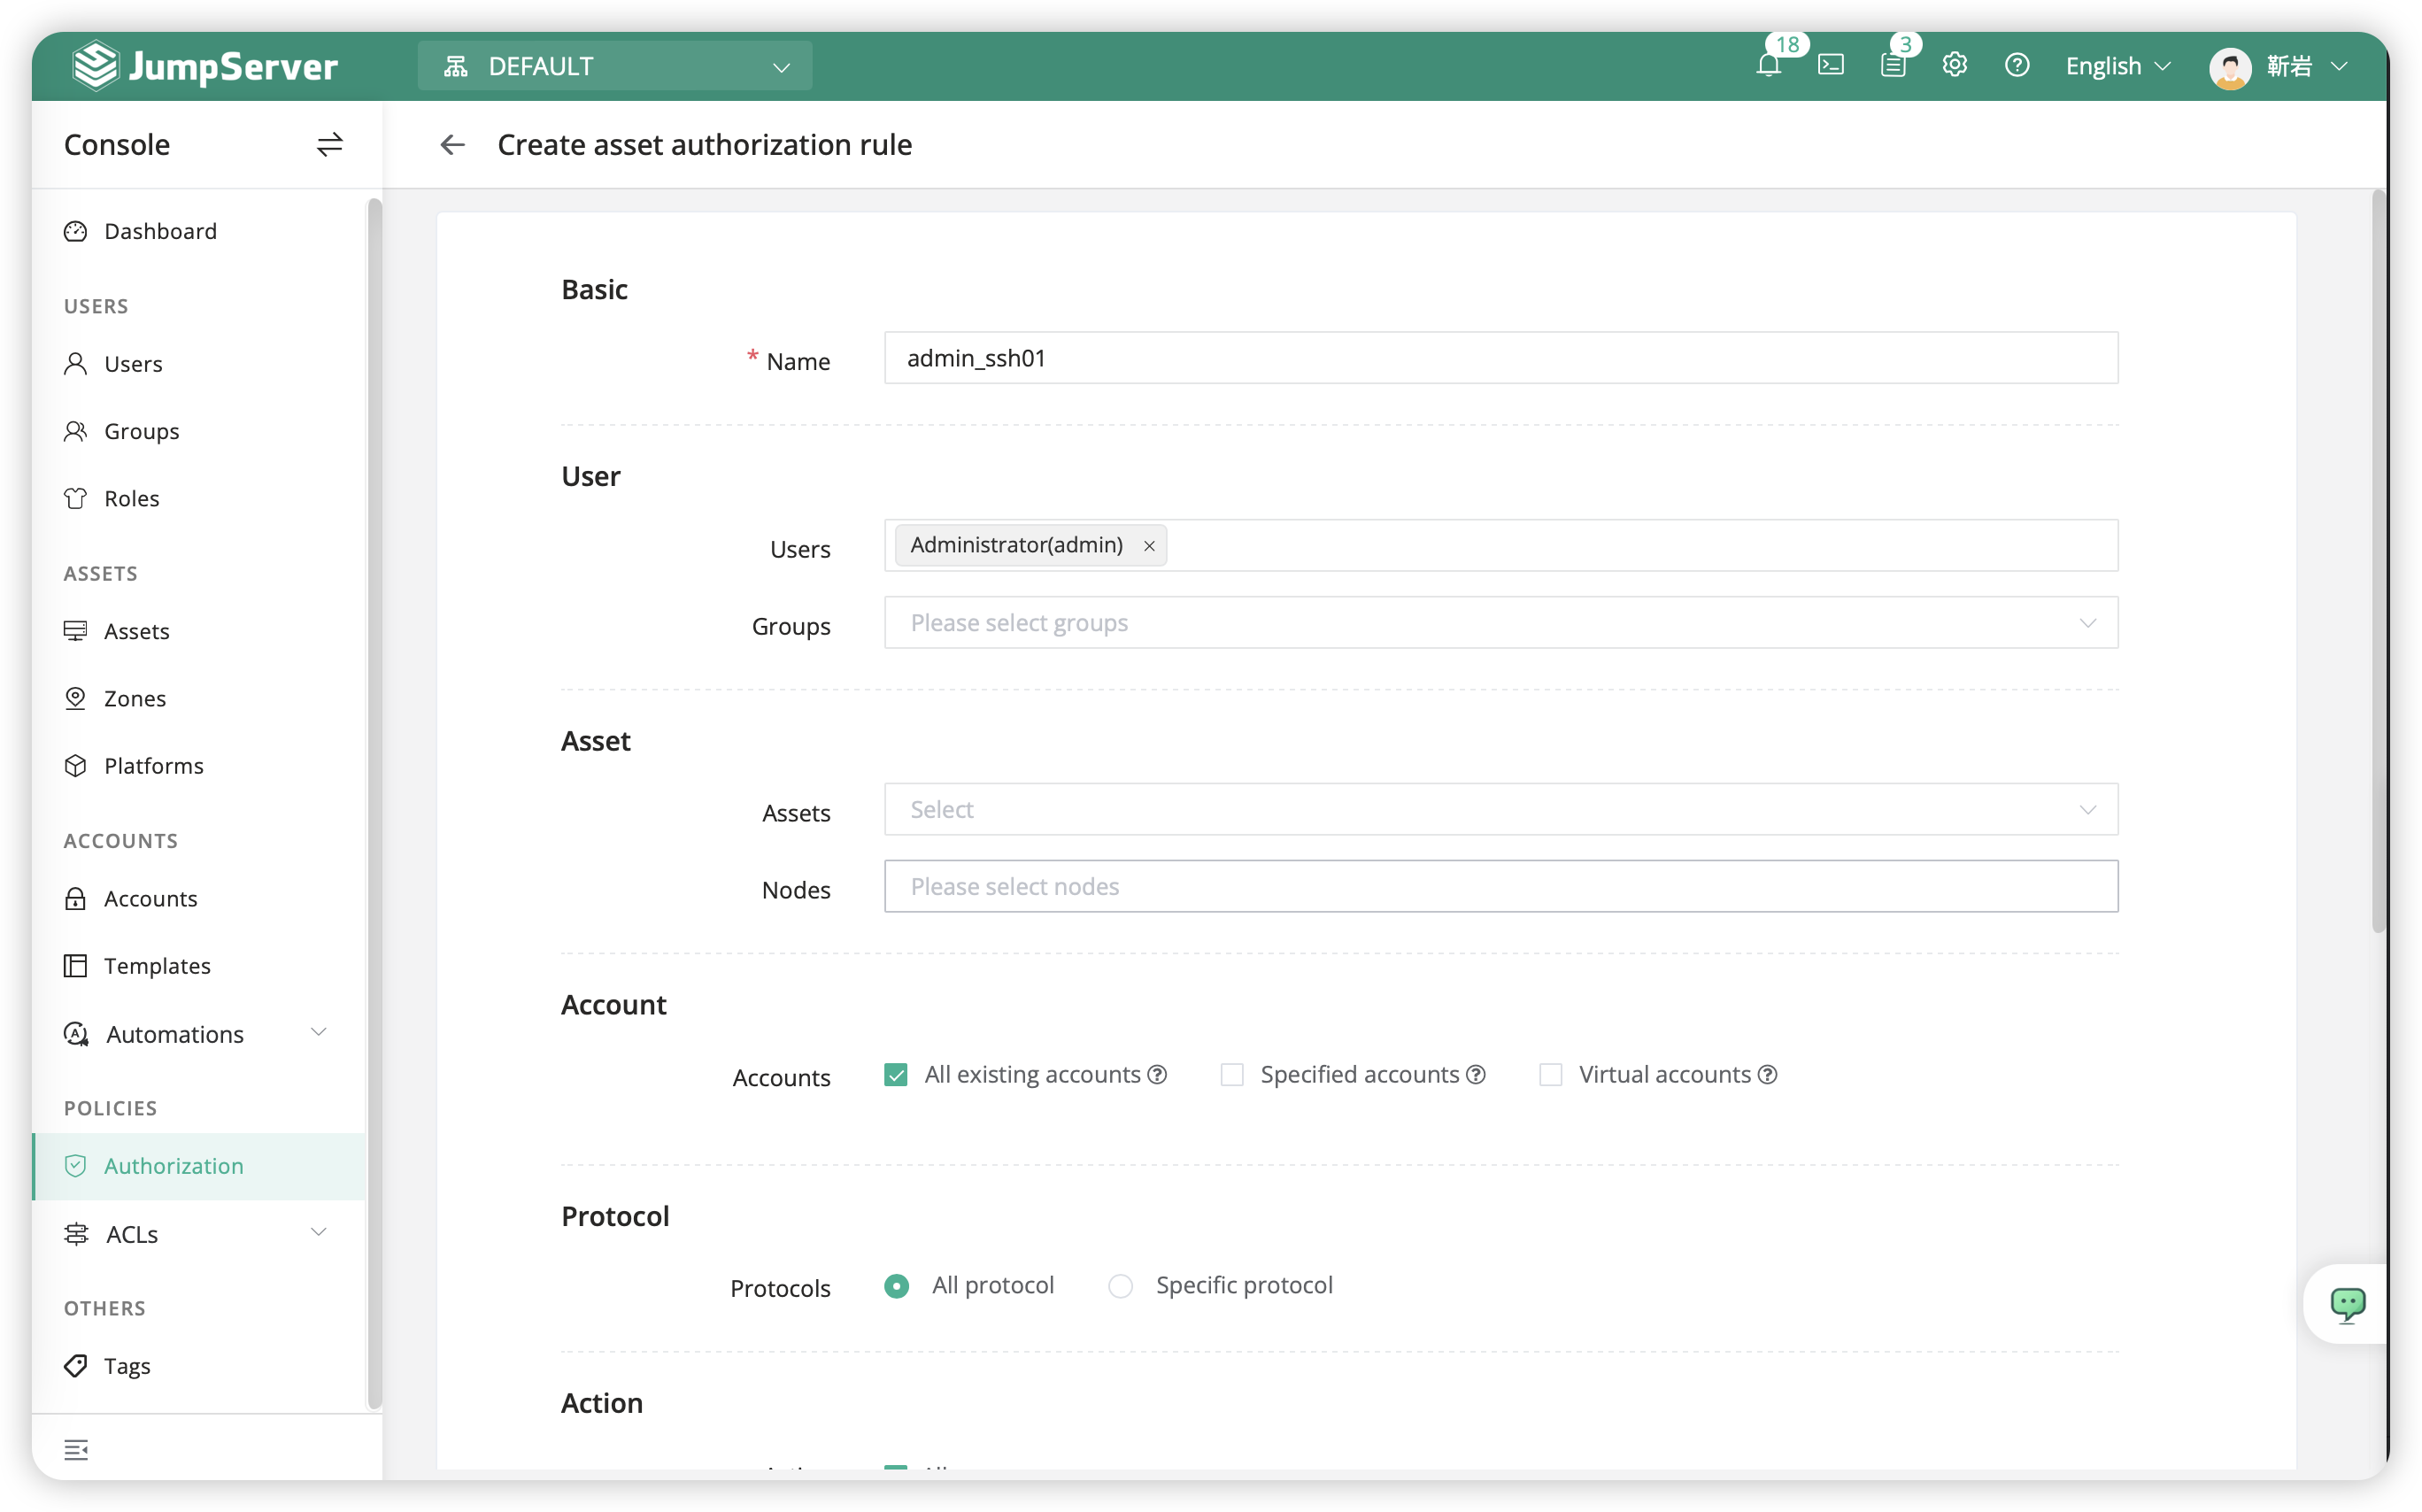
3 Authorization Management⚓︎
-The authorization rules for assets determine which protocols users can use, which accounts can access which assets
- Click on
Authorization-Createand create an authorization rule. - The authorization process for Windows assets and MySQL databases is the same as the following steps.
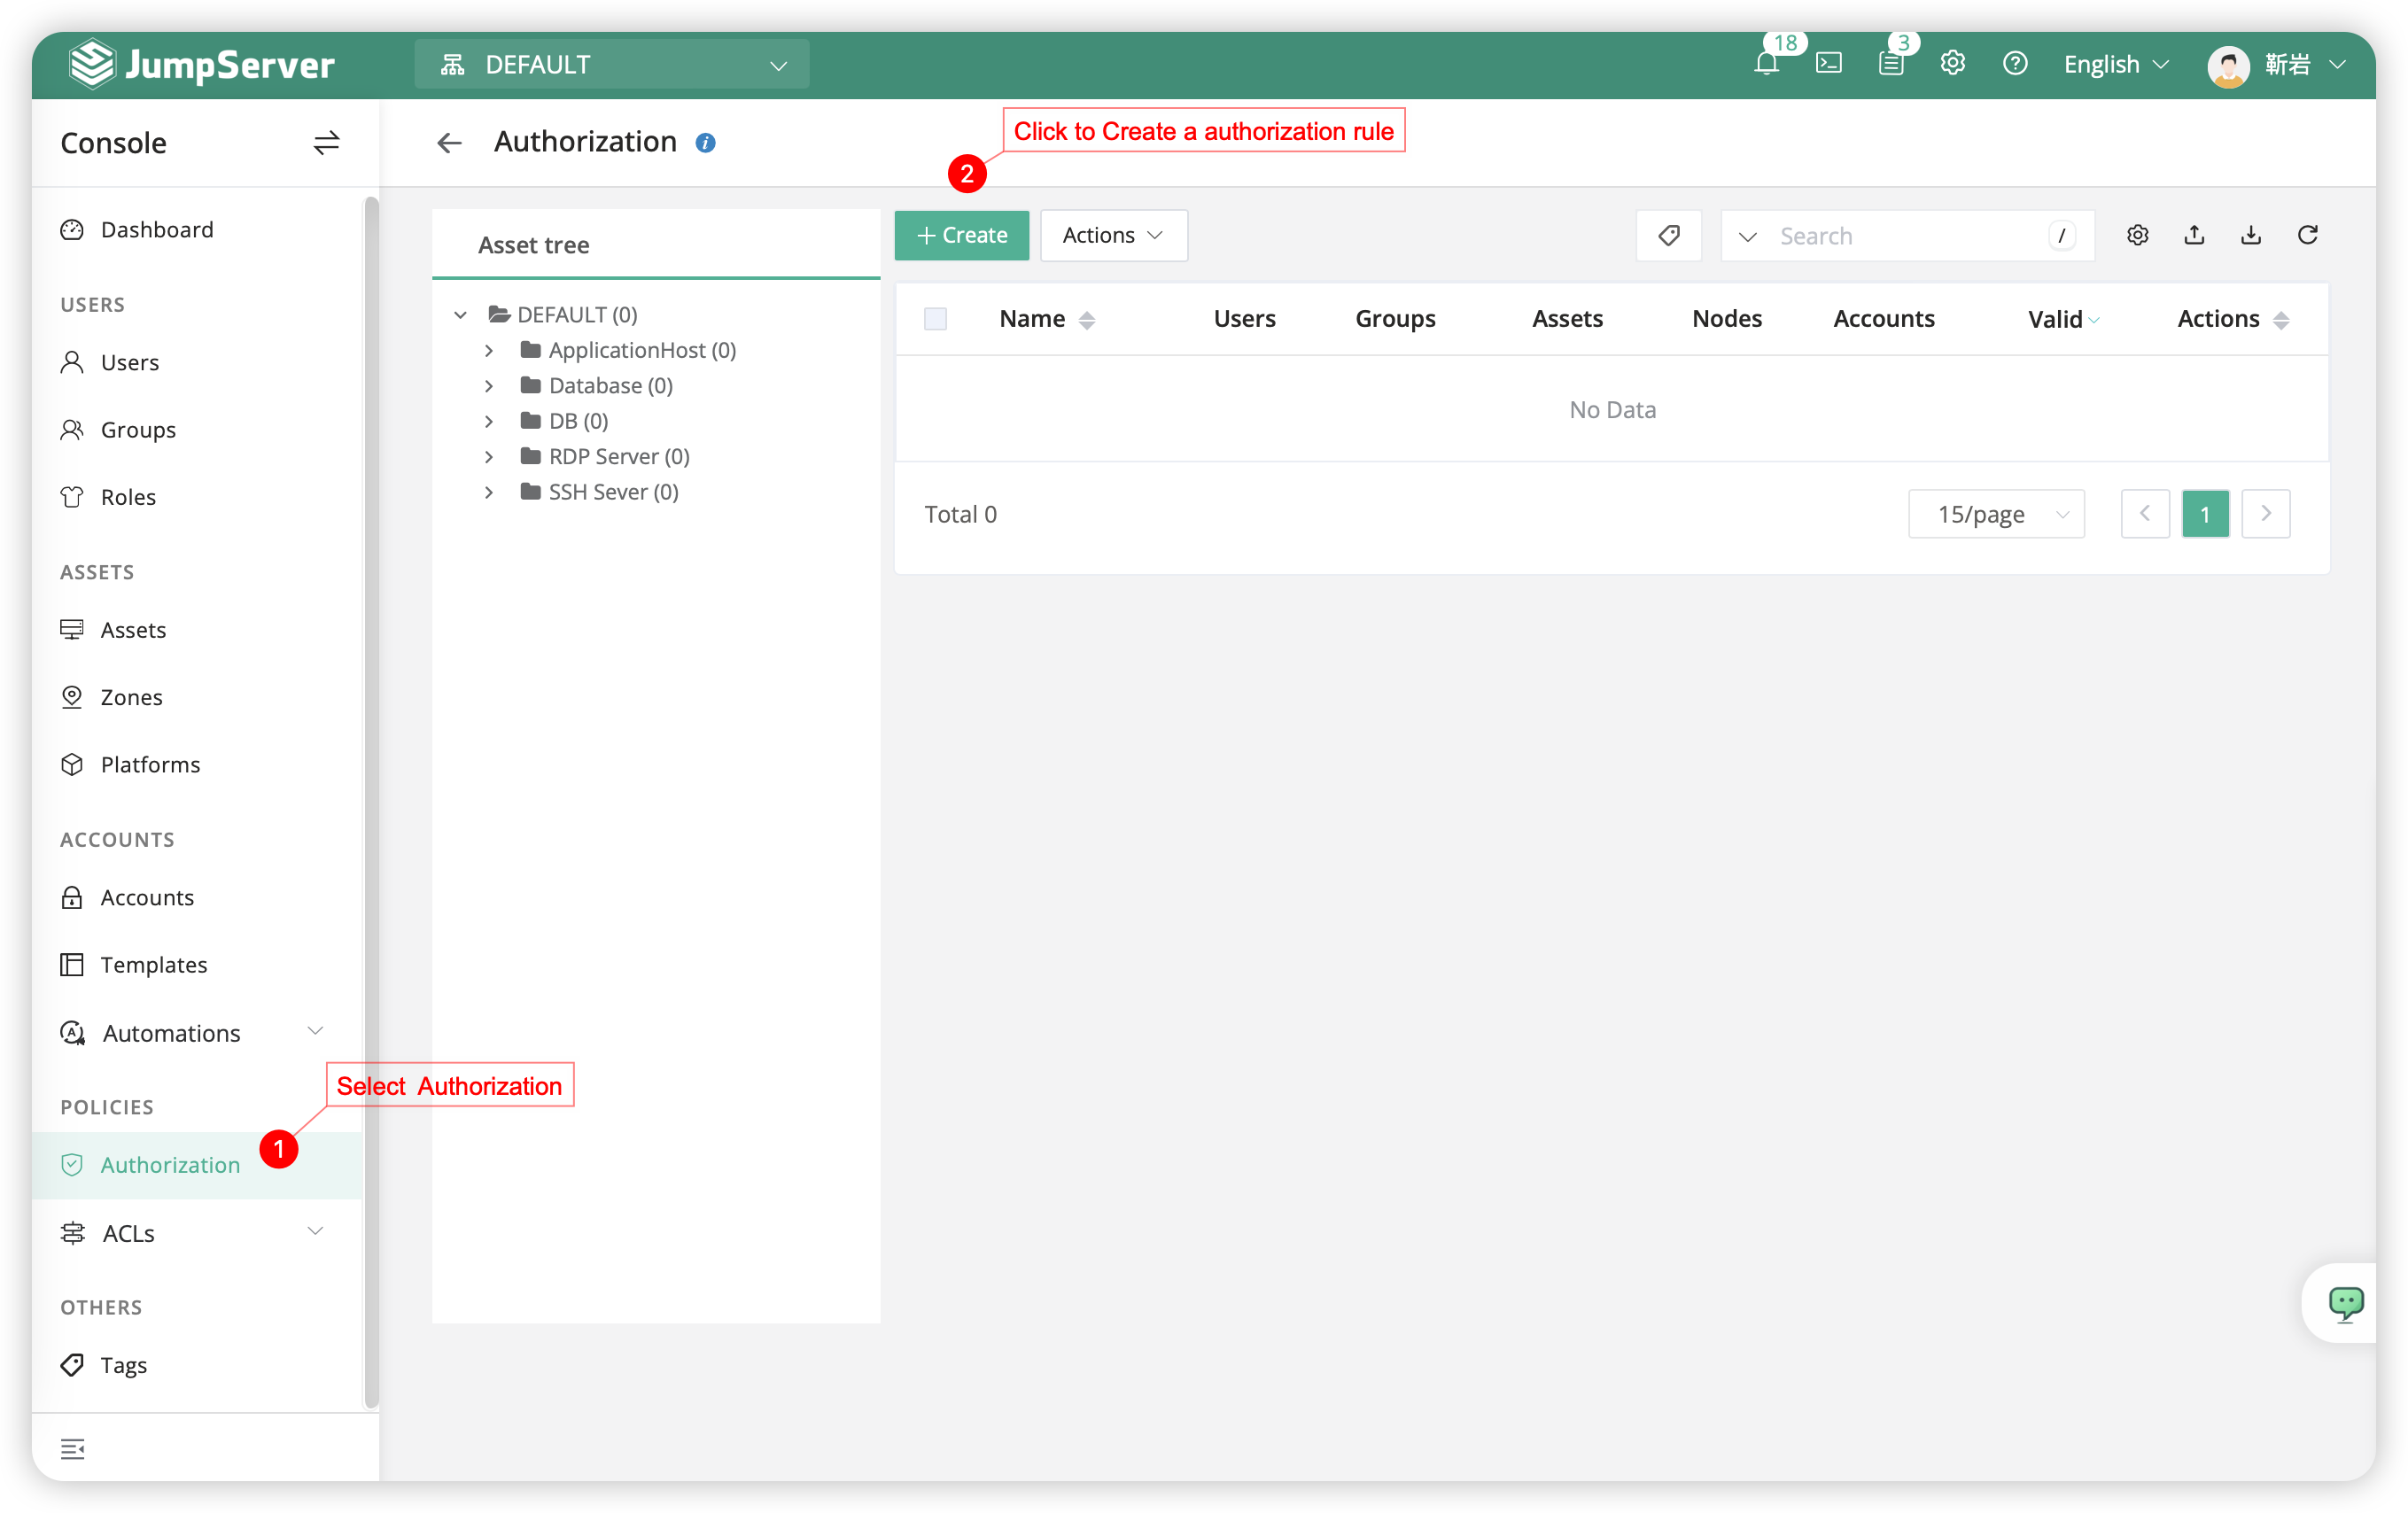
- The pattern of create authorization rules for user longin is as following:
| Name | User | User Group | Asset | Node | Account | Action |
|---|---|---|---|---|---|---|
| admin_ssh01 | Administrator(admin) | - | test_ssh01(172.16.80.11) | - | All acounts | all |
Attention
Name,The name of the authorization, it must be unique and cannot be repeated.UserandUser Group, Choose one of the two options, it is not recommended to select bothUserandUser Groupsimultaneously.AssetandnodeChoose one of the two options,SelectNodewill include allassstsunder the node.Account,TheAccountserves as theauthentication Credentialfor accessing the asset.User(Group),Asset(node)It's a one-to-one relationship, so when you have different types of assets such asLinuxandWindows, you should createauthorization rulesseparately forLinuxassets andWindowsassets.
4 Assets access⚓︎
- The Web Terminal page is primarily used for asset connections. Clicking the
button on the Workspace page or the icon in the upper-right corner will both redirect you to the Web Terminal page, where you can initiate asset access.
- In 'Web Terminal' user can access the assets that authorized.
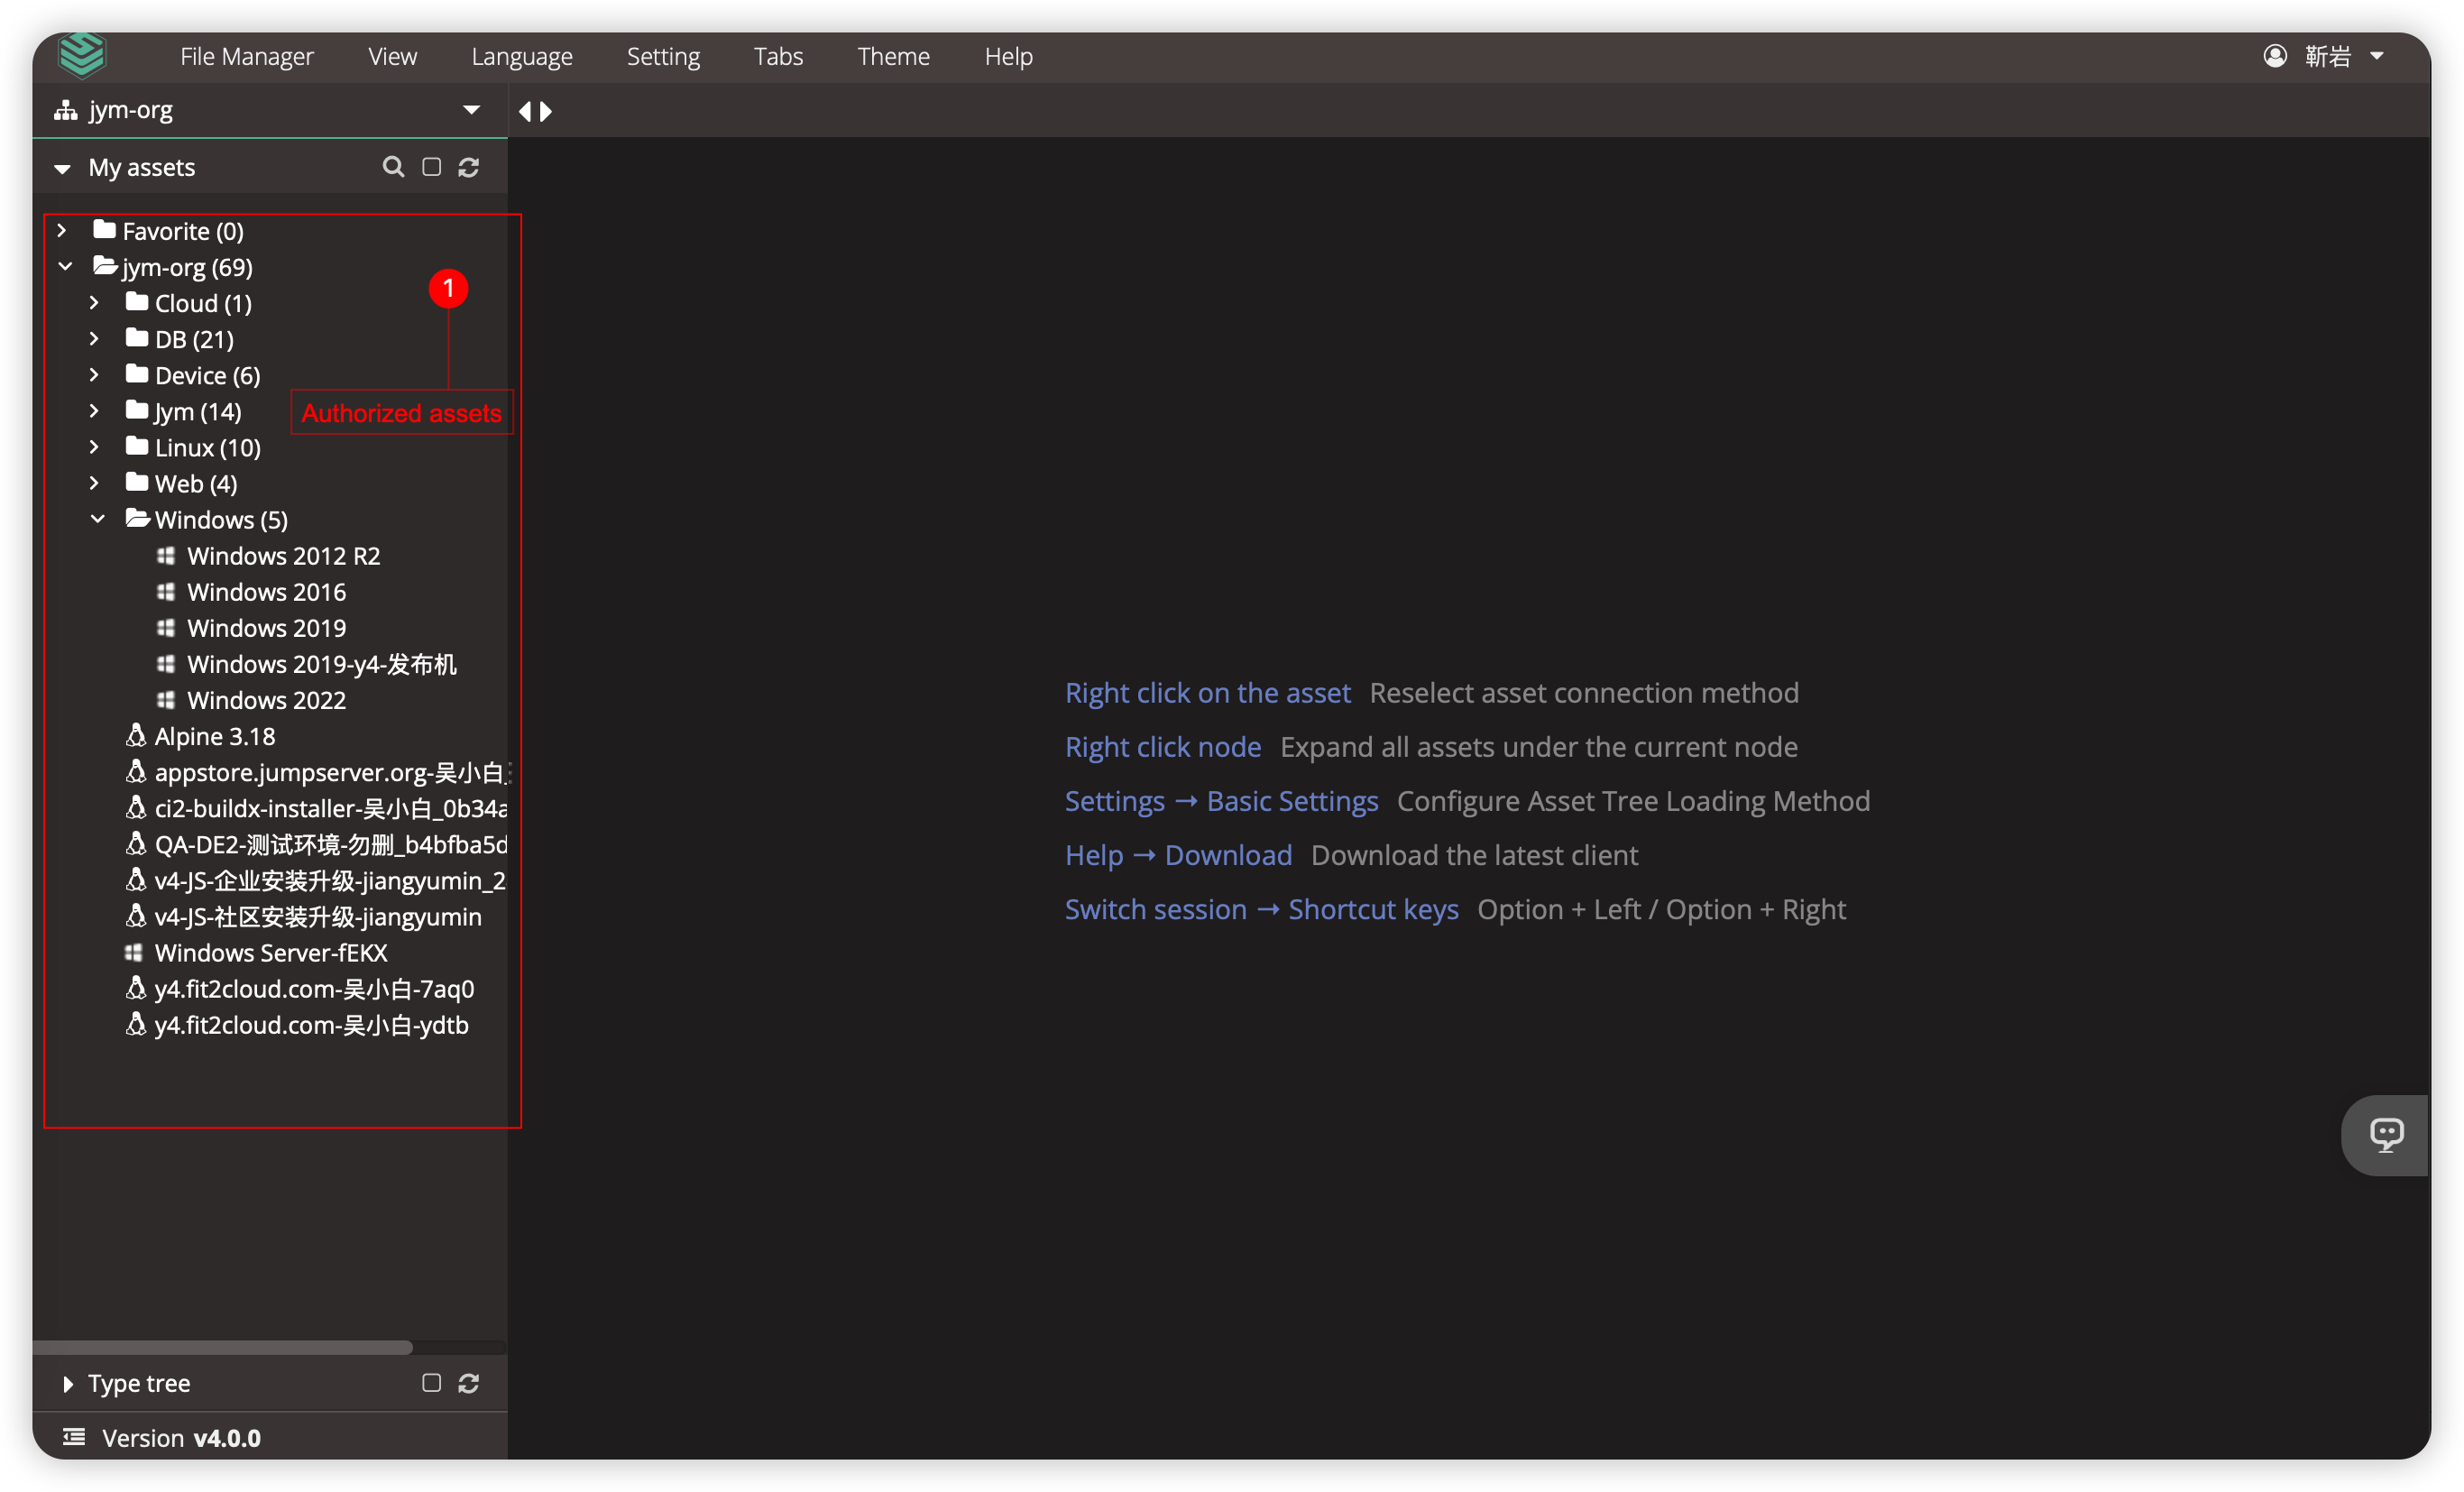
- Select protocol and account for connecting.⚓︎

Attention
- Users can only see assets that have been authorized. If you cannot access any
assetsauthorized after login, please contact the system administrator for confirmation.
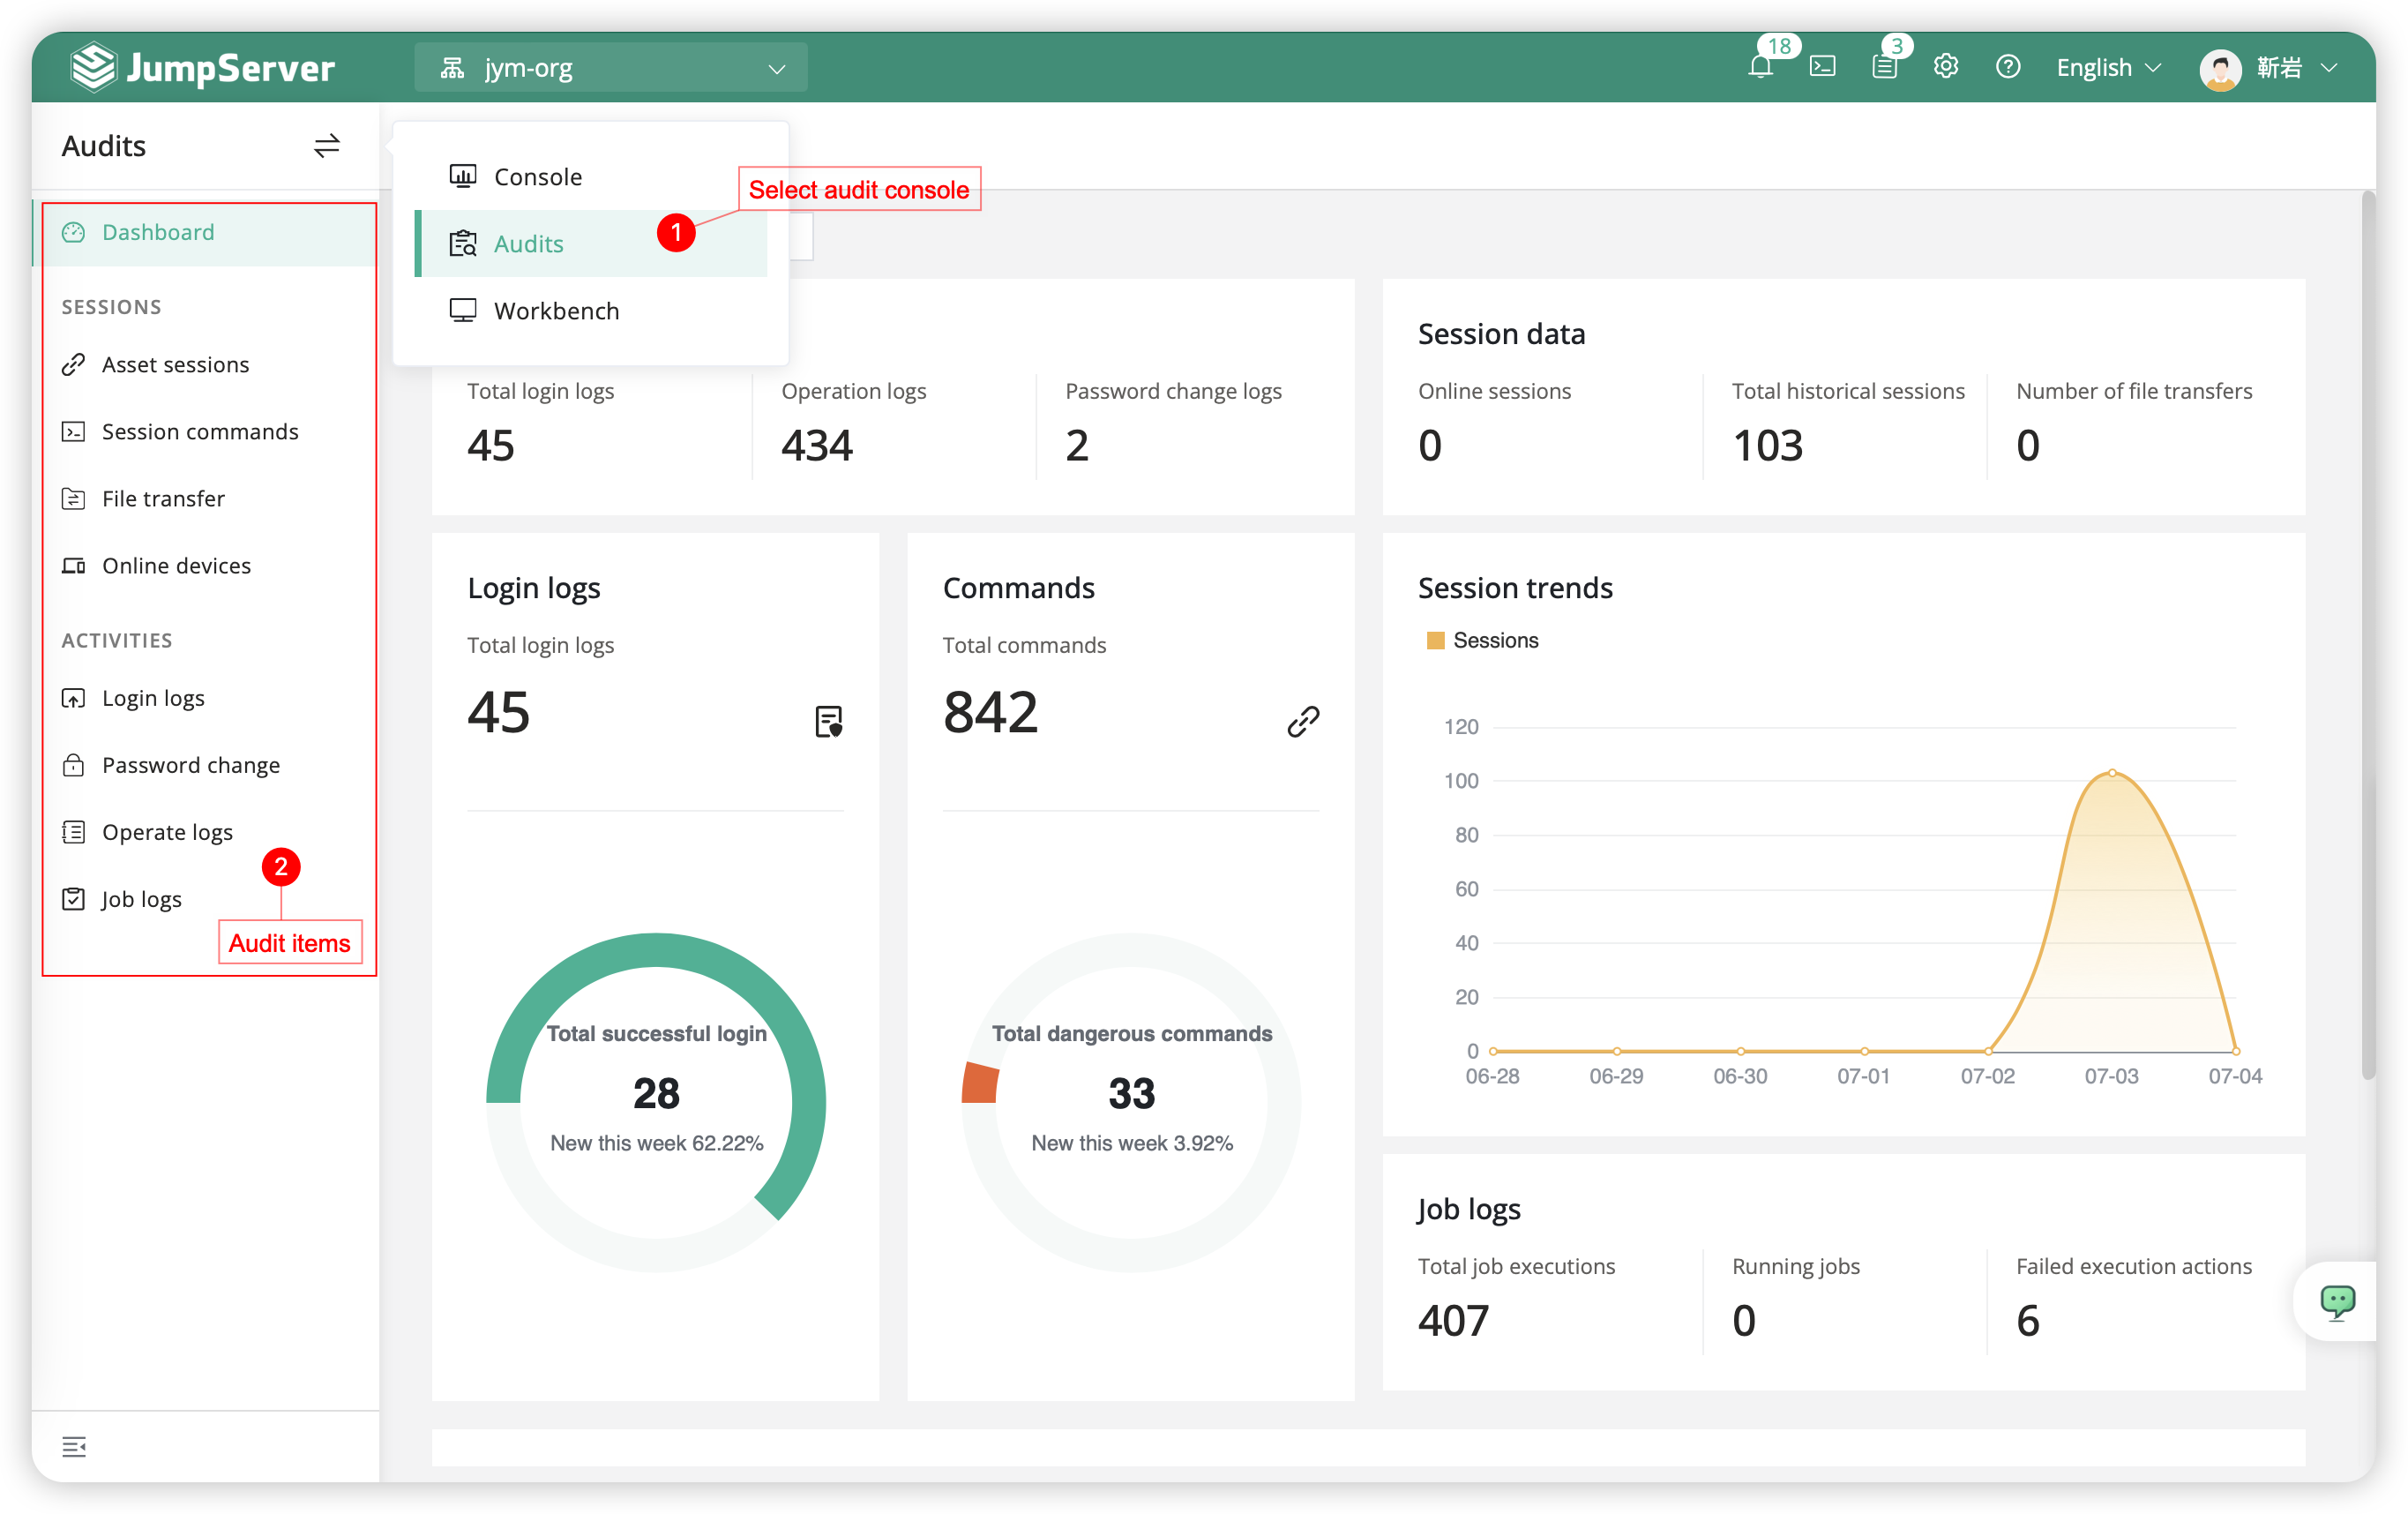
5 Audit Console⚓︎
The Audit Console is primarily designed for auditors and is divided into two main sections: Sessions Auditing, and Activities Auditing. The sessions section focuses on users' sessions. It is geared towards auditing session logs generated when connecting to JumpServer assets. Activities Auditing primarily deals with the others operation in JumpServer platform, including login logs, operation logs, password change,and jobs log.
Attention
- The initial Audit Console page appears as shown below, allowing users to view detailed logs for the current organization. The Dashboard page provides insights into log counts, session counts, session login trends, user login trends, and more.
- JumpServer supports exporting the images from the Dashboard page (such as login log distribution, session trends, user login trends, etc.) as pictures for easy saving. Simply right-click on a blank area of the page and select the
option.
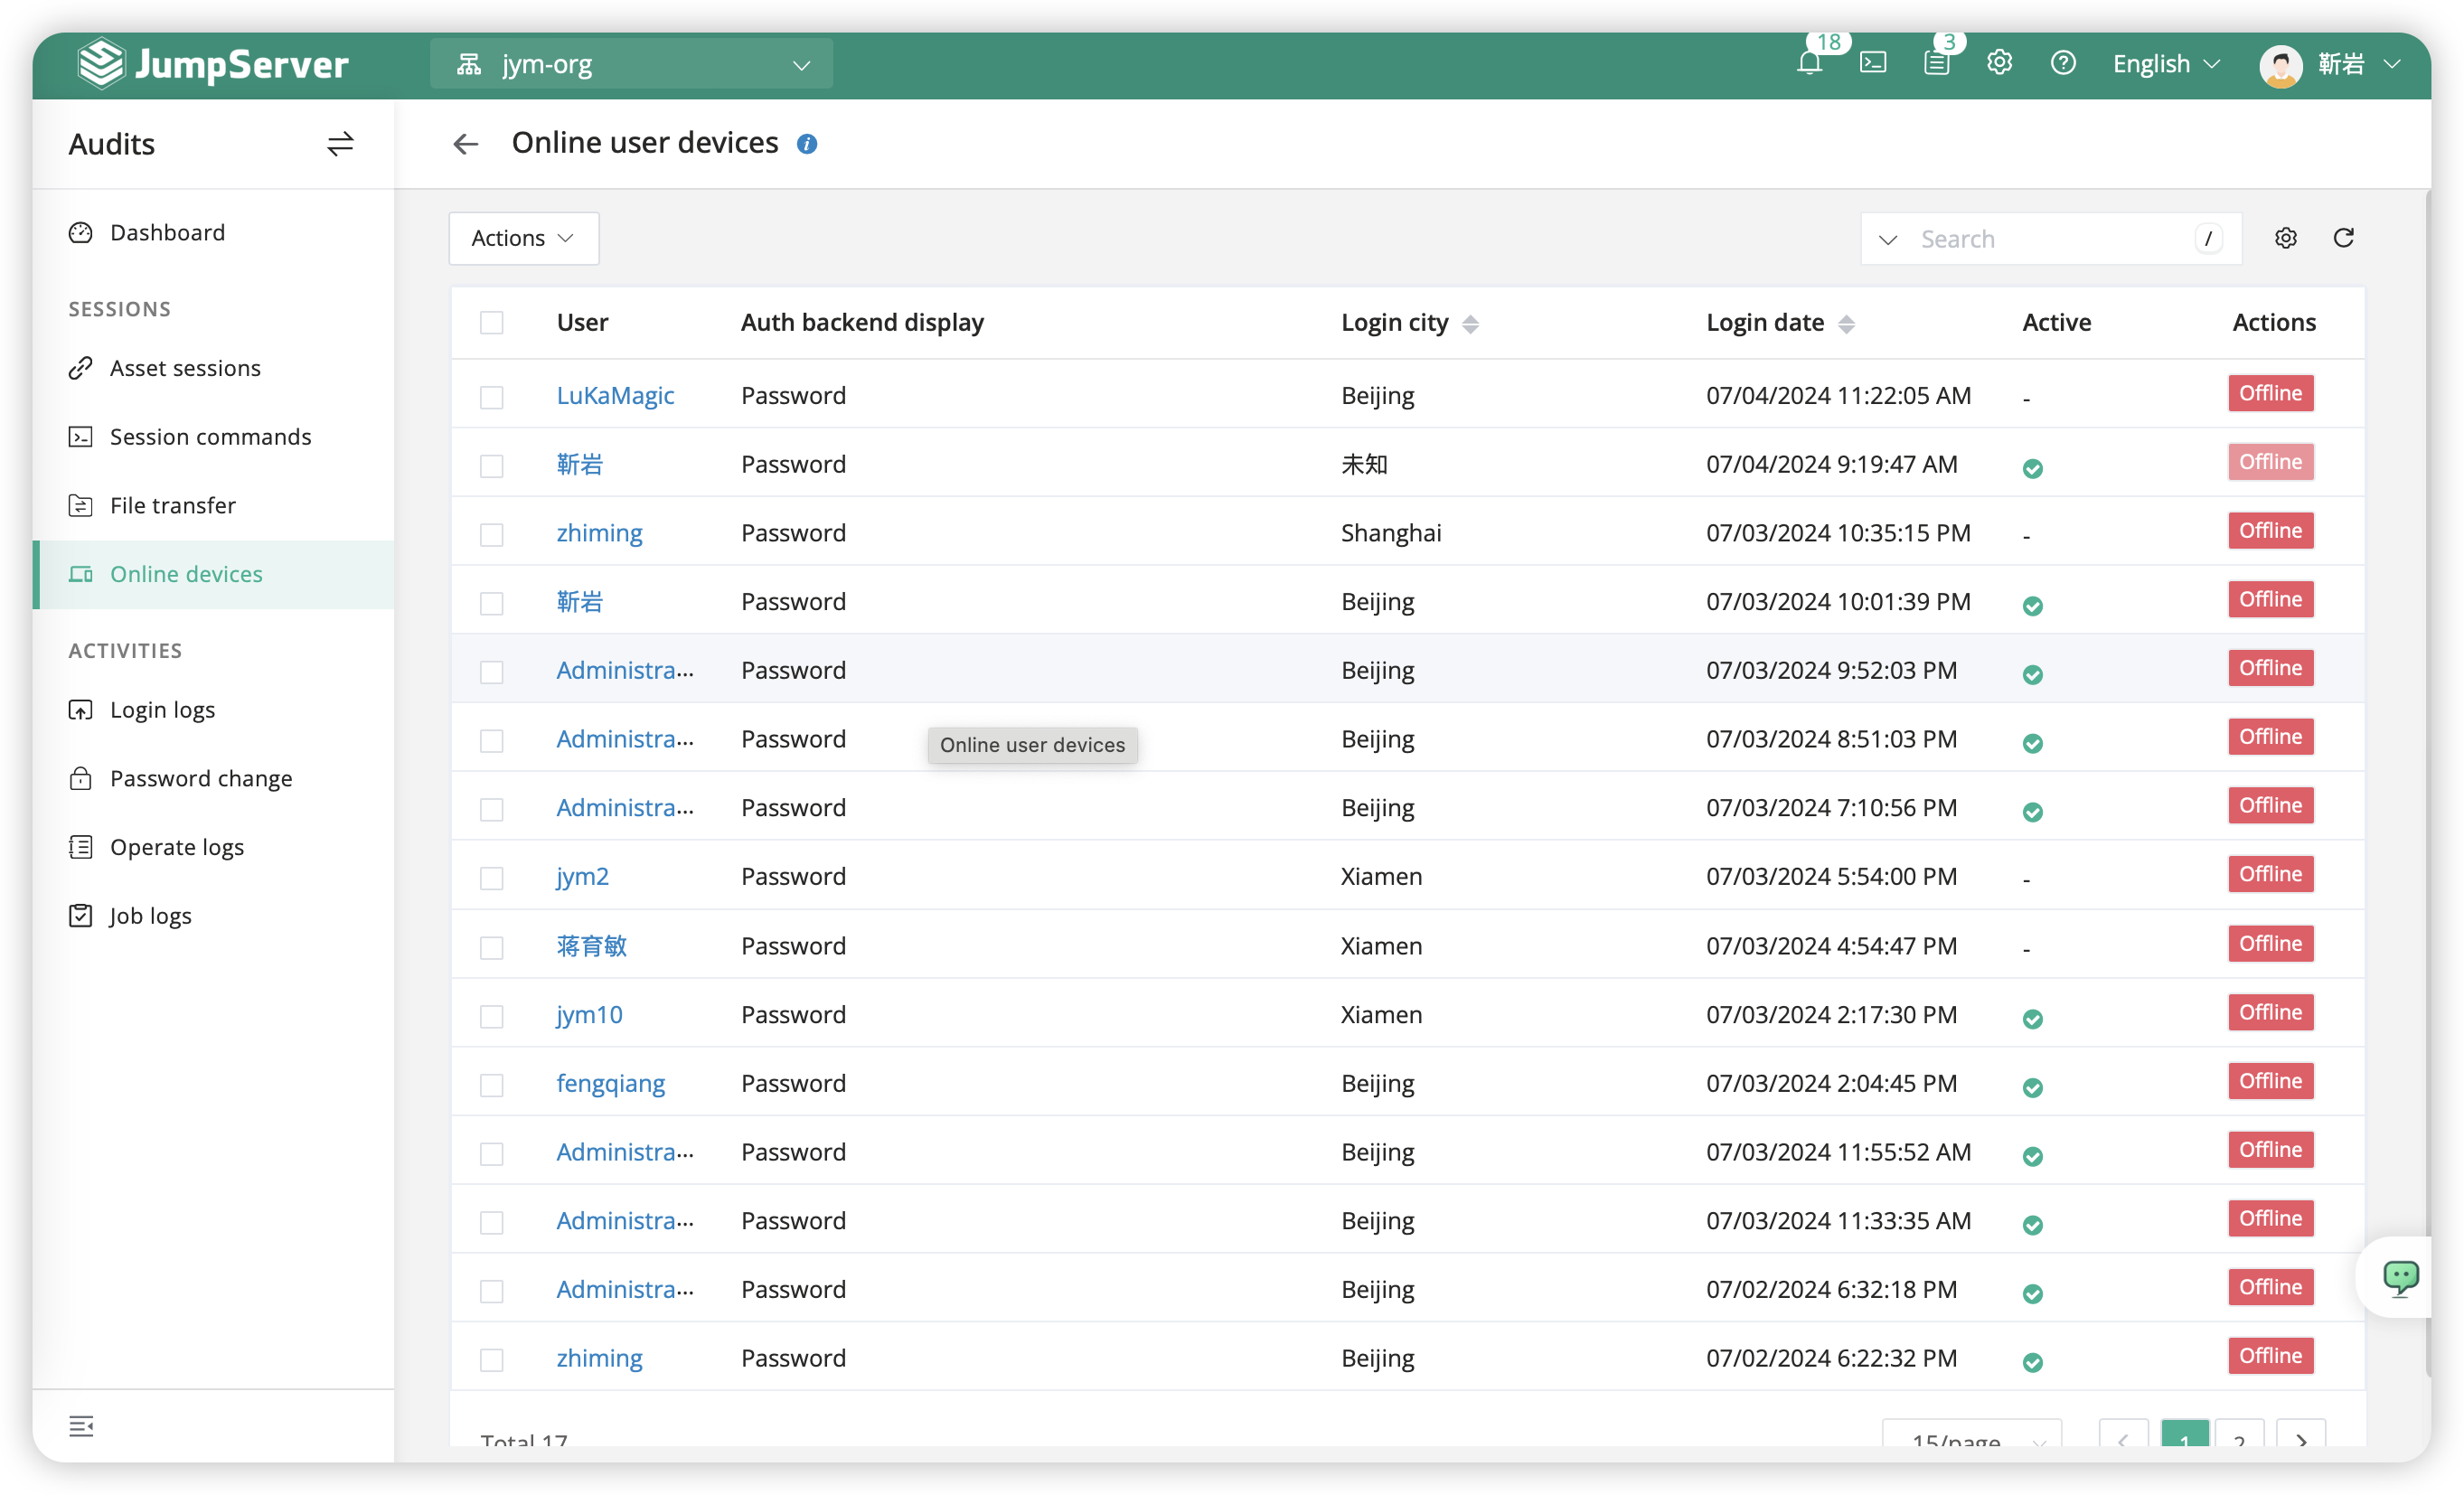
5.1 Online Users⚓︎
The Online Users page allows you to view information about users currently logged into the JumpServer system (currently only users logged in via the web), and you can also control user logouts from this page.
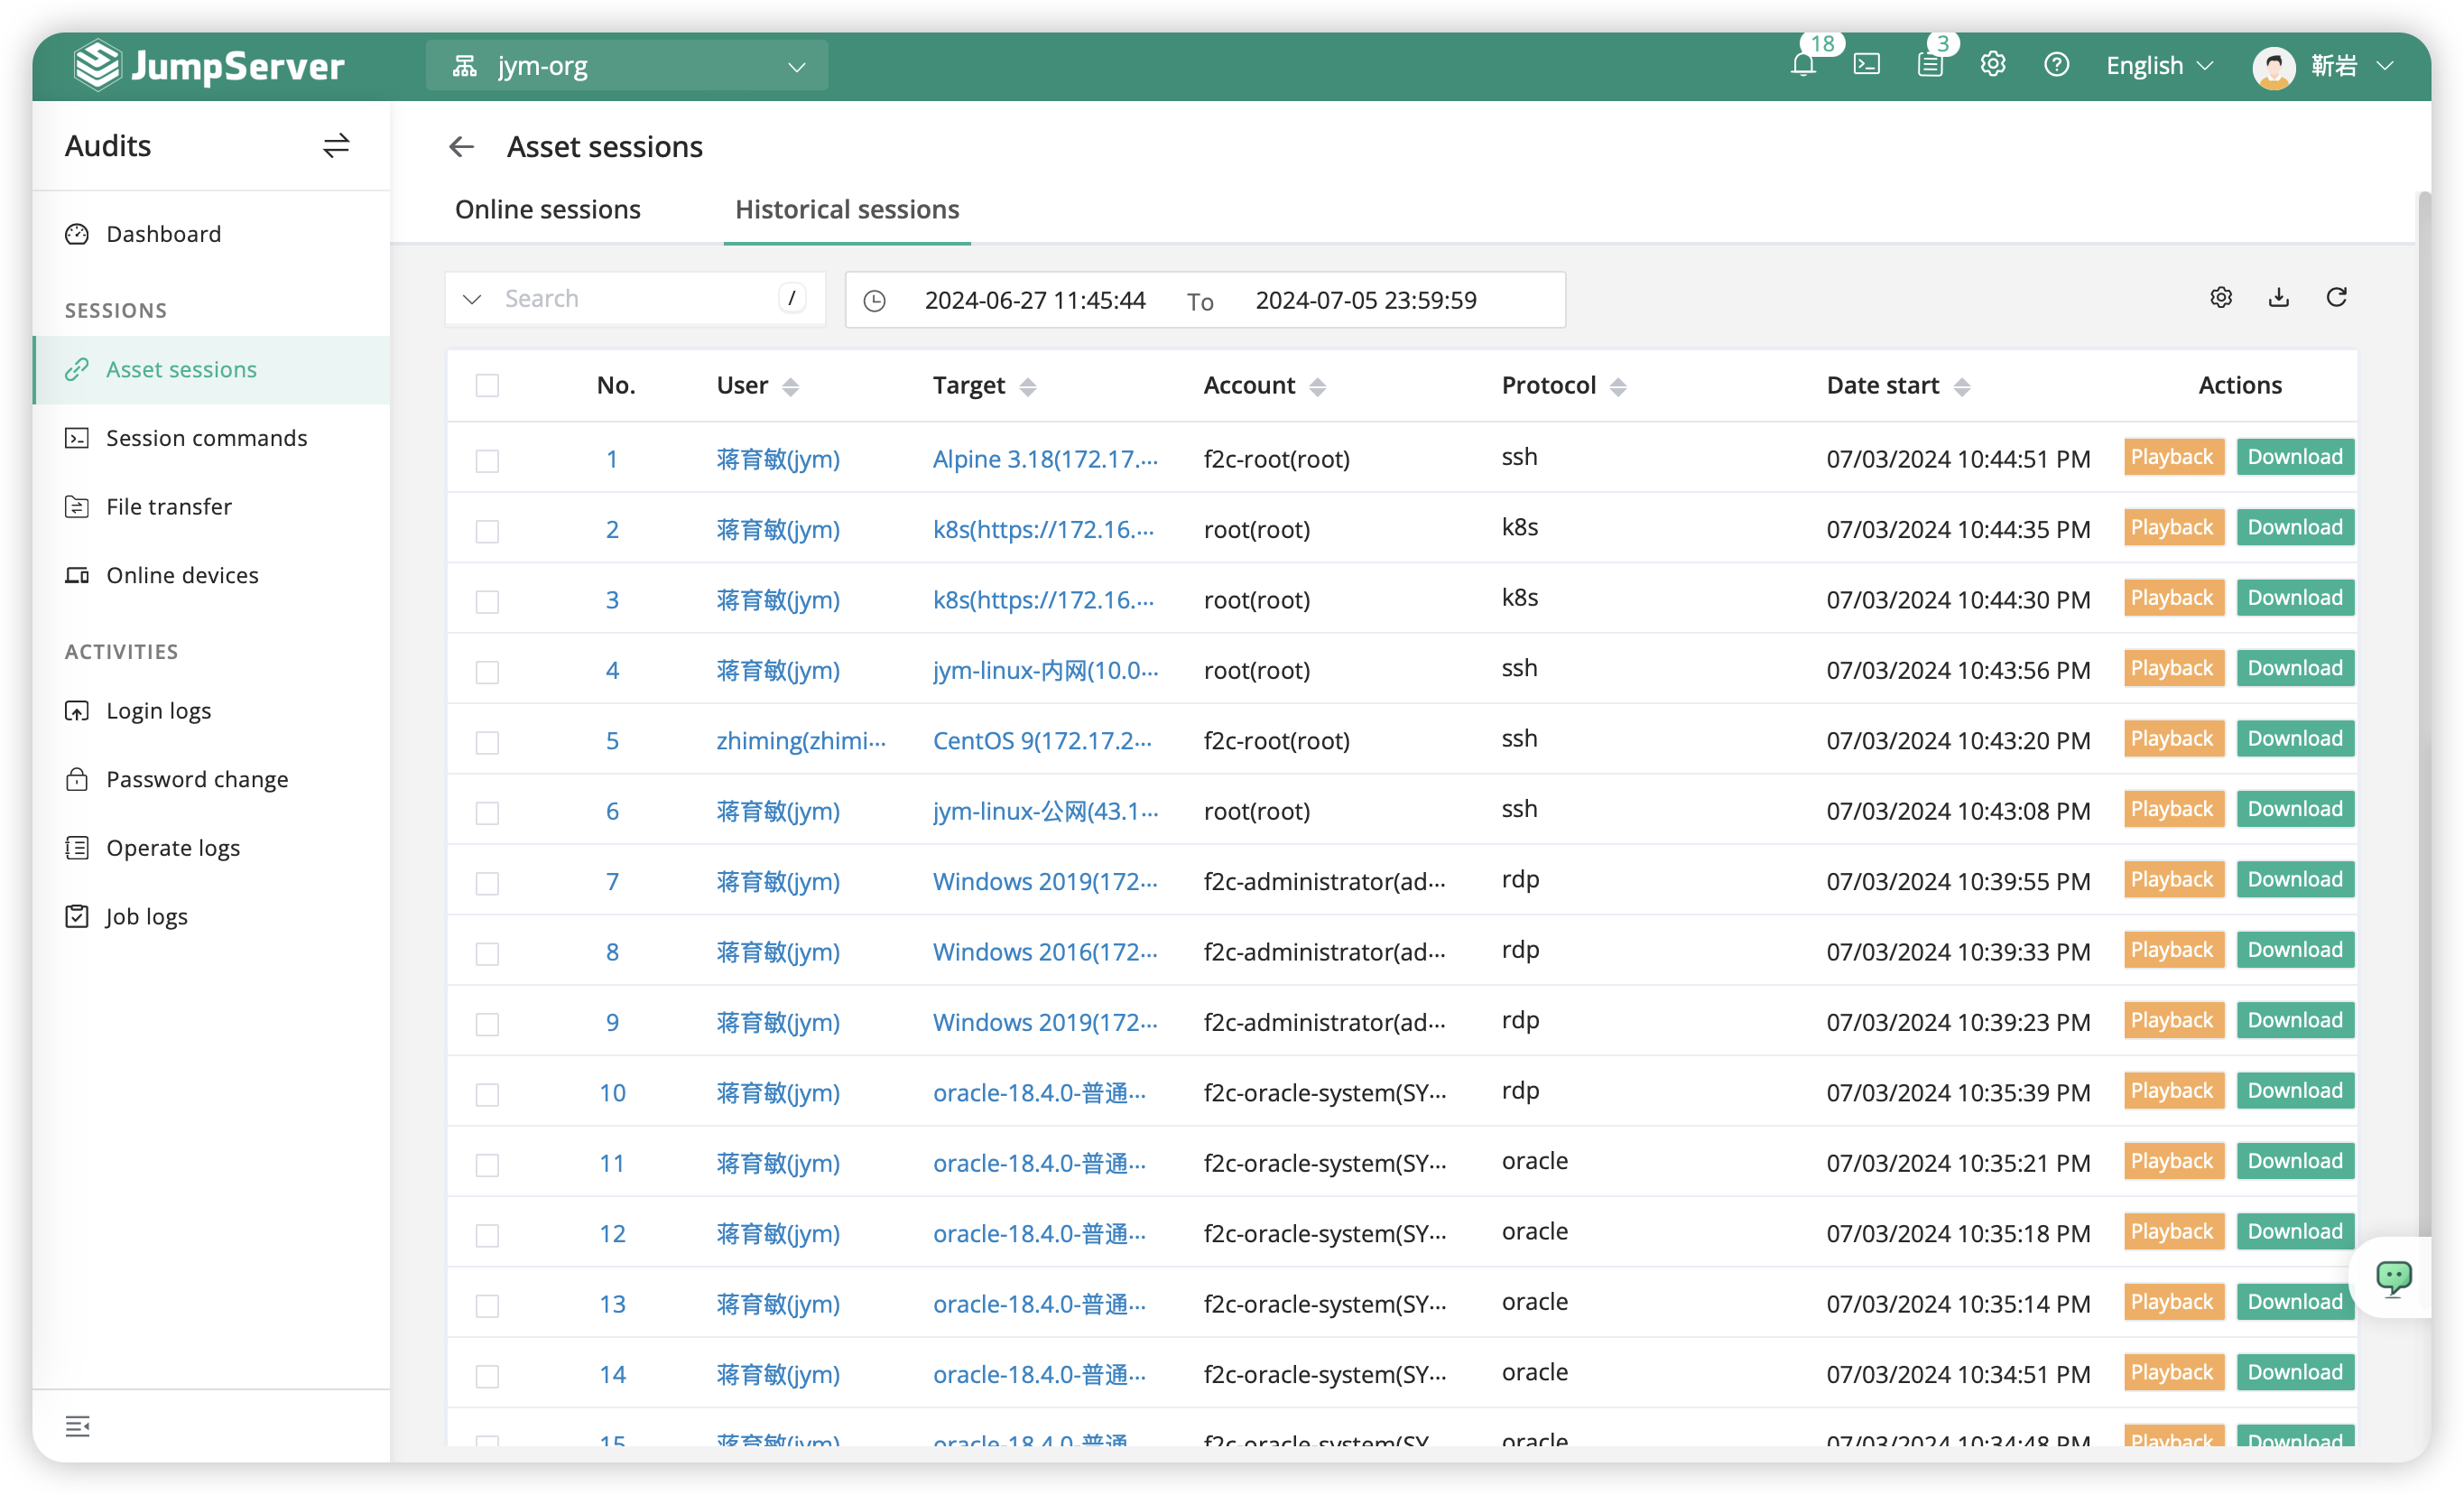
5.2 Asset Sessions⚓︎
Session auditing refers to the recording of user connections to assets. The session audit module includes online sessions and historical sessions.
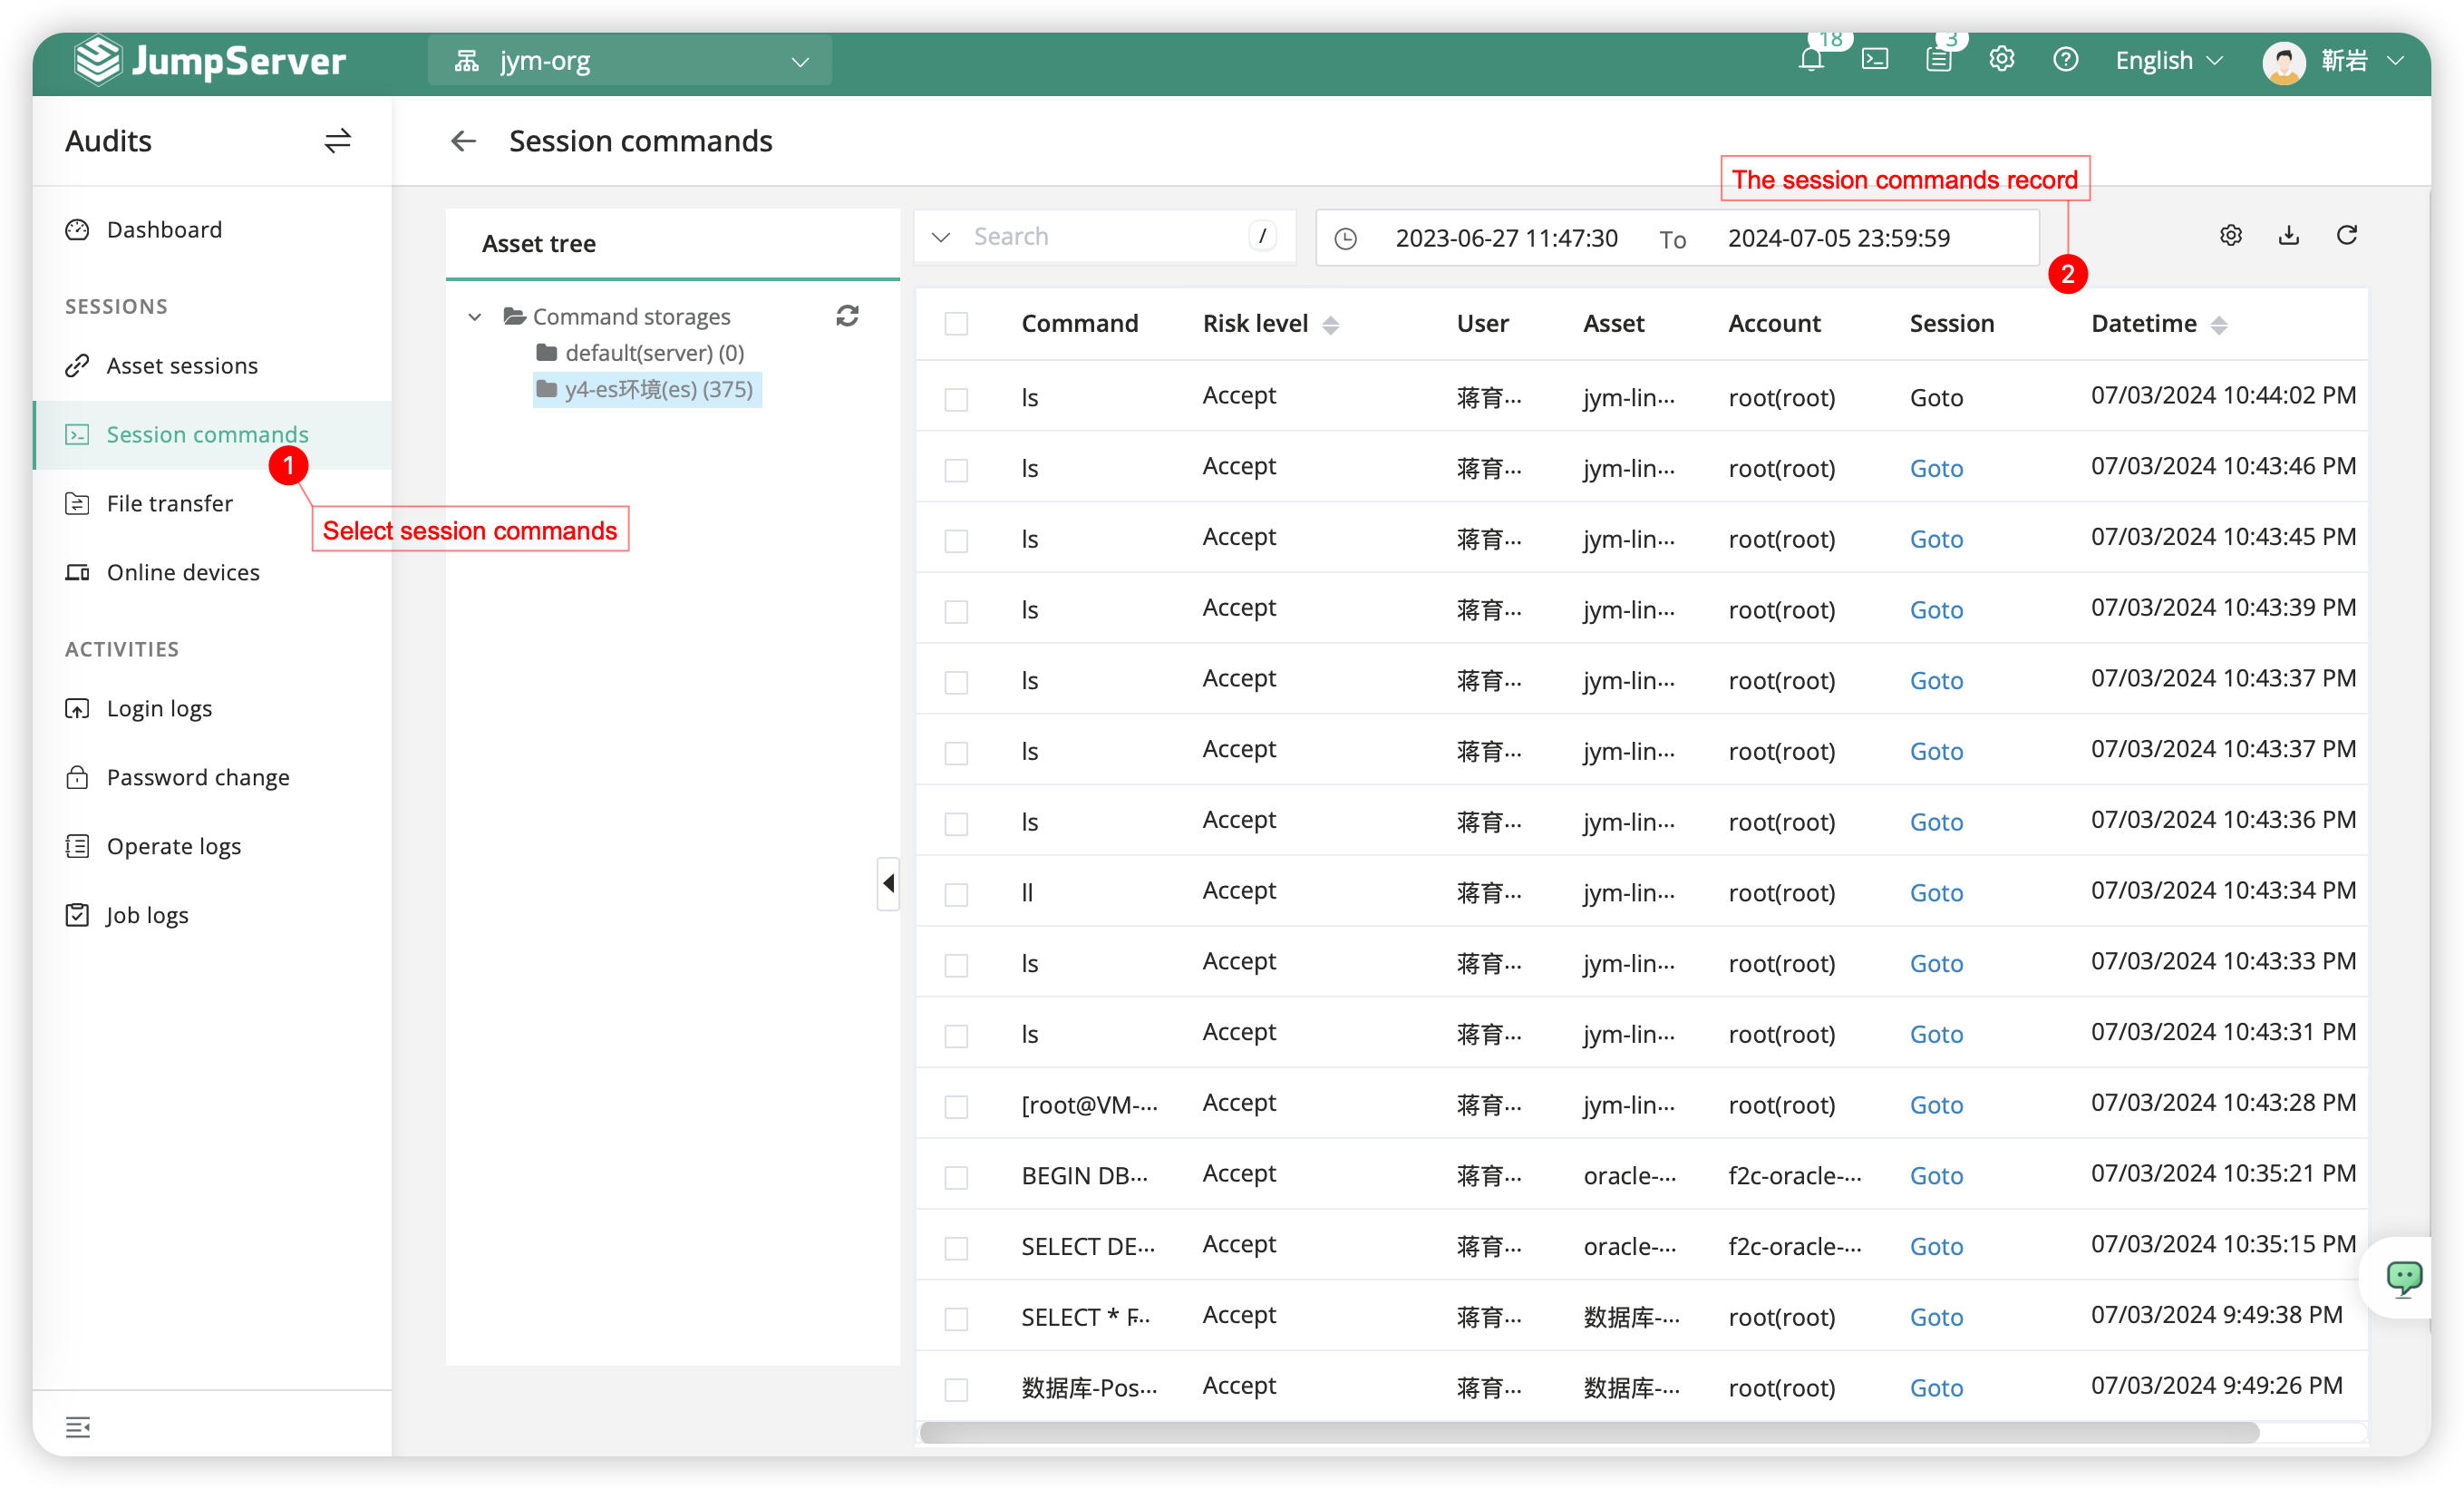
5.3 Sessions commands⚓︎
The Command Records section primarily displays the commands executed by the user after connecting to the asset. Clicking on a specific record allows you to view detailed results of the command execution.
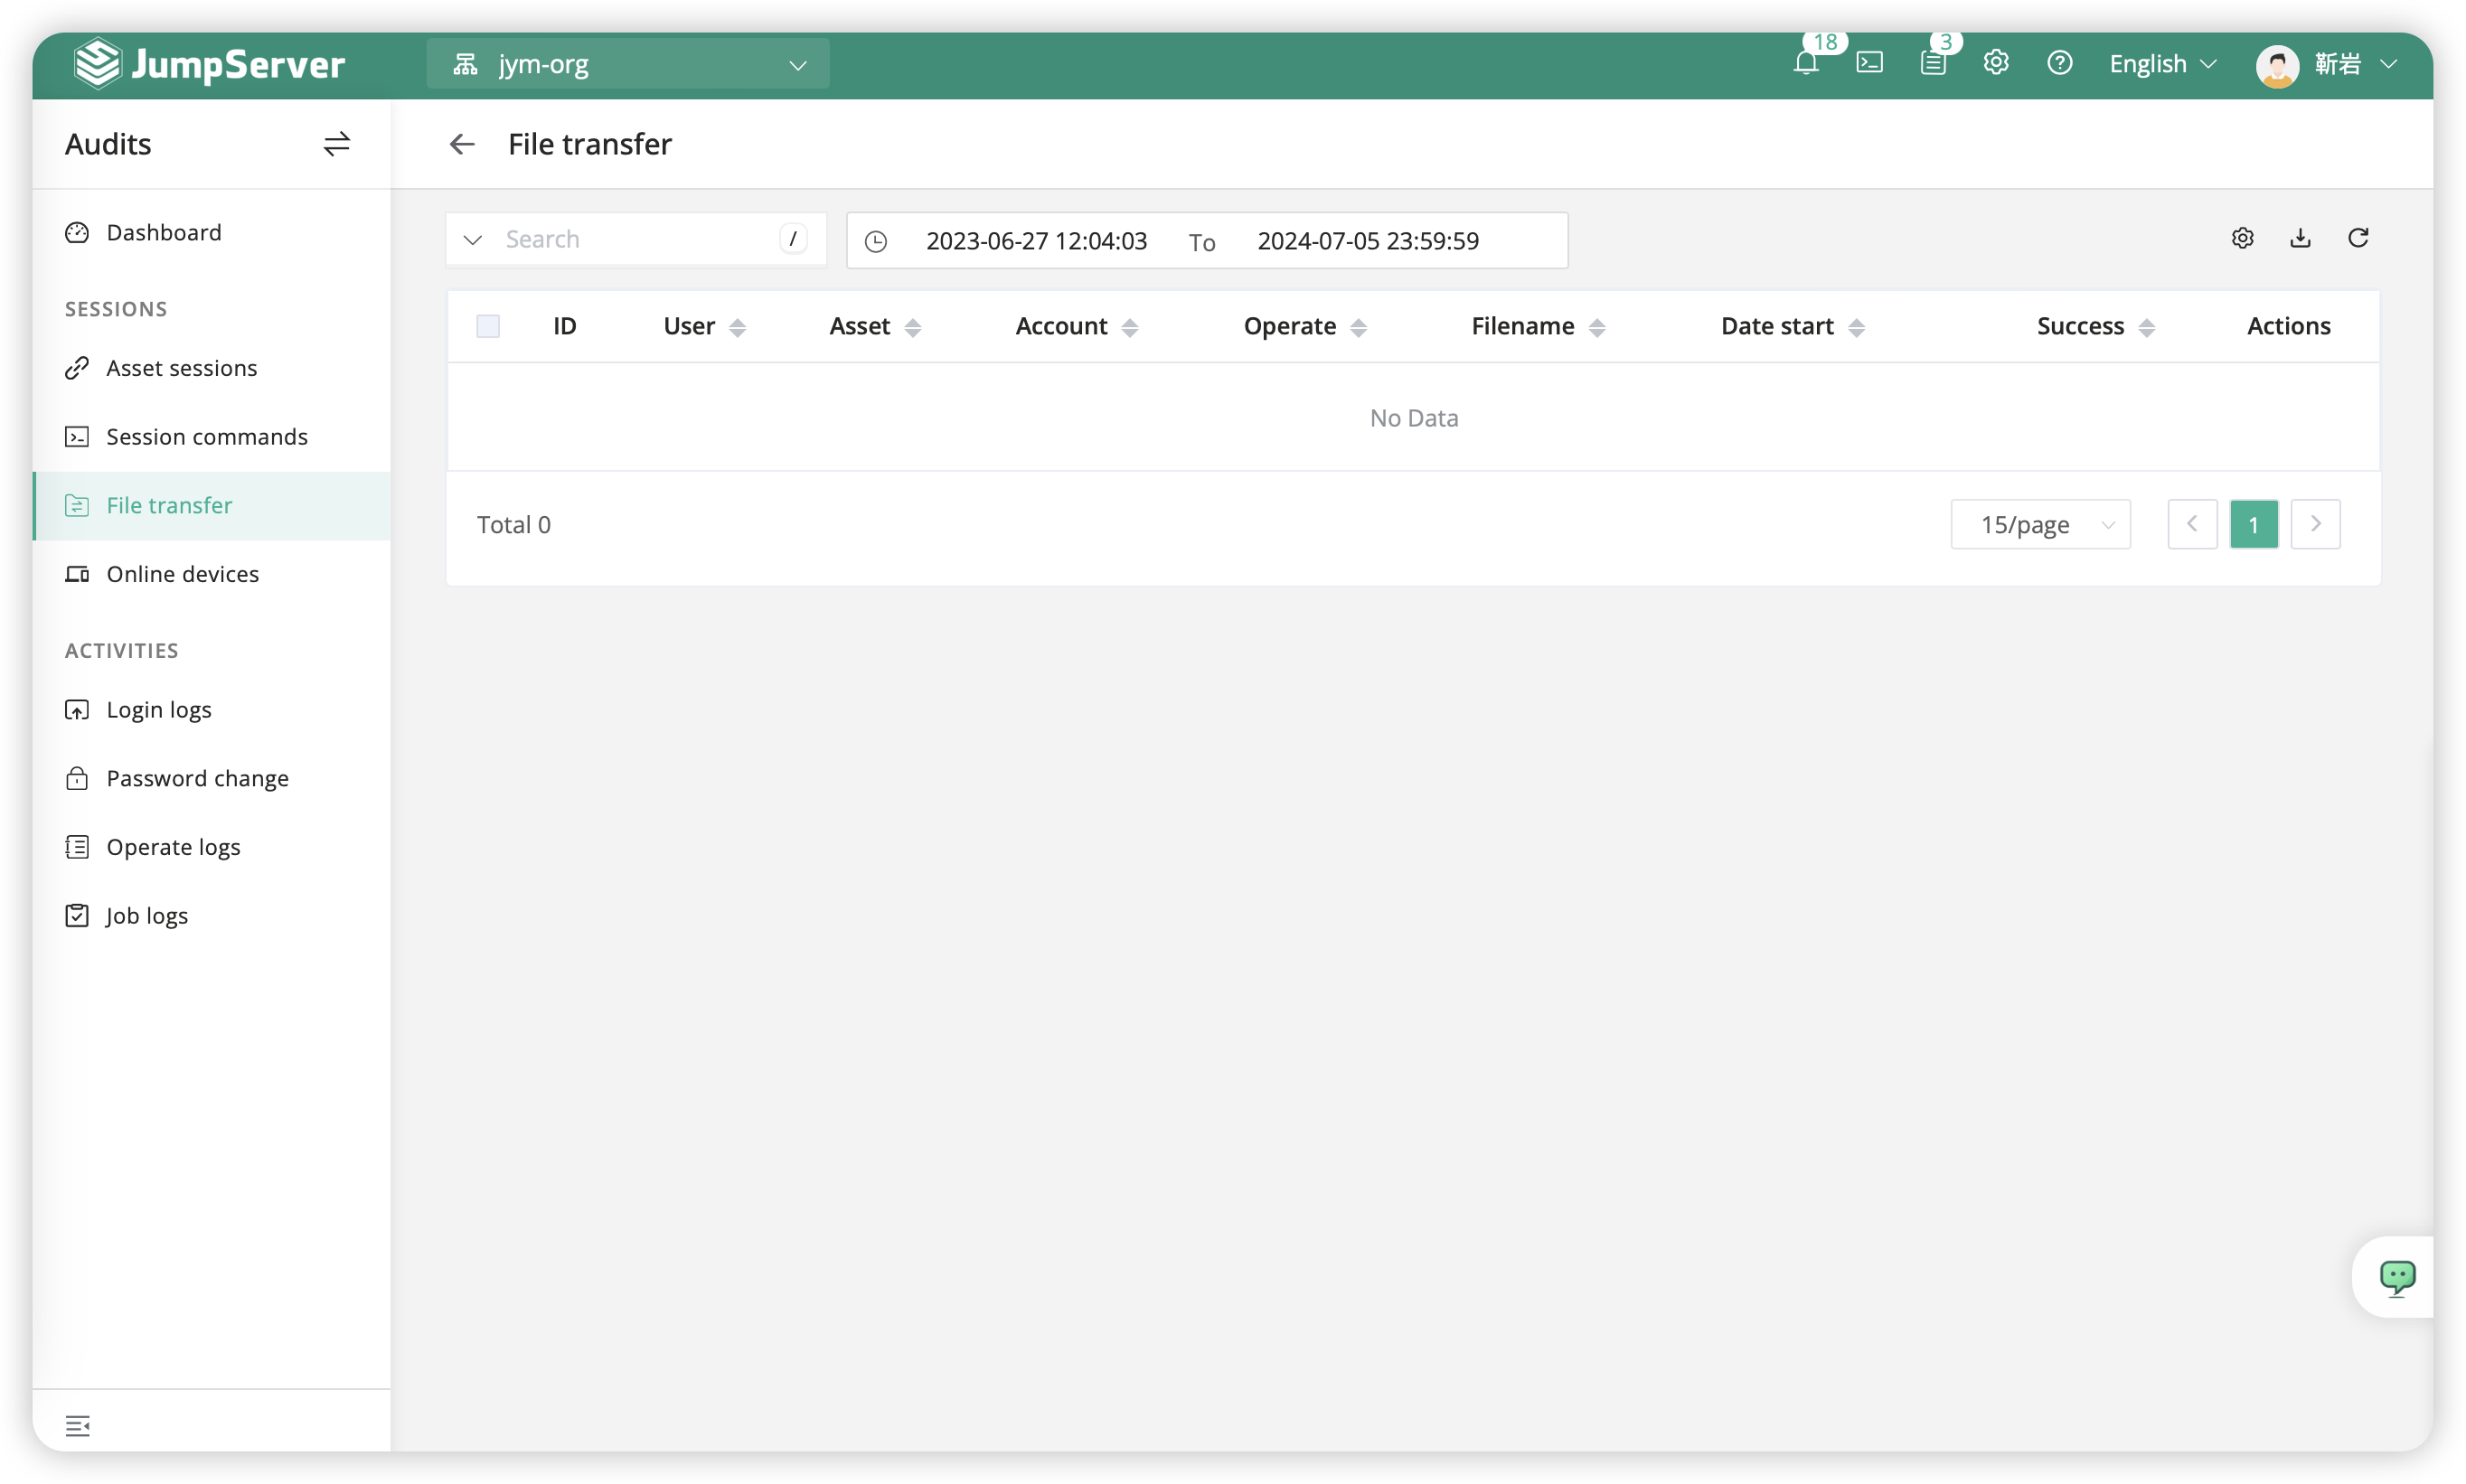
5.4 File transfer⚓︎
JumpServer's file transfer feature allows administrators to view the historical records of all files uploaded or downloaded to assets. JumpServer also supports auditing the content of uploaded/downloaded files, and administrators can view the file content in the file transfer section.
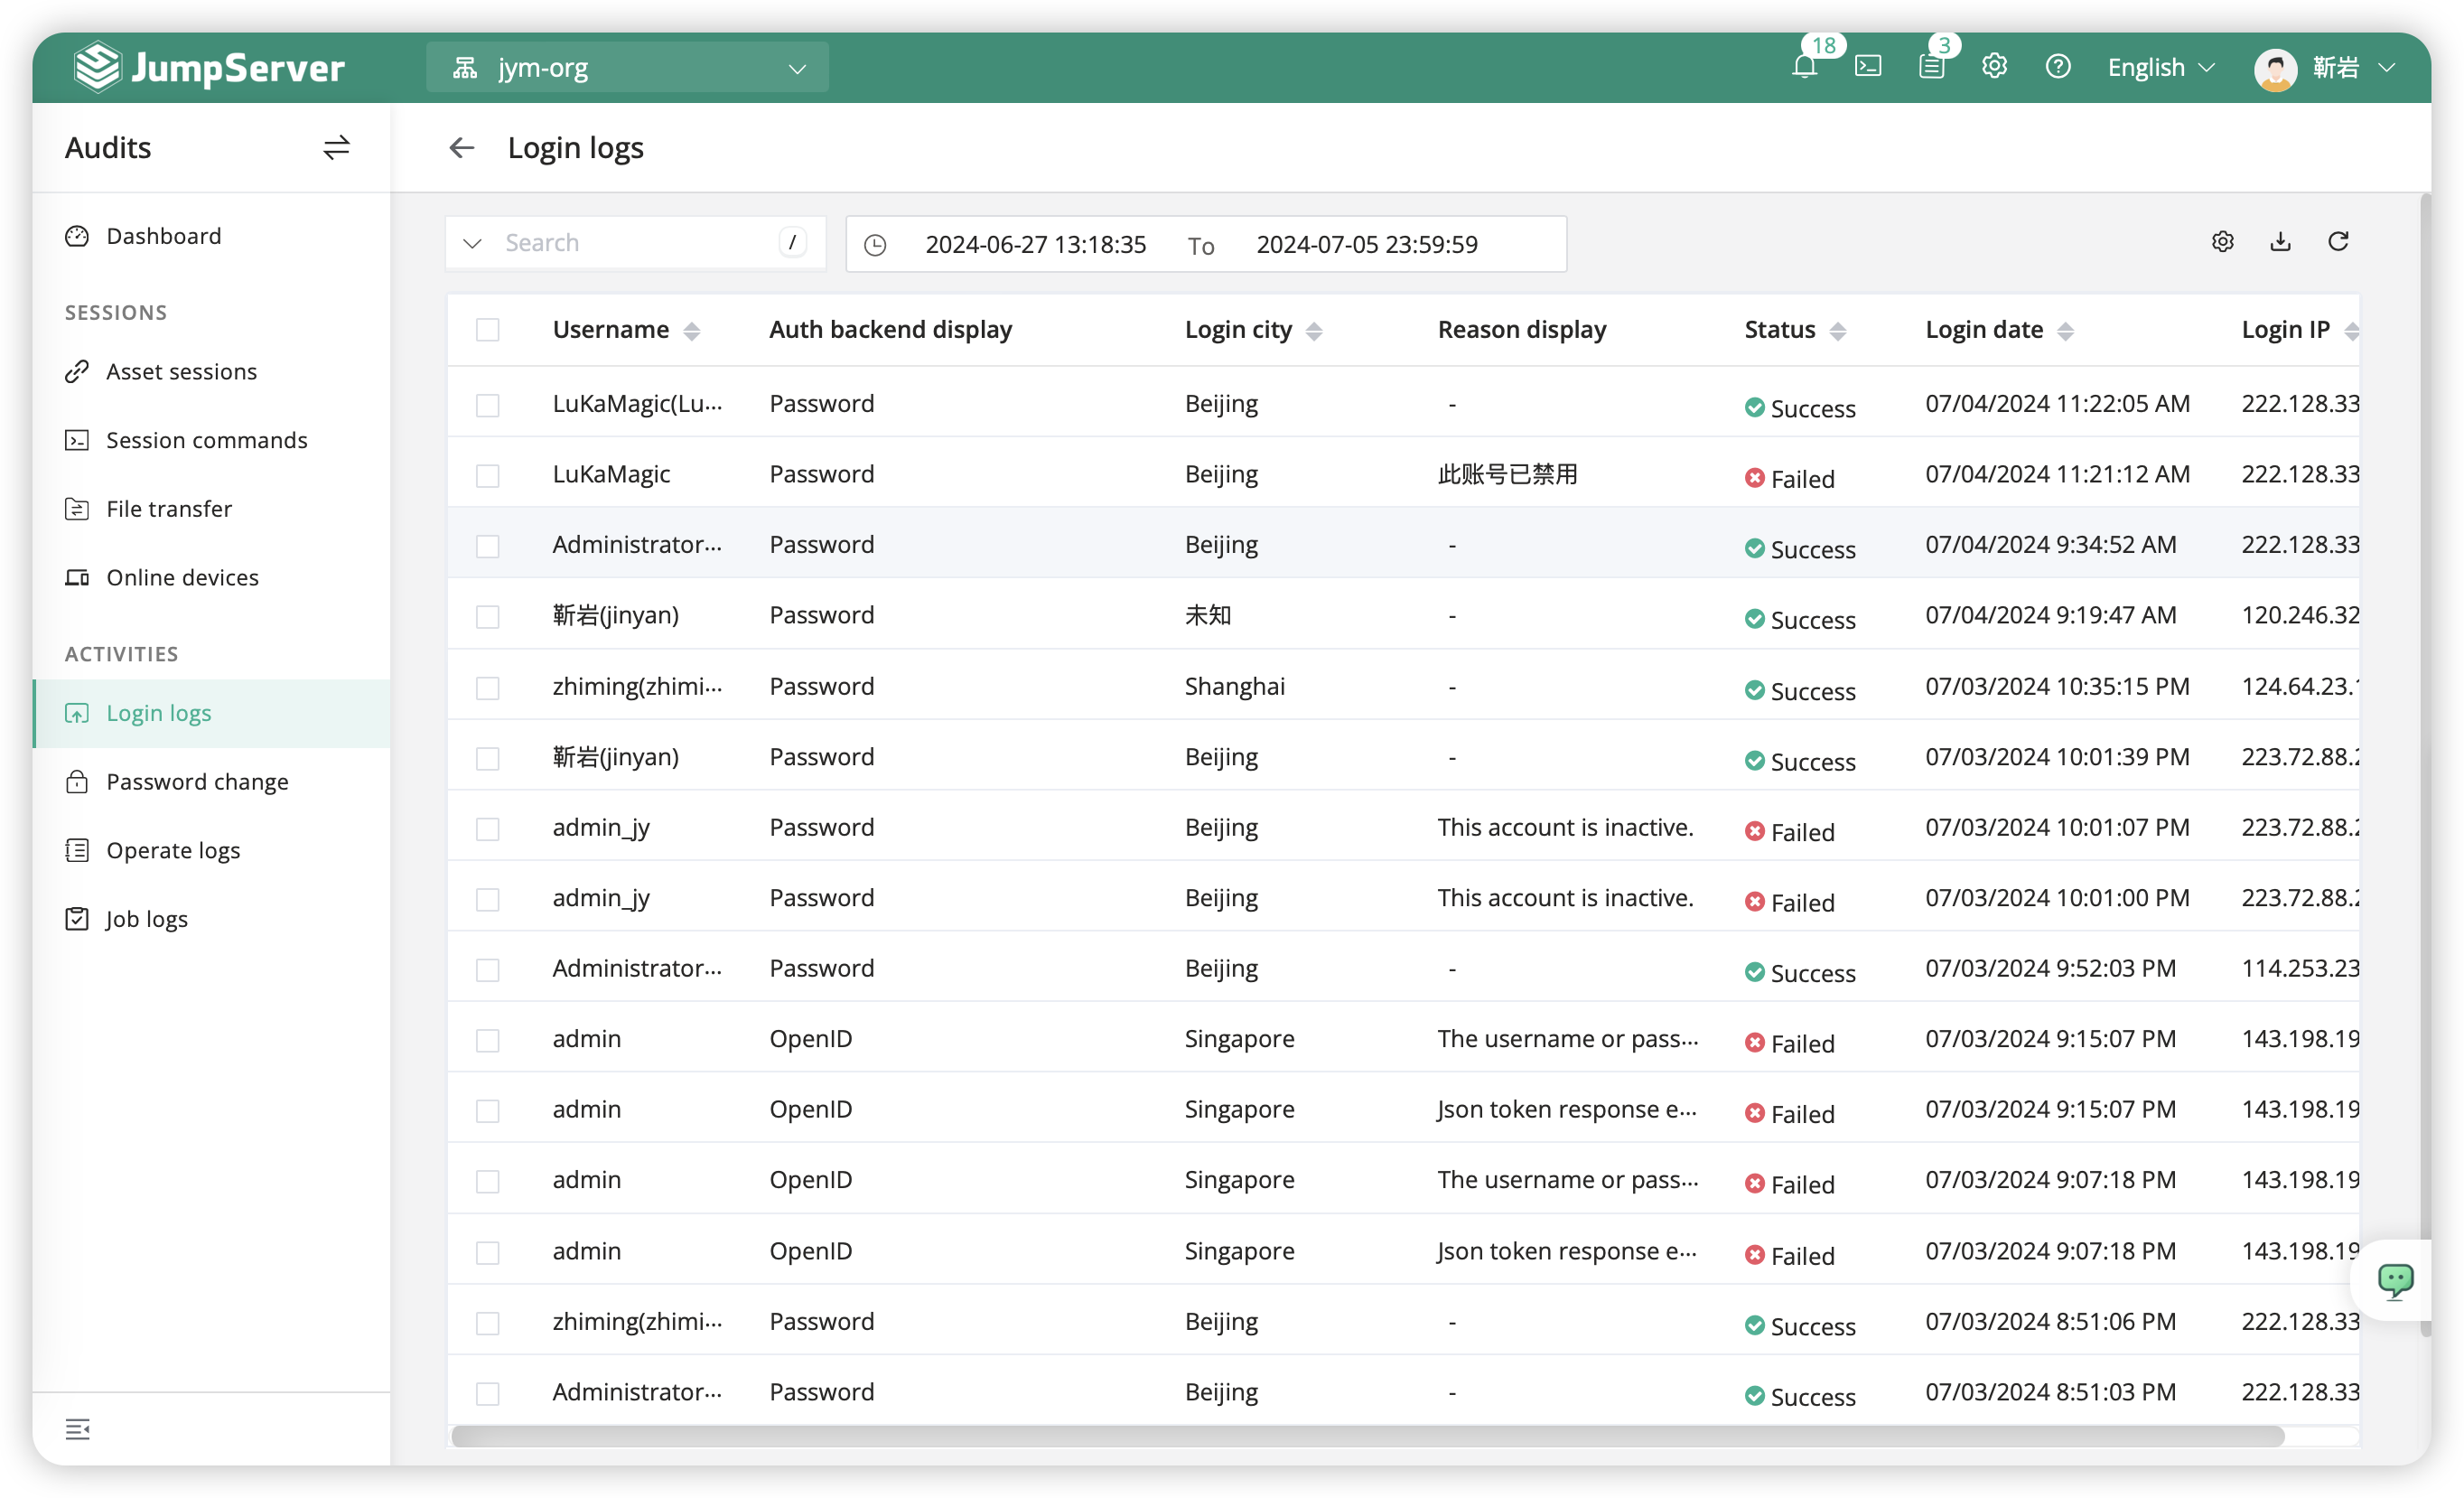
5.5 Login logs⚓︎
The term "login logs" refers to the login logs of the JumpServer platform. On this page, users can view detailed information about users logging into JumpServer, including the type of login, login IP, login city, login date, reasons for login failures, and so forth.
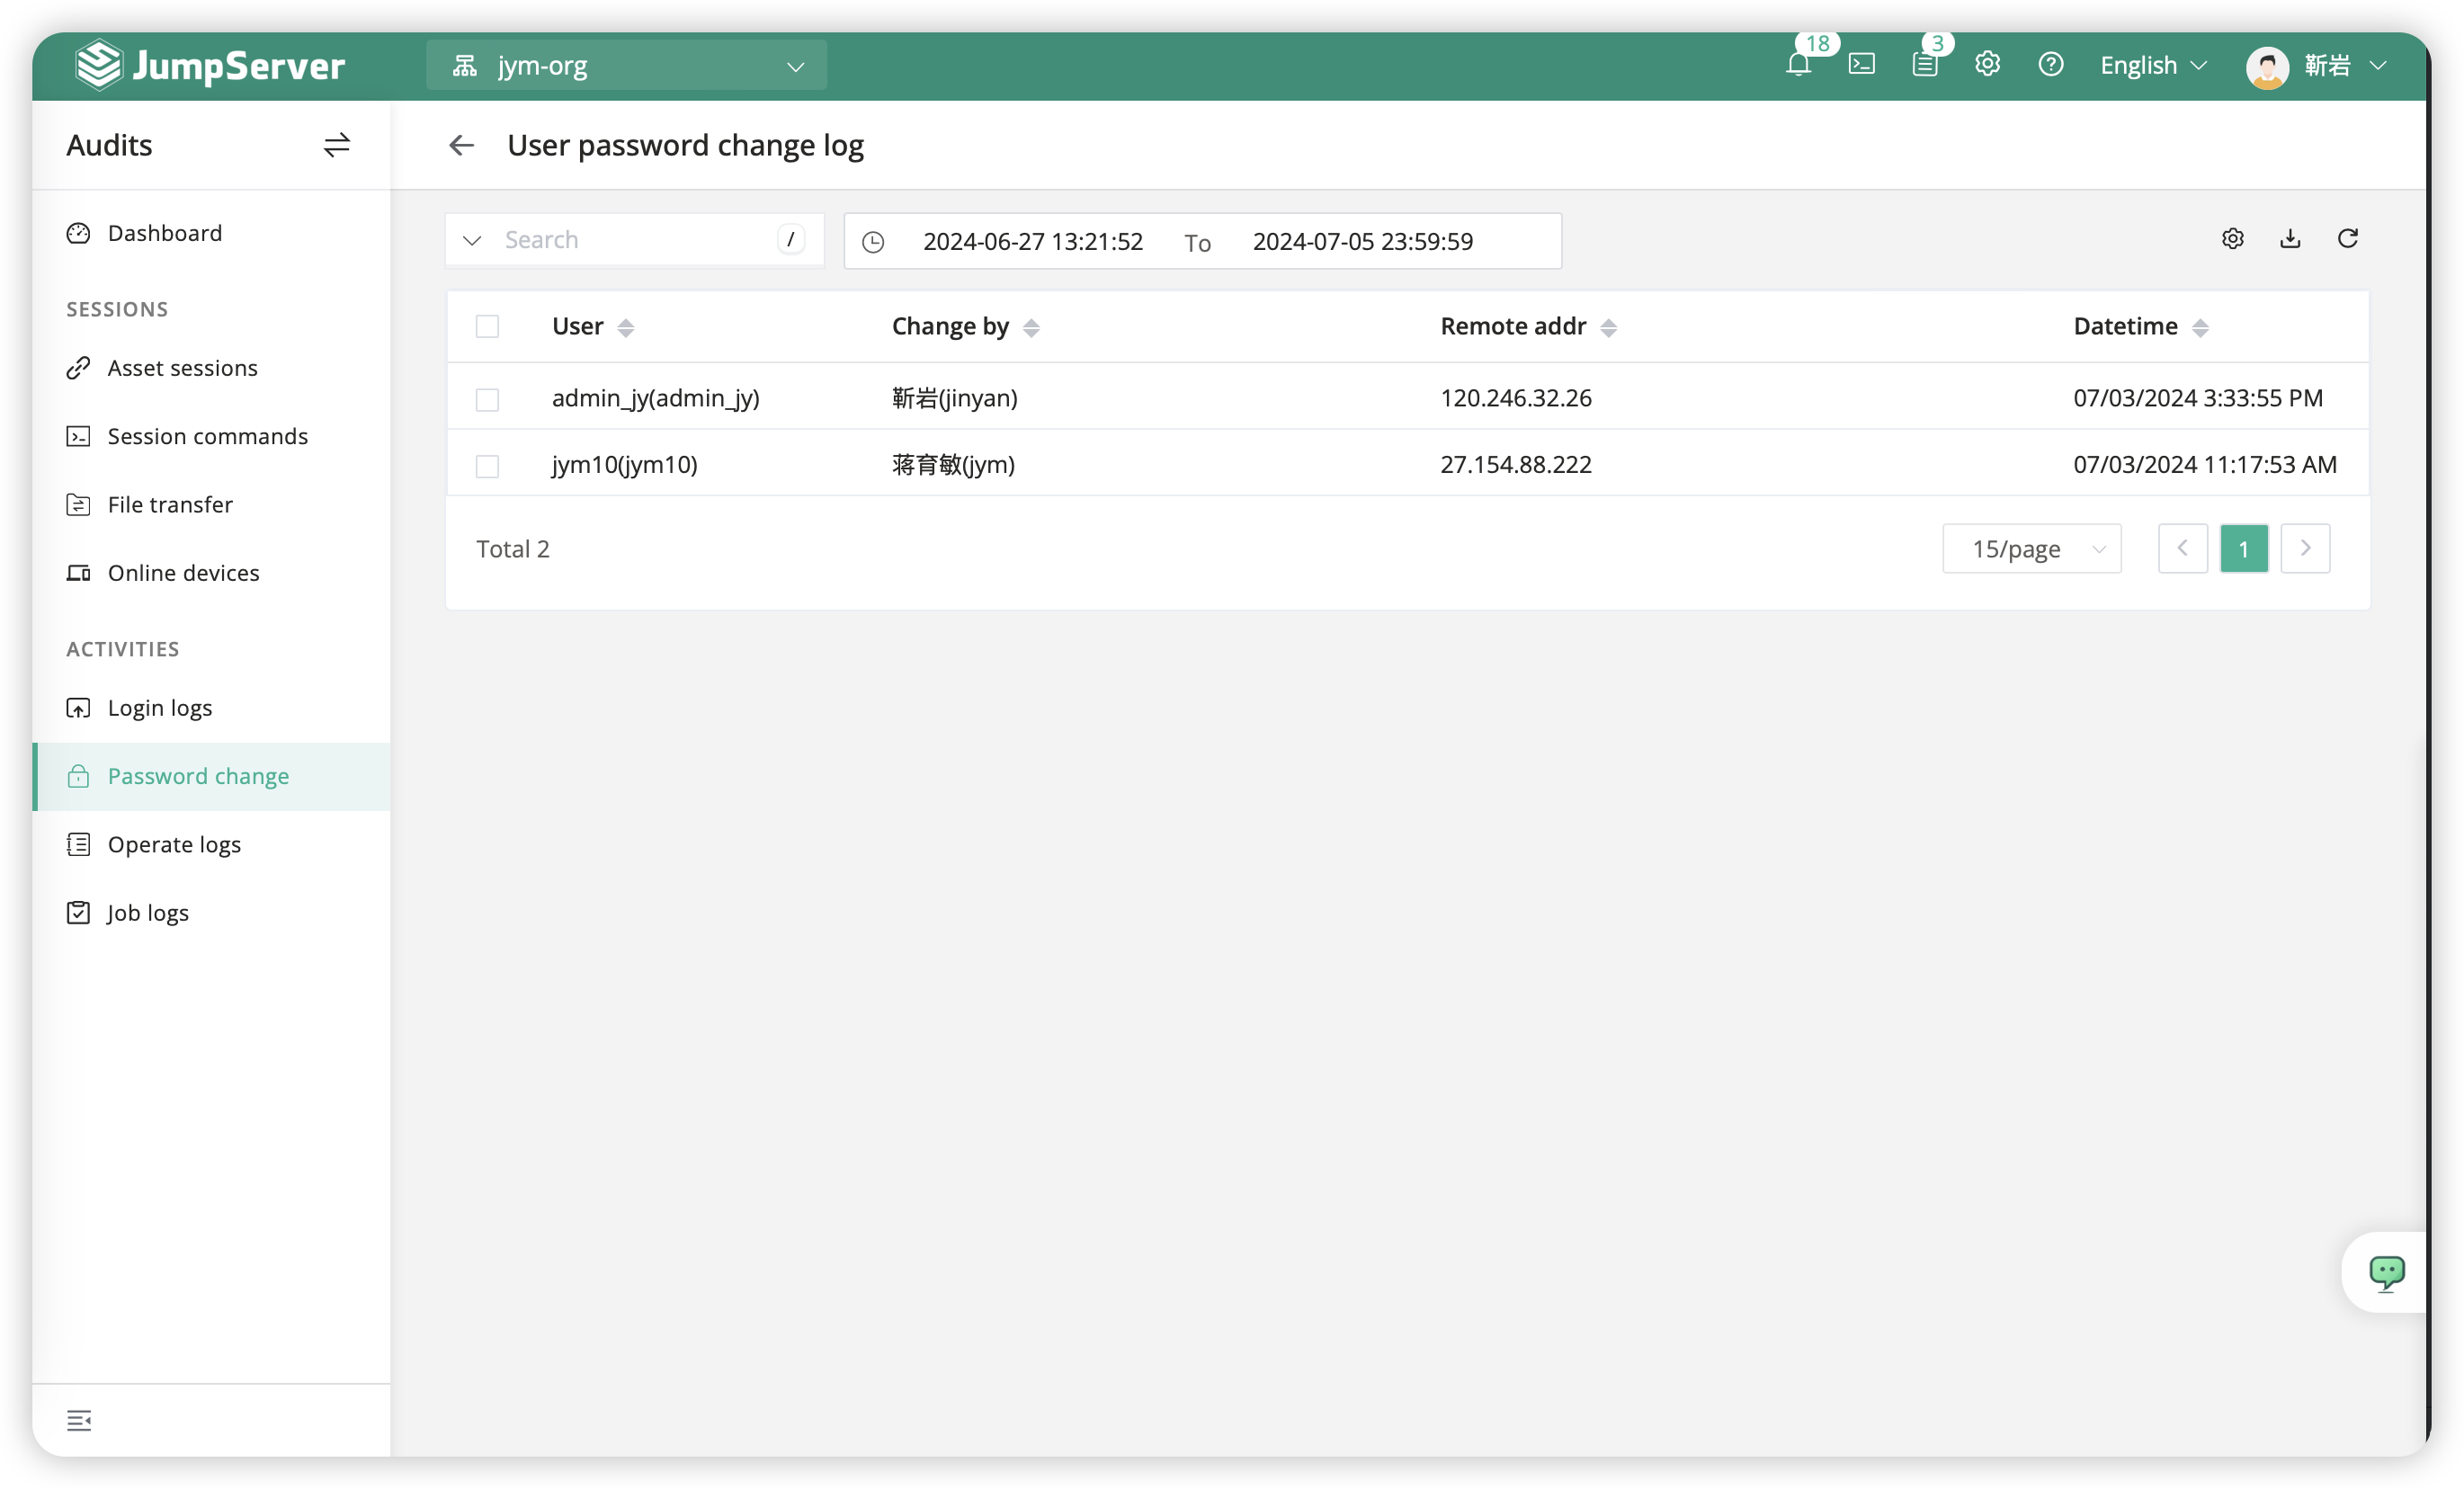
5.6 Password Change⚓︎
The "password change logs" refer to the log information regarding password changes made by logged-in users in the JumpServer system.
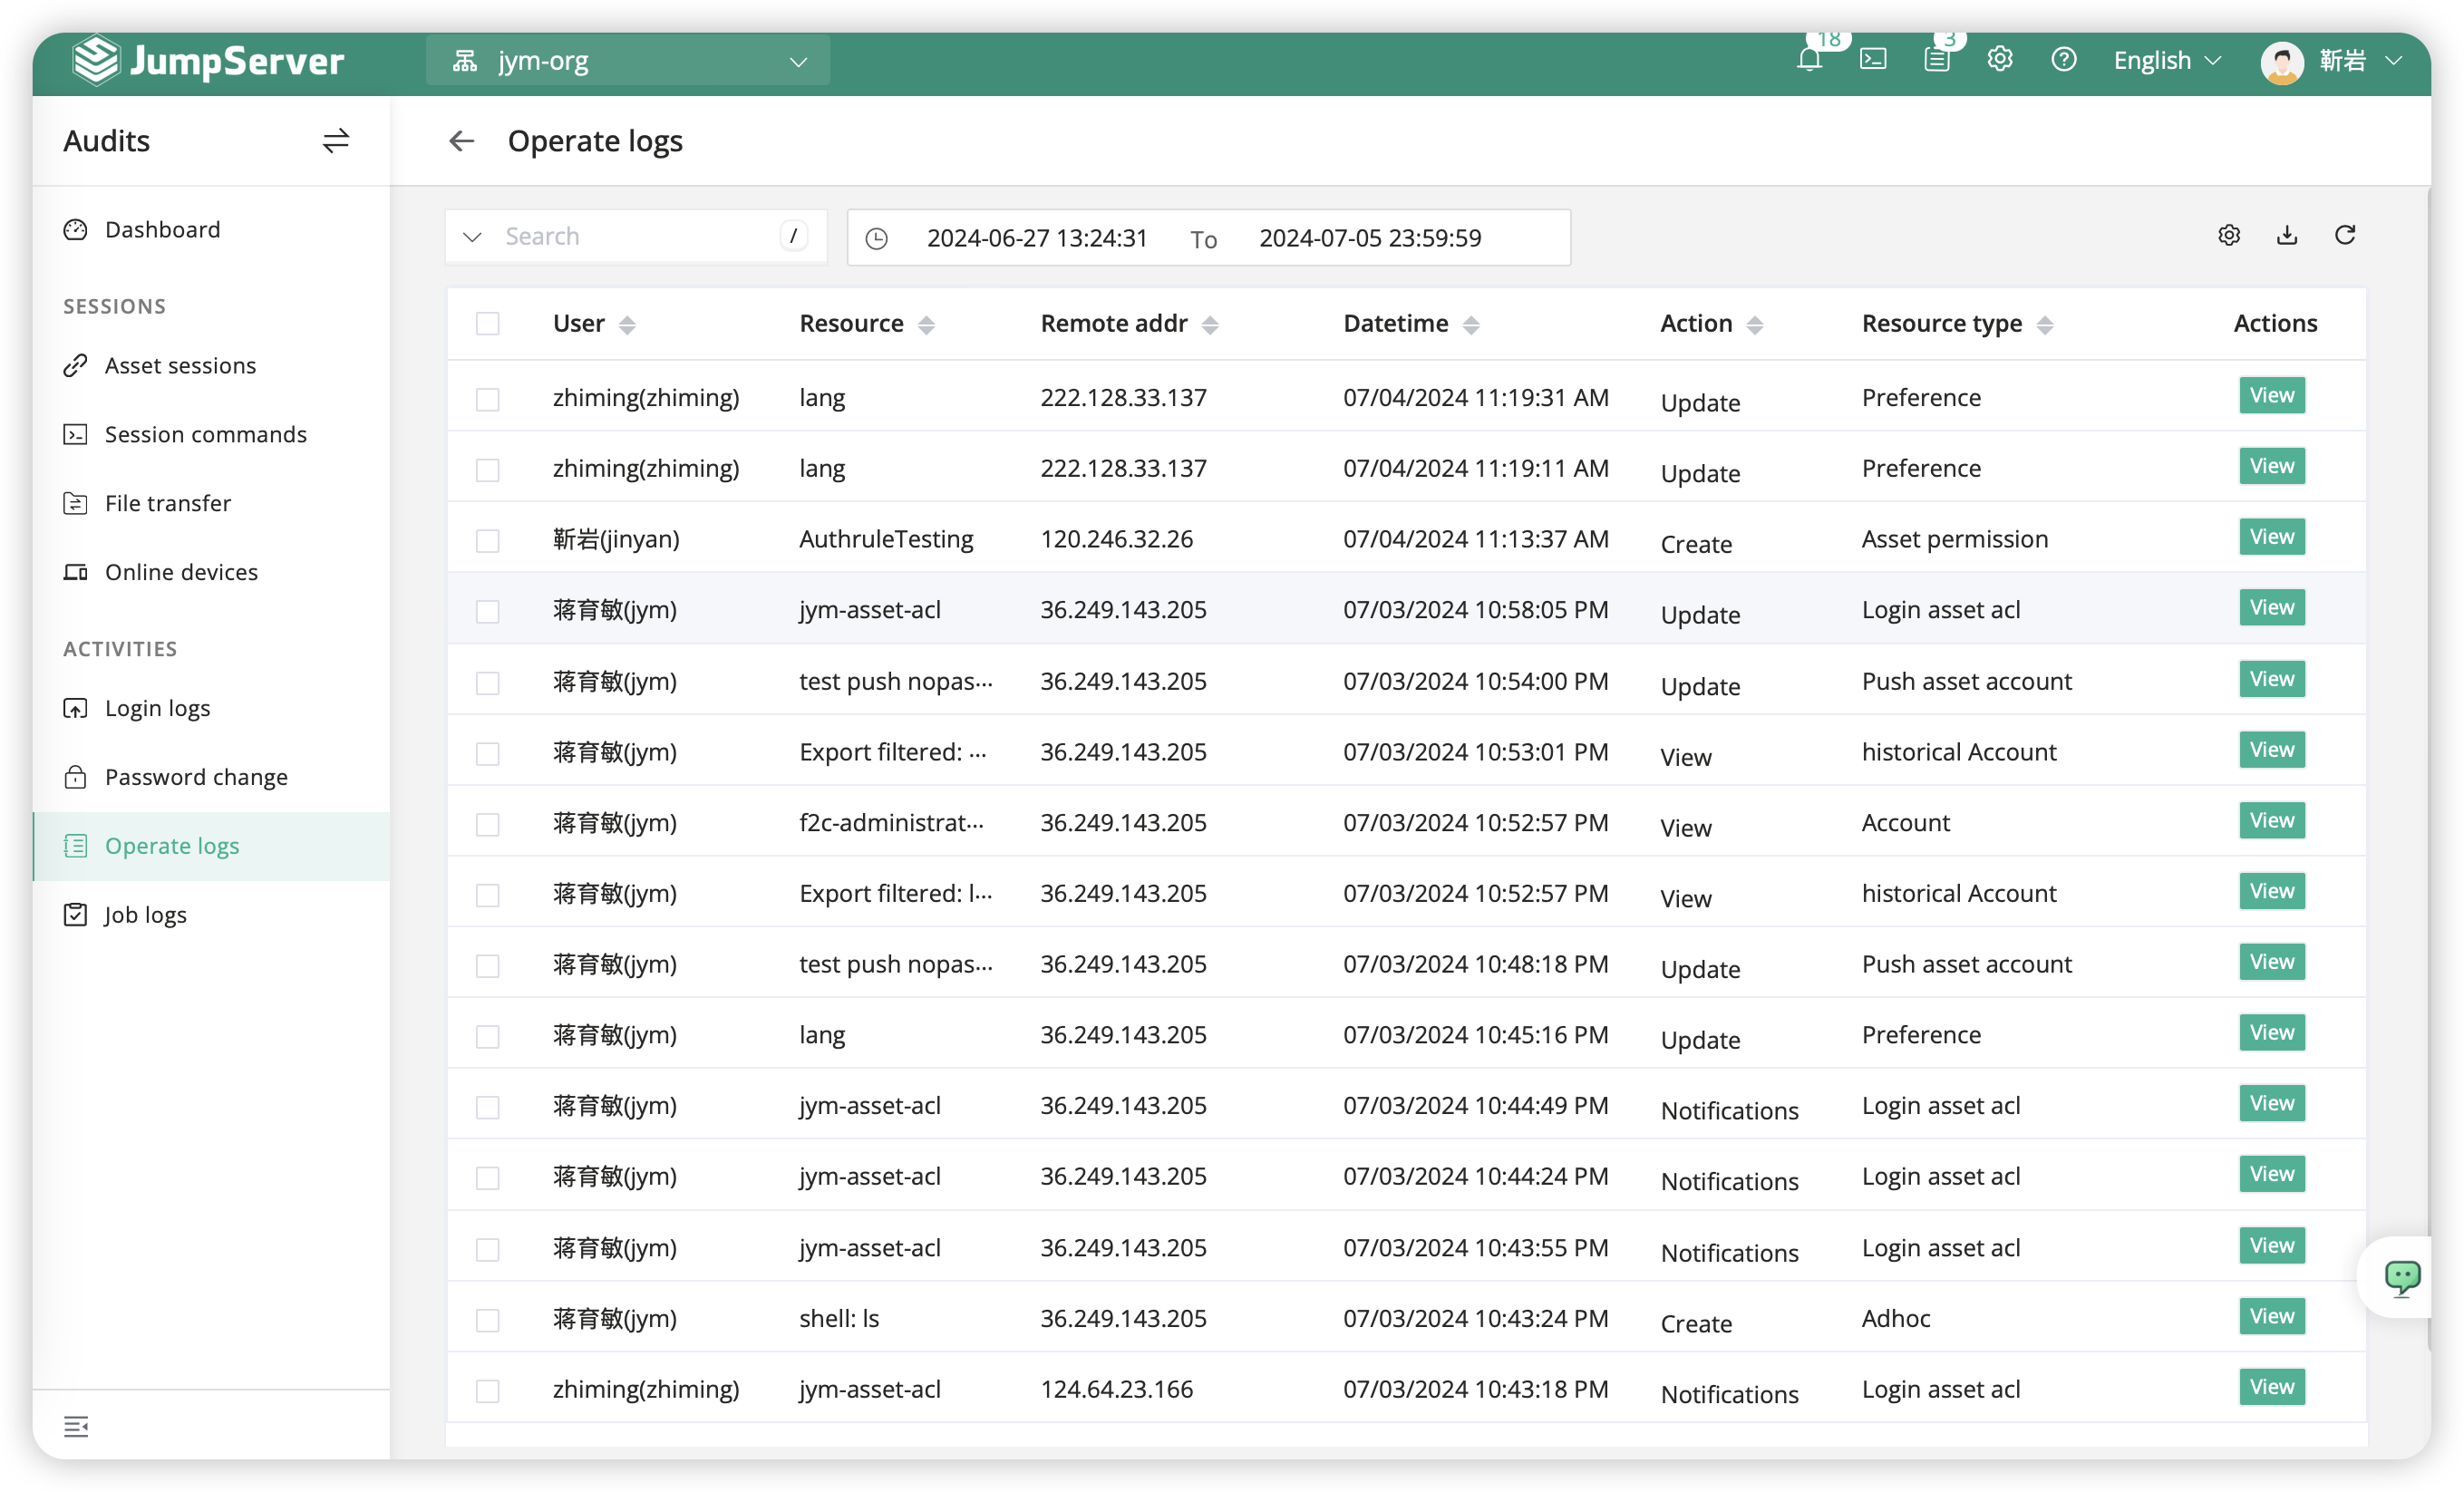
5.7 Operation logs⚓︎
The term "operation logs" refers to the administrative operation logs of the entire JumpServer platform. On this page, users can view logs of operations, including the user performing the operation, the type of asset involved, and details of the operation.
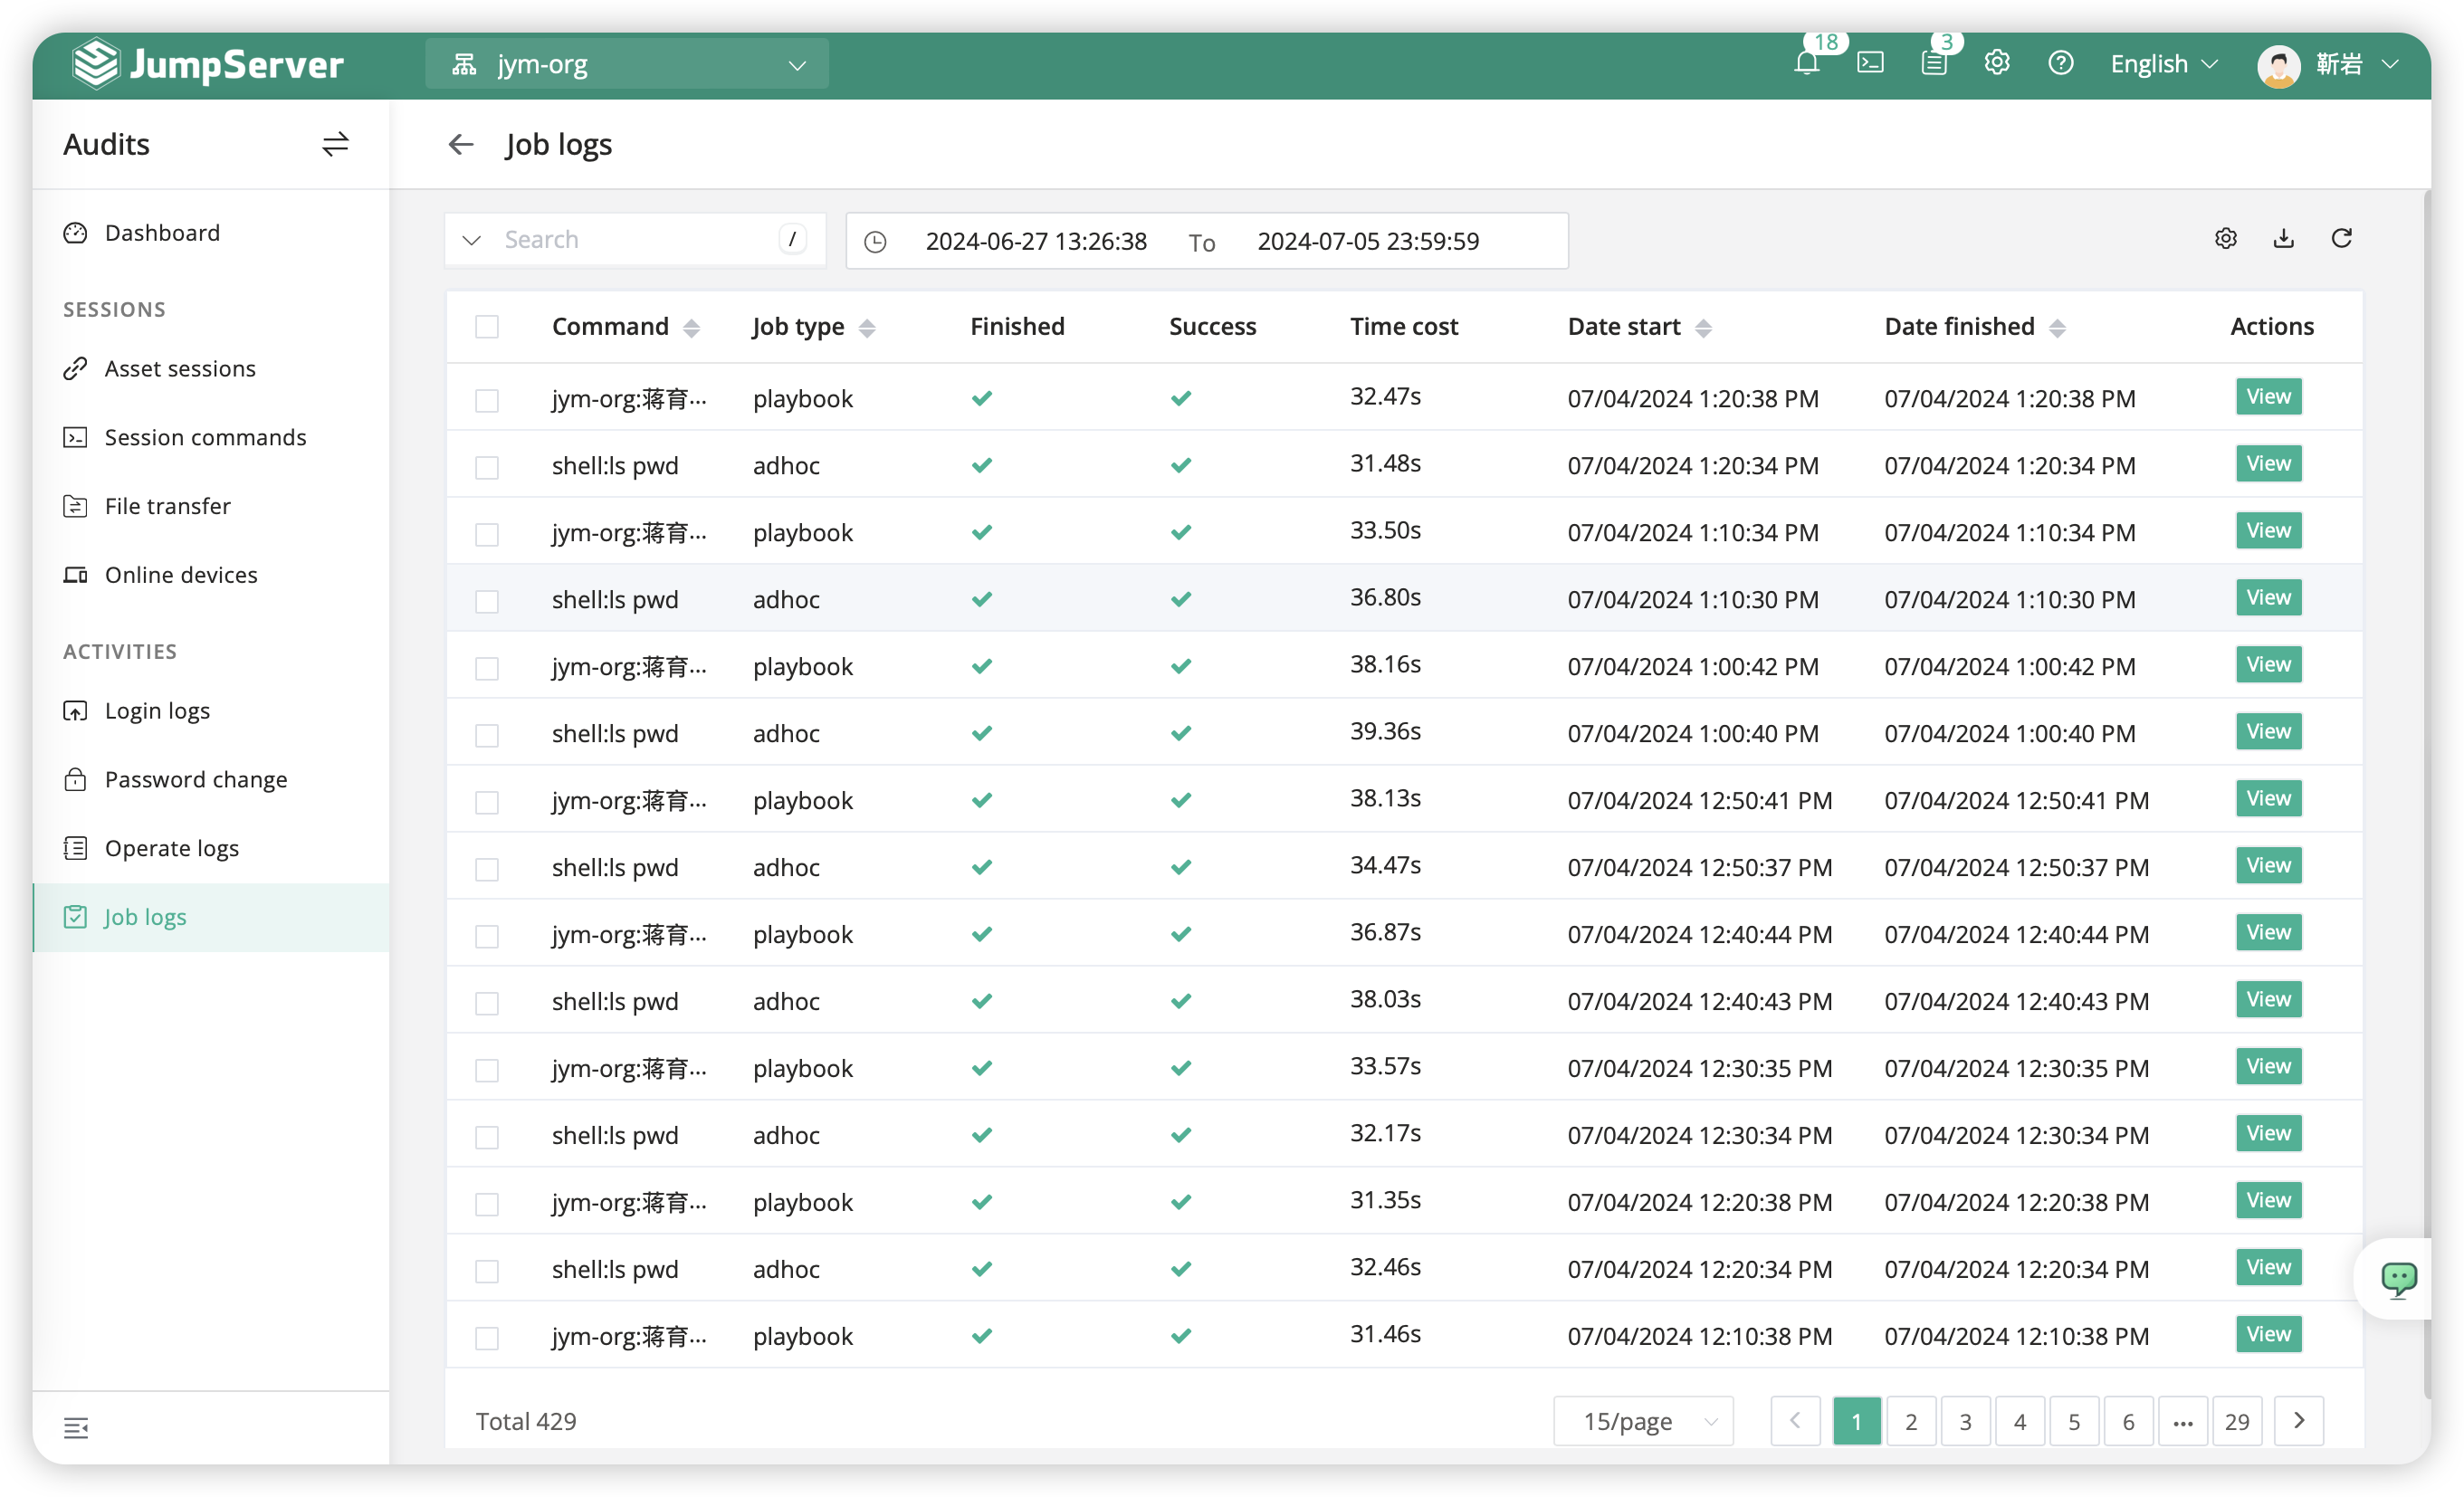
5.8 Job logs⚓︎
The "Job execution logs" pertain to the log information concerning the execution of tasks in the user's job center within JumpServer.
6 System Settings⚓︎
- Click on the
System Settingsin the upper right corner of the page to configure.
6.1 Basic Settings⚓︎
| Name | Example | Note |
|---|---|---|
| Current sit URL | https://demo.jumpserver.org | If not set the mail recieve address is http://ocalhost |
| URL of User Guide | Users will see this hyperlink when they first login, so it is optional to set it | |
| URL Of Forget password | With LDAP, OPENID, or other external authentication systems, you can customize it |
6.2 Email Settings⚓︎
| Name | Example | note |
|---|---|---|
| SMTP Host | smtp.qq.com | SMTP server provided by the service provider |
| SMTP Port | 25 | Commonnly used is 25 |
| SMTP Account | **********@qq.com | Commonnly used is user@domain.com |
| SMTP Password | **************** | Need to input password when execute 'connected testing |
| SSL | [ ] | The option must be selected if port 465 in using |
| TLS | [ ] | The option must be selected if port 587 in using |
| Email Sender | ********@qq.com | connect testing must be input |
| Subject Prefix | [JMS] | The suject of the Email, recieved email must be start with [JMS] |
| Reciever testing | **********@qq.com | Must be input when you try connect testing |
Attention
- Can not check
SSLandTLSsimultaneously.